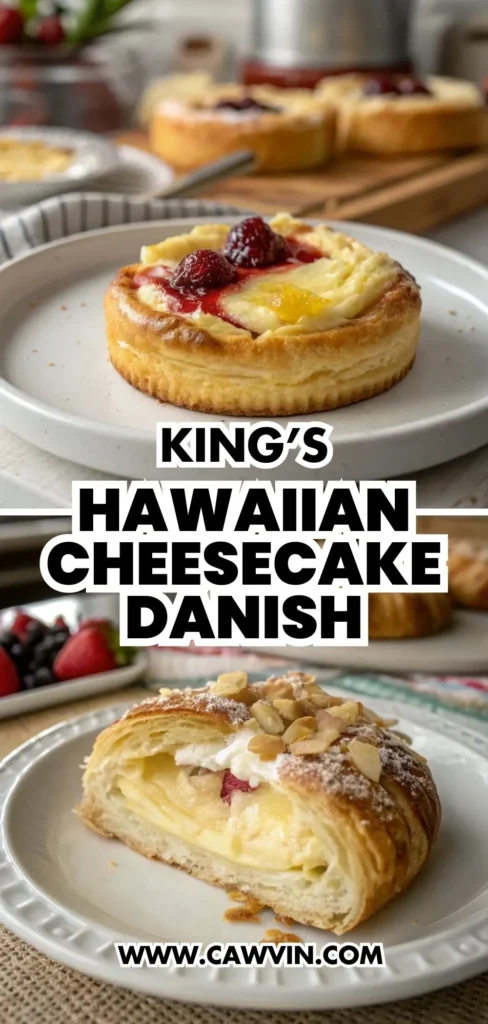
King’s Hawaiian Cheesecake Danish
Table of Contents
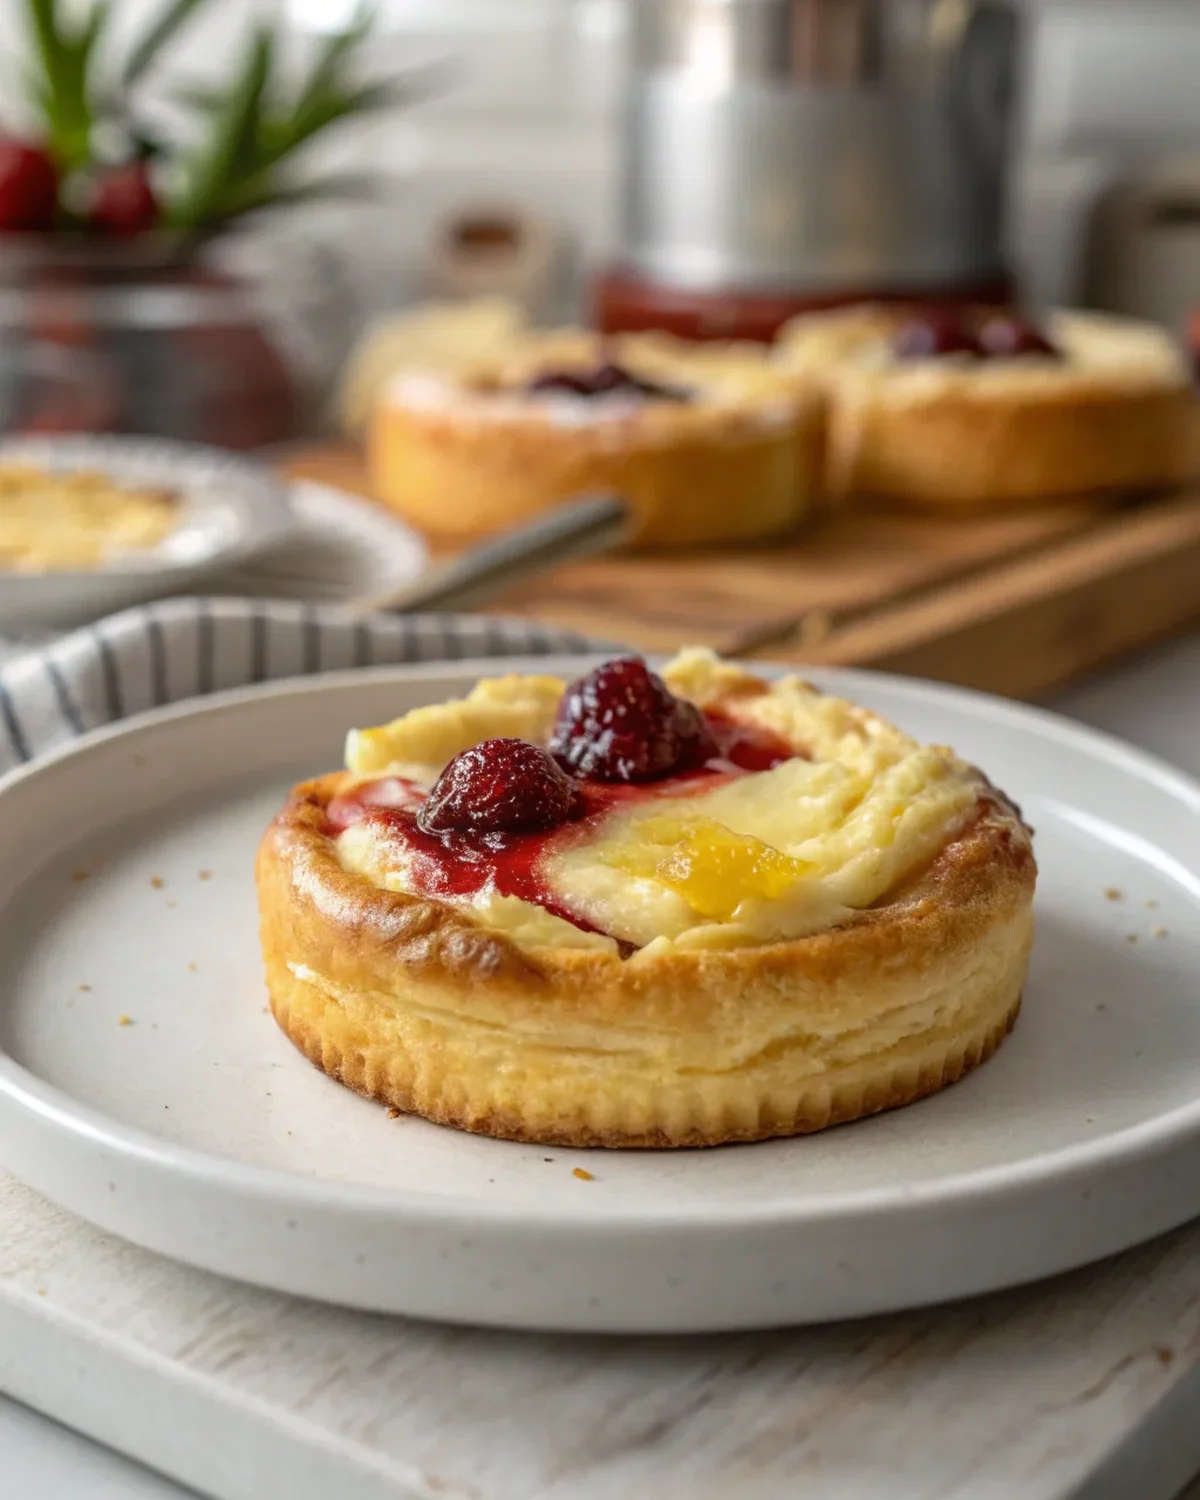
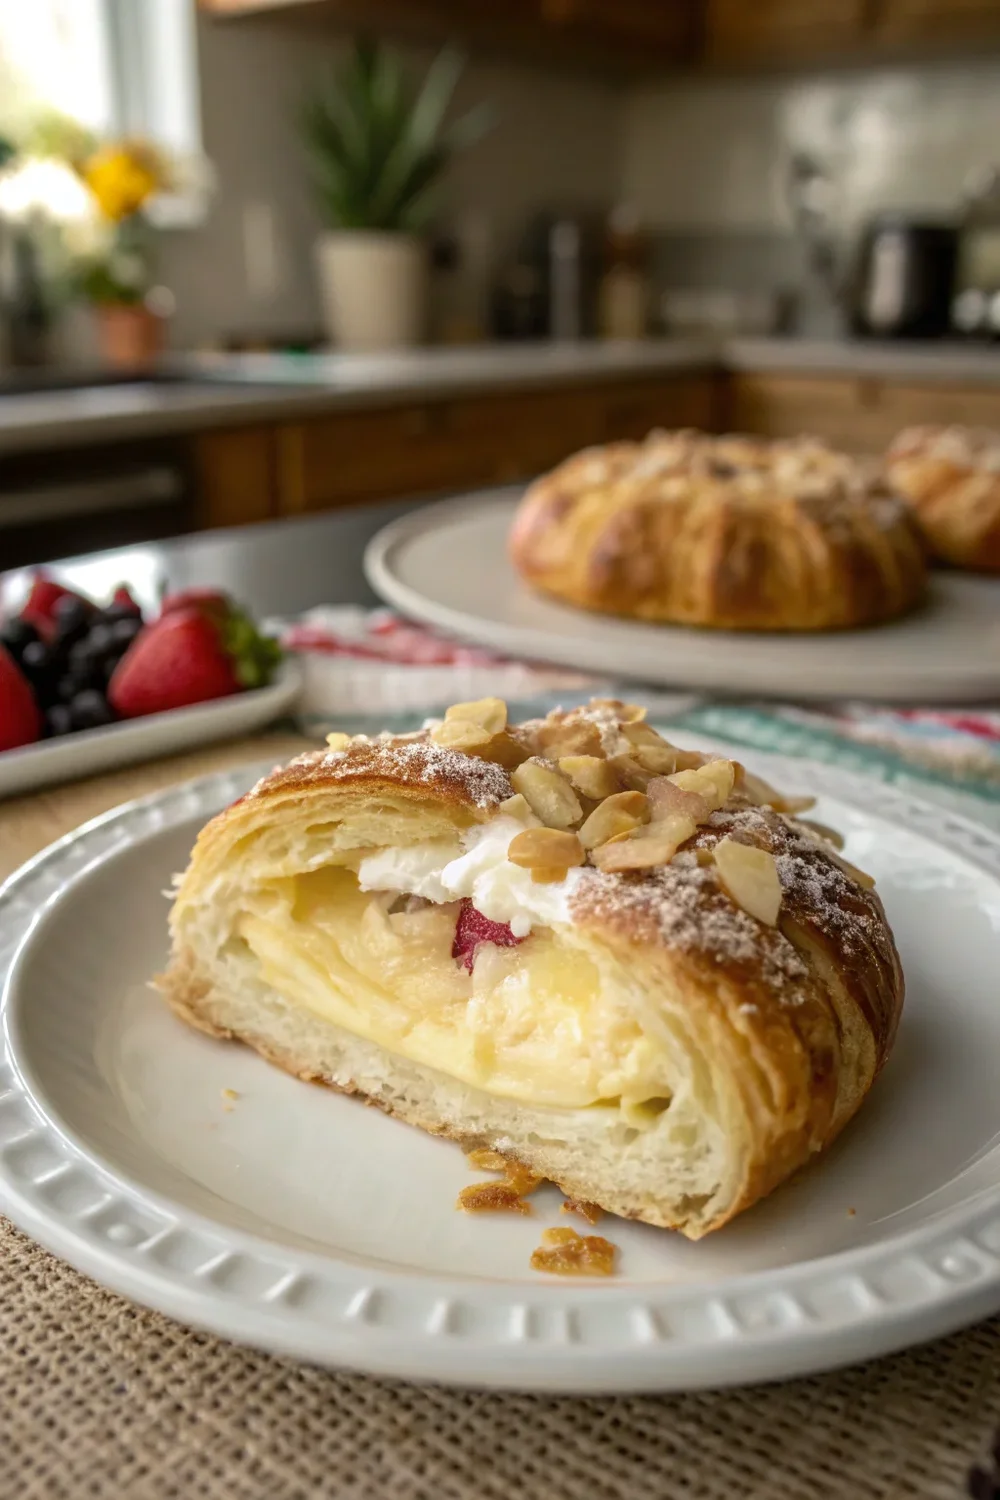
There’s a special kind of magic that happens when you gather around the kitchen table with family, and today, I’m excited to share a recipe that brings that magic to life — King’s Hawaiian Cheesecake Danish. Picture this: a warm, gooey danish filled with a creamy cheesecake mixture, nestled inside the softest, sweetest rolls you’ve ever tasted. Can you smell the sweet aroma of cinnamon and nutmeg wafting through the air? This recipe is more than just a treat; it’s a journey back to those comforting family breakfasts, where love was the main ingredient.
What makes this recipe so dear to my heart is its simplicity and the joy it brings when shared with loved ones. With just a handful of ingredients that you might already have in your pantry, you can create a deliciously nostalgic dessert that’s as delightful to make as it is to eat. Whether you’re a seasoned baker or just venturing into the world of homemade delights, this recipe is your ticket to crafting something truly special, without the fuss. And let’s not forget the smiles it’ll bring — from the first bite to the last crumb, it’s a dish that connects us to the warmth and love of home.
Why This Recipe Should Be on Your Table
- Nostalgic Delight: This recipe takes you back to those cherished childhood mornings with its sweet, creamy filling and soft, fluffy rolls. The combination of flavors and textures evokes memories of family gatherings and cozy breakfasts. The danishes have a way of making you feel like a kid again, carefree and surrounded by love and laughter.
- Simple Ingredients: With just a few pantry staples, you’re all set to create a dessert that tastes like it took hours to perfect. Ingredients like cream cheese, cinnamon, and nutmeg are items you likely have on hand, making this recipe both convenient and budget-friendly. You won’t have to make a special trip to the store, and you can whip up this delight on a whim whenever the craving strikes.
- Quick to Make: In under 30 minutes, you can whip up this delightful treat — perfect for when you need something sweet in a hurry. Whether you’re hosting a brunch or need a last-minute dessert, this recipe promises efficiency without compromising on taste. It’s a lifesaver for busy mornings and unexpected guests.
- Crowd-Pleaser: Whether it’s a family gathering or a casual brunch, these danishes are sure to impress and disappear quickly. Their appealing presentation and irresistible flavor make them an instant hit among guests of all ages. Kids love the sweetness, while adults appreciate the nostalgic flavors and the elegance they bring to the table.
- Versatile Treat: Enjoy it for breakfast, dessert, or a comforting snack anytime your heart desires a taste of home. These danishes fit seamlessly into any meal plan, offering a touch of sweetness whenever you need it. They’re the perfect pick-me-up during a long afternoon or a cozy end to a wonderful dinner.
Kitchen Tools to Make This Recipe Easy Peasy
- 9×13-inch baking dish: Perfect for holding the rolls and ensuring even baking. The size of the dish allows the rolls to expand while baking, ensuring they cook evenly and retain their fluffy texture. A good baking dish is crucial for achieving the perfect bake, and a glass or ceramic option works beautifully for this recipe.
- Measuring cup: Essential for mixing the buttery cinnamon sugar topping. Accurate measurements ensure the perfect balance of sweetness and spice. A glass measuring cup can also help with easy pouring over the rolls.
- Mixing bowls: Useful for stirring together the cream cheese mixture. A good set of bowls makes the preparation process smoother and more organized. Opt for stainless steel or glass bowls for easy cleaning and durability.
- Piping bag or zip-top bag: Makes filling the rolls with cheesecake mixture a breeze. This tool allows for precision and ease when adding the creamy filling into each roll. If you don’t have a piping bag, simply snip a corner off a zip-top bag for a homemade version.
- Instant-read thermometer: Handy to check when the danishes are baked to perfection. Ensures that you don’t over or underbake the rolls, achieving the ideal texture. A thermometer takes the guesswork out of baking, ensuring consistent results every time.
How to Make This Recipe Easy Peasy
Ingredients
- 1 tablespoon butter melted
- 12 pack Hawaiian sweet rolls
- ⅓ cup butter melted
- 2 tablespoons brown sugar
- ½ tablespoon ground cinnamon
- ⅛ teaspoon freshly grated nutmeg
- 8 ounces cream cheese
- 1 large egg, beaten
- 3 tablespoons granulated sugar
Instructions
- Preheat the oven to 375°F. Melt 1 tablespoon of butter and spread it evenly in a 9×13-inch baking dish. This initial layer of butter prevents sticking and adds extra flavor to the base of the rolls. A light, even coat will do the trick.
- Place the rolls over the butter. Cut an X into the rolls about ⅔s down but not completely through the bottom. This creates a perfect pocket for the cheesecake filling. Be gentle to avoid tearing the rolls completely.
- Stir together the ⅓ cup butter, brown sugar, nutmeg, and cinnamon in a measuring cup. Pour evenly over the rolls. This mixture will soak into the rolls, infusing them with a warm, spicy sweetness. Make sure every roll gets a generous helping.
- Stir the cream cheese until smooth, then mix in the sugar. Stir in the beaten egg until incorporated. This step creates a creamy, luscious filling that sets beautifully once baked. The smoother the mixture, the better it will fill the rolls.
- Fill the rolls with the cream cheese mixture using a piping bag or zip-top bag. This method ensures the filling is evenly distributed, providing a consistent taste in every bite. Fill each roll generously but avoid overfilling to prevent spills.
- Bake the rolls uncovered for 12 to 15 minutes. Allow to cool slightly before serving. This short baking time ensures the rolls are warm and gooey, with a golden-brown top. The aroma alone will have everyone eagerly awaiting a taste.
Difficulty: Easy • Cuisine: American • Preparation Time: 10 minutes • Cooking Time: 15 minutes • Total Time: 25 minutes • Calories: 250 • Servings: 12
Note: For a spicier kick, add a dash more cinnamon or nutmeg to the filling. This adjustment can cater to those who enjoy a stronger spice profile. Alternatively, a pinch of cardamom can add a unique twist.
Health and Flavor Benefits of Ingredients
Every bite of this King’s Hawaiian Cheesecake Danish is a delightful mix of flavors and textures, thanks to its simple yet flavorful ingredients. Hawaiian sweet rolls bring a soft, buttery base to the dish, while the cream cheese offers a rich, creamy filling that’s hard to resist. The addition of cinnamon and nutmeg not only enhances the flavor but also provides subtle health benefits, like aiding digestion and boosting metabolism. With each bite, you’re not just indulging in a treat — you’re savoring a blend of comforting flavors that remind us of simpler times. These spices, while small in quantity, pack a punch in terms of aroma and warmth, complementing the sweetness of the rolls and the richness of the cheesecake filling.
Nutmeg and cinnamon are known for their antioxidant properties, which can help reduce inflammation and contribute to overall health. Cream cheese, while decadent, provides a source of calcium and protein, making these danishes not just a treat for the taste buds but a satisfying snack that can keep you energized.
Tasty Pairings to Serve with This Easy Peasy Dish
Pair these delightful danishes with a cup of freshly brewed coffee or a frothy cappuccino for a perfect morning treat. The bitterness of the coffee perfectly balances the sweetness of the danishes. If you’re serving them as a dessert, consider adding a scoop of vanilla ice cream or a dollop of whipped cream on the side. For a more savory contrast, accompany your danishes with a plate of scrambled eggs or a light fruit salad — the possibilities are as endless as they are delicious. You could also serve them with a warm mug of spiced cider or hot chocolate for a cozy winter treat.
For a themed brunch, consider a spread that includes fresh berries, yogurt, and granola. The tartness of the berries and the creaminess of the yogurt contrast beautifully with the sweet and spicy notes of the danishes. The versatility of this dish makes it a wonderful addition to any meal, whether you’re looking to elevate a simple breakfast or add a sweet finish to a hearty dinner.
Storage Tips and How to Enjoy Leftovers the Easy Peasy Way
To keep your King’s Hawaiian Cheesecake Danish fresh, store any leftovers in an airtight container in the refrigerator. They’ll stay delicious for 3 to 4 days. When you’re ready to enjoy them again, simply pop them in the oven for a few minutes to warm them up, or give them a quick zap in the microwave. These danishes are perfect for a quick breakfast treat or a sweet snack on a busy afternoon, bringing back the same warmth and joy every time.
If you’re planning to store them for longer, consider freezing the danishes. Wrap each danish individually in plastic wrap and place them in a freezer-safe bag. They can be stored for up to a month. To reheat, let them thaw in the refrigerator overnight and warm them in the oven at a low temperature. This ensures they retain their original texture and flavor.
As we wrap up this cozy kitchen conversation, I hope you’re feeling inspired to bring a little bit of homemade magic into your home with this King’s Hawaiian Cheesecake Danish. Whether you’re sharing them with family or savoring a quiet moment alone, these danishes are a sweet reminder of the joy and love that comes from baking with heart. Until next time, happy cooking and may your kitchen always be filled with warmth and laughter.
Pin this Easy Peasy recipe!
Love this recipe? Pin the image below to your favorite Pinterest boards and bring a little Easy Peasy comfort to your kitchen whenever you need it.

King’s Hawaiian Cheesecake Danish
Ingredients
Equipment
Method
- Preheat the oven to 375°F. Melt 1 tablespoon of butter and spread it evenly in a 9×13-inch baking dish.
- Place the rolls over the butter. Cut an X into the rolls about ⅔s down but not completely through the bottom of the rolls.
- Stir together the ⅓ cup butter, brown sugar, nutmeg, and cinnamon. Pour evenly over the rolls.
- Stir the cream cheese until smooth. Stir in the sugar until smooth. Stir in the beaten egg until incorporated.
- Fill the rolls with the cream cheese mixture using a piping bag or a zip-top bag with a snipped end.
- Bake the rolls, uncovered, at 375°F for 12 to 15 minutes.
- Allow the rolls to cool for a couple of minutes before serving. Serve warm.