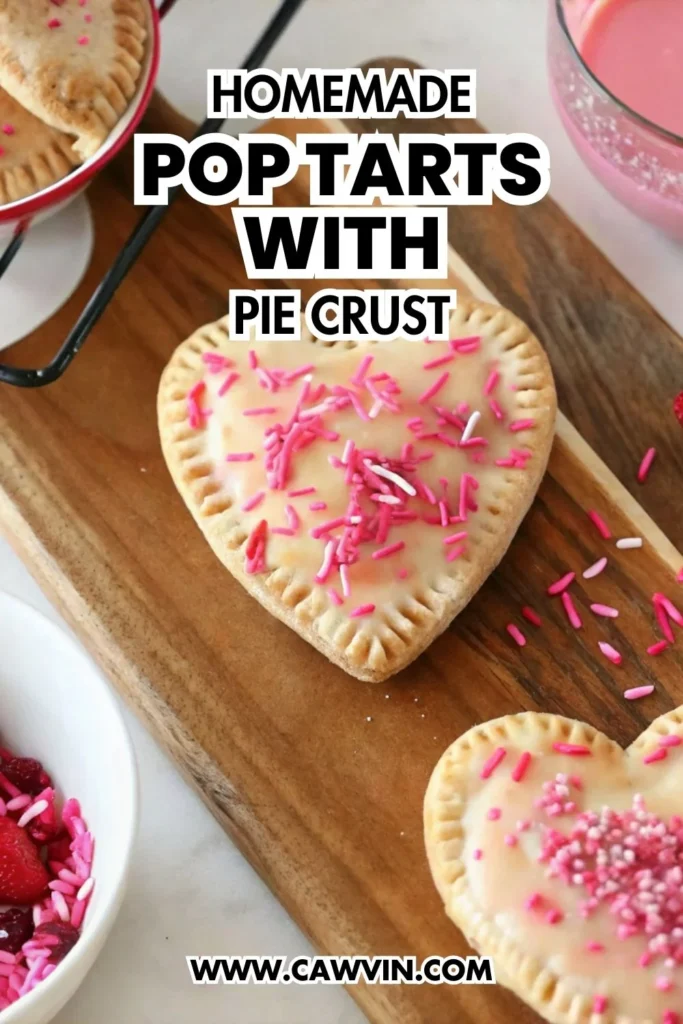
Homemade Pop Tarts with Pie Crust
Table of Contents
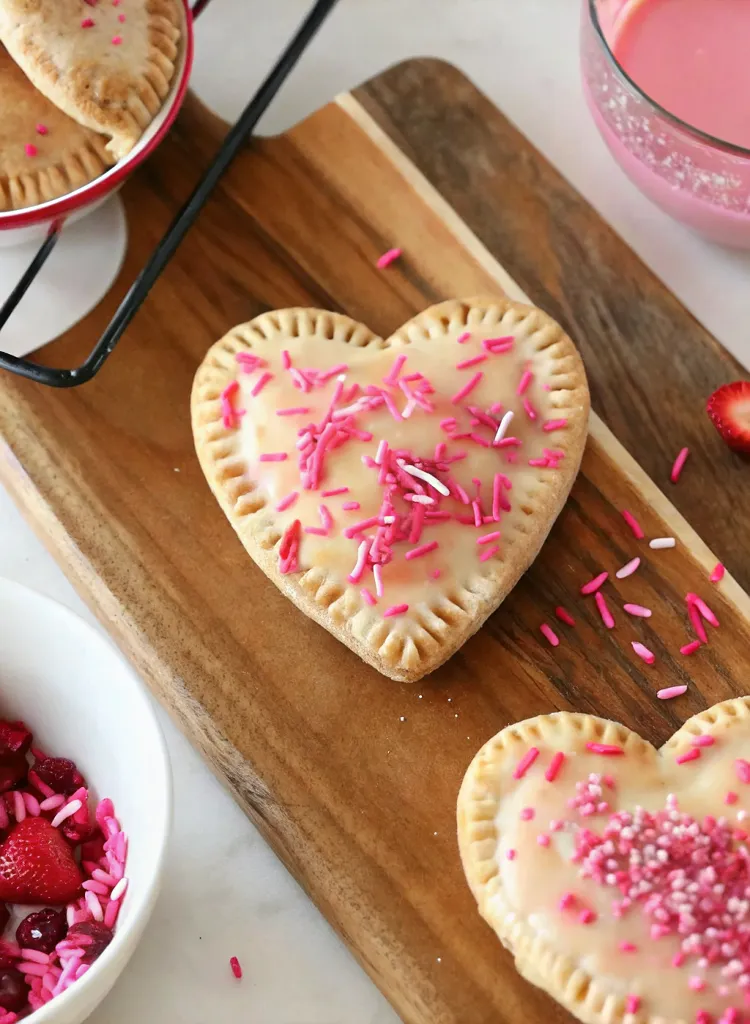
In the heart of every happy kitchen, there’s a recipe that wraps you in warmth and nostalgia, much like a cozy hug on a chilly morning. Today, we’re diving into a delightful treat that brings back the joyful simplicity of childhood — Homemade Pop Tarts with Pie Crust. Picture this: a tender, flaky crust enveloping sweet strawberry jam, topped with a charming pink icing and colorful sprinkles. It’s not just a pop tart; it’s a bite of love, reminiscent of those cherished moments when you could hardly wait for breakfast. Let’s recreate that magic together, shall we?
Imagine the smiles on your family’s faces when they wake up to the aroma of these homemade pop tarts baking in the oven. Or the joy of sharing these with friends over a cup of tea, reminiscing about the good old days. With every bite, you are not just savoring a delicious treat but also indulging in the comfort and happiness of homemade goodness.
Why make homemade pop tarts? For starters, they’re a breeze to prepare. Even if you’ve never baked before, this recipe will guide you effortlessly. Secondly, the ingredients are simple and probably already in your kitchen. Thirdly, you can customize them to your heart’s content, experimenting with different jams and toppings. Lastly, these pop tarts are the perfect weekend baking project to involve little ones, sparking creativity and making memories together. So, roll up your sleeves, and let’s bake some love into these pop tarts!
Why This Recipe Should Be on Your Table
These Homemade Pop Tarts with Pie Crust aren’t just a treat; they’re a celebration of everything we love about simple, home-cooked meals. They bring a sense of nostalgia, reminding us of childhood breakfasts—those carefree mornings filled with joy and anticipation. The recipe is approachable for cooks of all levels, letting everyone experience the joy of baking without any stress. Whether you’re a seasoned baker or a newbie in the kitchen, you’ll find that these pop tarts come together with ease.
Plus, they’re easily customizable, allowing you to add your favorite fillings and decorations. From classic strawberry to tangy raspberry or even a rich chocolate spread, the possibilities are endless. Lastly, they bring families together, making them perfect for shared weekend activities. Gather your loved ones, and let each person try their hand at decorating their own pop tart. It’s an activity that’s sure to spark laughter and creativity.
Kitchen Tools to Make This Recipe Easy Peasy
To make these delightful pop tarts, you’ll need a few basic kitchen tools that you probably already have. A rolling pin is essential for rolling out any extra dough, ensuring your pop tarts have that perfect thickness for a light, flaky texture. A heart-shaped cookie cutter adds a touch of whimsy, but any shape will do, allowing you to customize these treats for any occasion. A baking sheet lined with parchment paper ensures even baking and easy cleanup, preventing the pop tarts from sticking and making your life much easier.
A small bowl is handy for beating the egg and mixing the icing. You’ll appreciate having a dedicated space to mix these components, ensuring everything is prepared smoothly and efficiently. Lastly, a wire rack is perfect for cooling your pop tarts to perfection. Allowing them to cool evenly helps maintain their texture and prepares them for that final layer of icing.
How to Make This Recipe Easy Peasy
INGREDIENTS
- 2 Refrigerated Premade Pie Crusts (at room temperature)
- Strawberry Jam
- 1 Egg
Icing:
– 1/2 Cup of Confectioners Sugar
– 2 Tbsp of Milk
– 1/2 Tsp of Vanilla Extract
– 1 Drop of Red Food Coloring
– Sprinkles
INSTRUCTIONS
- Preheat oven to 400°F.
- On a baker’s mat, parchment paper, or a counter with flour, unroll the premade pie crust. This step is crucial for keeping the dough from sticking and maintaining a smooth surface for cutting.
- Using a heart cookie cutter, cut heart-shaped pieces and place them onto a parchment-lined cookie sheet. Rotate the cutter to maximize cuts. Knead remaining pie crust, roll it to about 1/8 inch thick, and cut the remaining hearts. This ensures you use every bit of dough, minimizing waste.
- On half the hearts, place one tablespoon of jam in the center. Be careful not to overfill to avoid leaks during baking.
- In a small bowl, beat an egg for your egg wash. Brush the inside edges of your heart. This acts as a glue, helping the top and bottom pieces adhere.
- Place a heart cutout on top and seal the edges with your finger. Use a fork to crimp the edges around the heart. This not only seals the pop tarts but also gives them a classic, rustic look.
- Use the fork to poke holes into the top of the pop tart to release steam. Brush with the egg wash. This helps achieve a golden-brown finish while preventing the pop tarts from puffing up too much.
- Bake at 400°F for 10-12 minutes. Keep an eye on them; they should be just turning golden brown.
- Cool on a wire rack. This prevents them from becoming soggy and prepares them for icing.
- While cooling, make the icing. Whisk together confectioner’s sugar, milk, and vanilla. Once smooth, add one drop of red food coloring for a charming pink hue.
- Using a spoon, add icing to the top of the pop tart. Smooth it out with the back of the spoon or a small spatula. Top with red and pink sprinkles for a festive touch.
Difficulty: Easy • Cuisine: American • Preparation Time: 10 minutes • Cooking Time: 12 minutes • Total Time: 22 minutes • Calories: 250 • Servings: 8
Note: Feel free to use other jams or fillings like Nutella or peanut butter for a fun twist! This recipe is a canvas, open to your imagination and taste preferences.

Health and Flavor Benefits of Ingredients
The beauty of these homemade pop tarts lies in their simplicity. The pie crust provides a buttery, flaky texture, a wonderful base for any filling. It’s a versatile ingredient that complements both sweet and savory flavors, offering a satisfying crunch followed by a tender bite.
Strawberry jam, rich in flavor and naturally sweet, is not only delicious but also brings a touch of fruitiness that complements the crust perfectly. Opt for a high-quality jam to ensure the best flavor.
Eggs are a great source of protein and help give the pop tarts a beautiful golden finish. They’re a staple in baking, serving multiple purposes from binding to glazing.
The icing, while indulgent, can be adjusted to your preferred sweetness level, allowing you to control how much sugar you wish to use. Confectioners sugar provides a smooth consistency, while vanilla extract enhances the overall flavor profile with its warm, aromatic notes.
Tasty Pairings to Serve with This Easy Peasy Dish
These pop tarts are a treat all on their own, but they pair wonderfully with a few simple additions. Serve them with a side of fresh fruit for a balanced breakfast—berries, bananas, or sliced apples work beautifully to complement the flavors.
A dollop of whipped cream or a scoop of vanilla ice cream turns them into a delightful dessert. The cold creaminess contrasts with the warm, flaky pastry, creating a harmonious balance that’s hard to resist.
For a cozy morning, enjoy them with a warm cup of coffee or tea. The rich, robust flavors of coffee or the soothing notes of tea enhance the sweetness of the pop tarts, creating a comforting start to your day. They also make a lovely addition to a brunch spread, alongside scrambled eggs and bacon, offering both sweet and savory options.
Storage Tips and How to Enjoy Leftovers the Easy Peasy Way
Storing these homemade pop tarts is simple. Once they’re completely cooled, place them in an airtight container and store them at room temperature for up to two days. This keeps them fresh and ready to enjoy whenever you like.
For longer storage, keep them in the fridge for up to a week. They’ll maintain their flavor and texture, making them a convenient option for a quick breakfast or snack.
To enjoy them warm, simply pop them in the toaster or microwave for a few seconds. This refreshes the pastry, making it taste as if it were freshly baked.
You can also freeze them for up to a month; just thaw overnight in the fridge and reheat before serving. This makes them a great make-ahead option, perfect for busy mornings or when you’re craving a homemade treat.
Closing your eyes and taking a bite of these homemade pop tarts transports you back to simpler times, evoking cherished memories of leisurely mornings and family breakfasts. The joy of creating something delicious from scratch is a gift, one that fills both the heart and the stomach. As you enjoy these pop tarts, may you find comfort in the familiar flavors and the knowledge that you’ve crafted something beautiful with love.
Pin this Easy Peasy recipe!
Love this recipe? Pin the image below to your favorite Pinterest boards and bring a little Easy Peasy comfort to your kitchen whenever you need it.

Homemade Pop Tarts with Pie Crust
Ingredients
Equipment
Method
- Preheat oven to 400°F.
- On a bakers mat, parchment paper or a counter with flour unroll the premade pie crust.
- Using a heart cookie cutter start cutting heart shaped pieces and place them onto a parchment lined cookie sheet. You will want to rotate your cookie cutter to get as many cuts as possible out of your pie crust. Knead remaining pie crust and roll it out to about 1/8 inch thick and cut the remaining hearts.
- On half the hearts place one tablespoon of jam in the center of the heart. It does not need to be perfectly spread. It will even out when baking.
- In a small bowl beat an egg for your egg wash. Brush the inside edges of your heart.
- Place a heart cut out on top. Now seal the edges together with your finger. Then use a fork and press down to crimp the edges around the whole heart.
- Use the fork to poke some holes into the top of the pop tart to release steam. Brush the pop tarts with the egg wash.
- Bake at 400°F for 10-12 minutes.
- Cool on a wire rack.
- While cooling make the icing. Whisk together confectioner’s sugar, milk and vanilla. Once the consistency is smooth add one drop of red food coloring.
- Using a spoon add icing to the top of the pop tart. Use the back of the spoon or a small spatula to smooth it out. Top with red and pink sprinkles.