Easter Bunny Button Cookies
Table of Contents
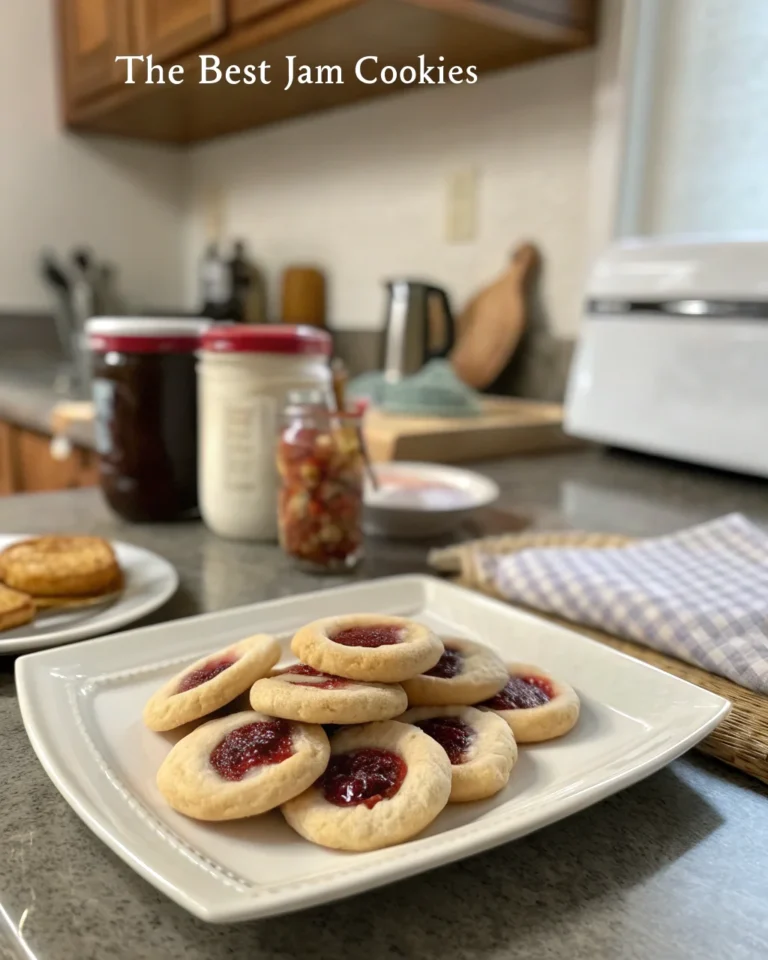
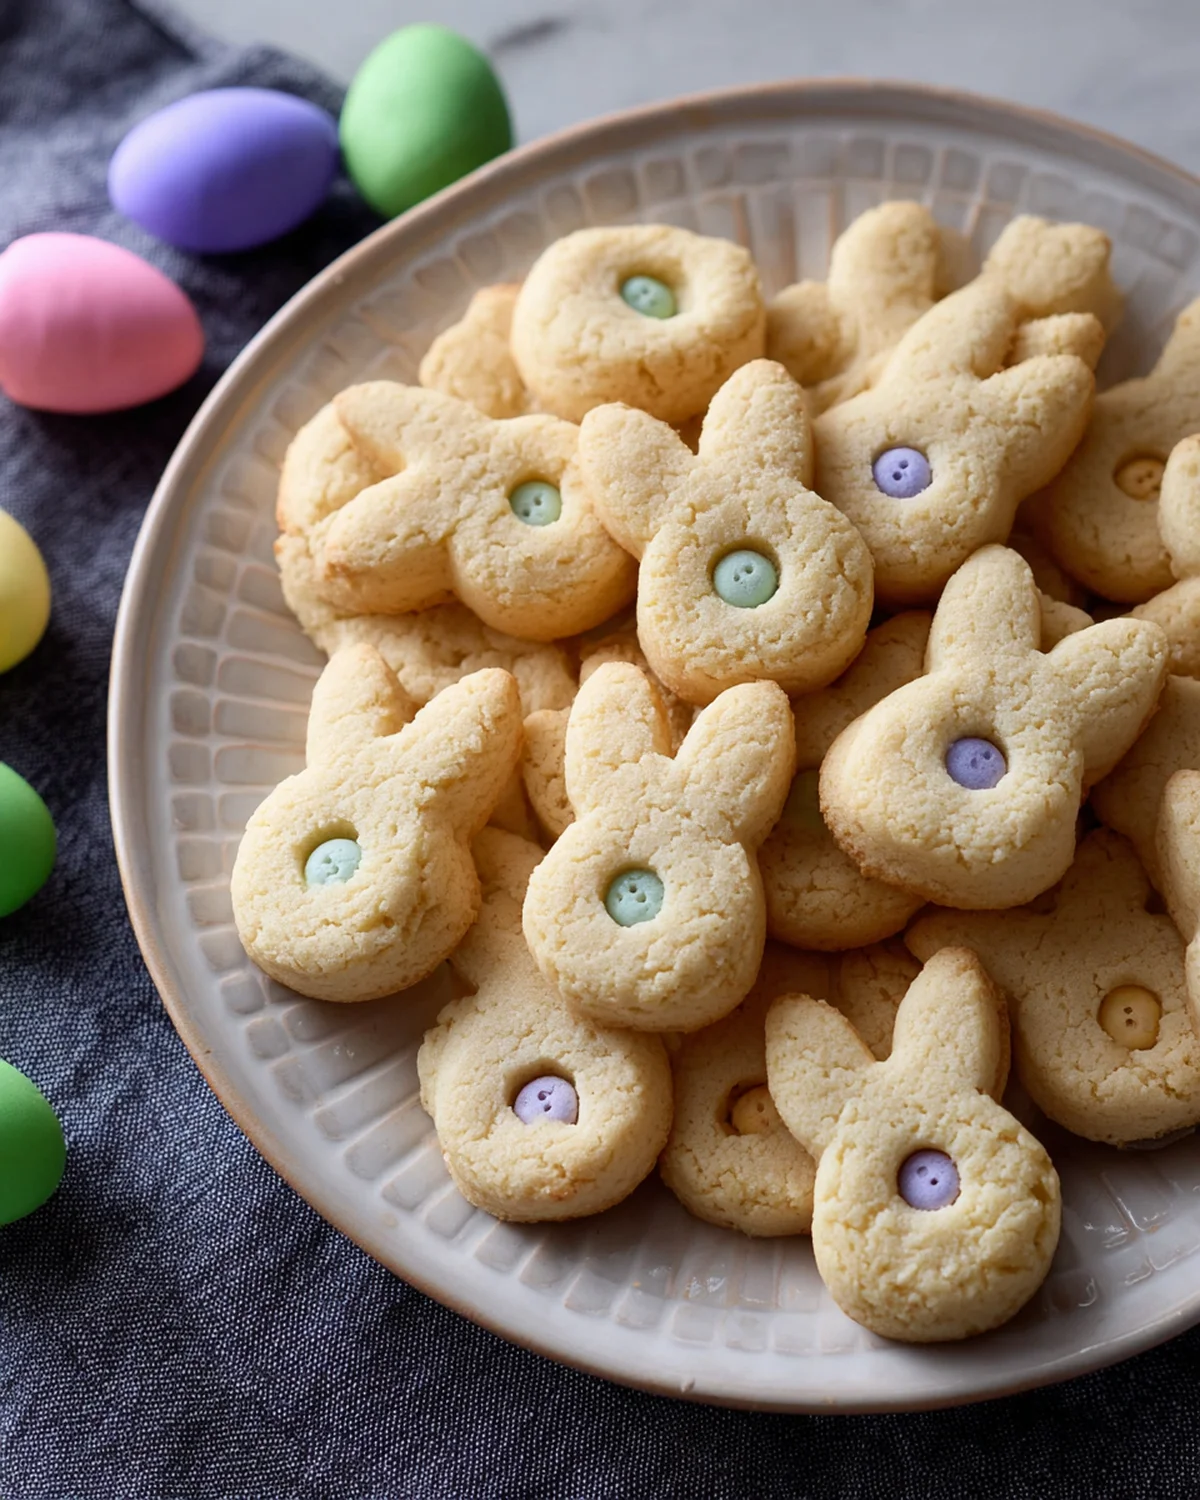
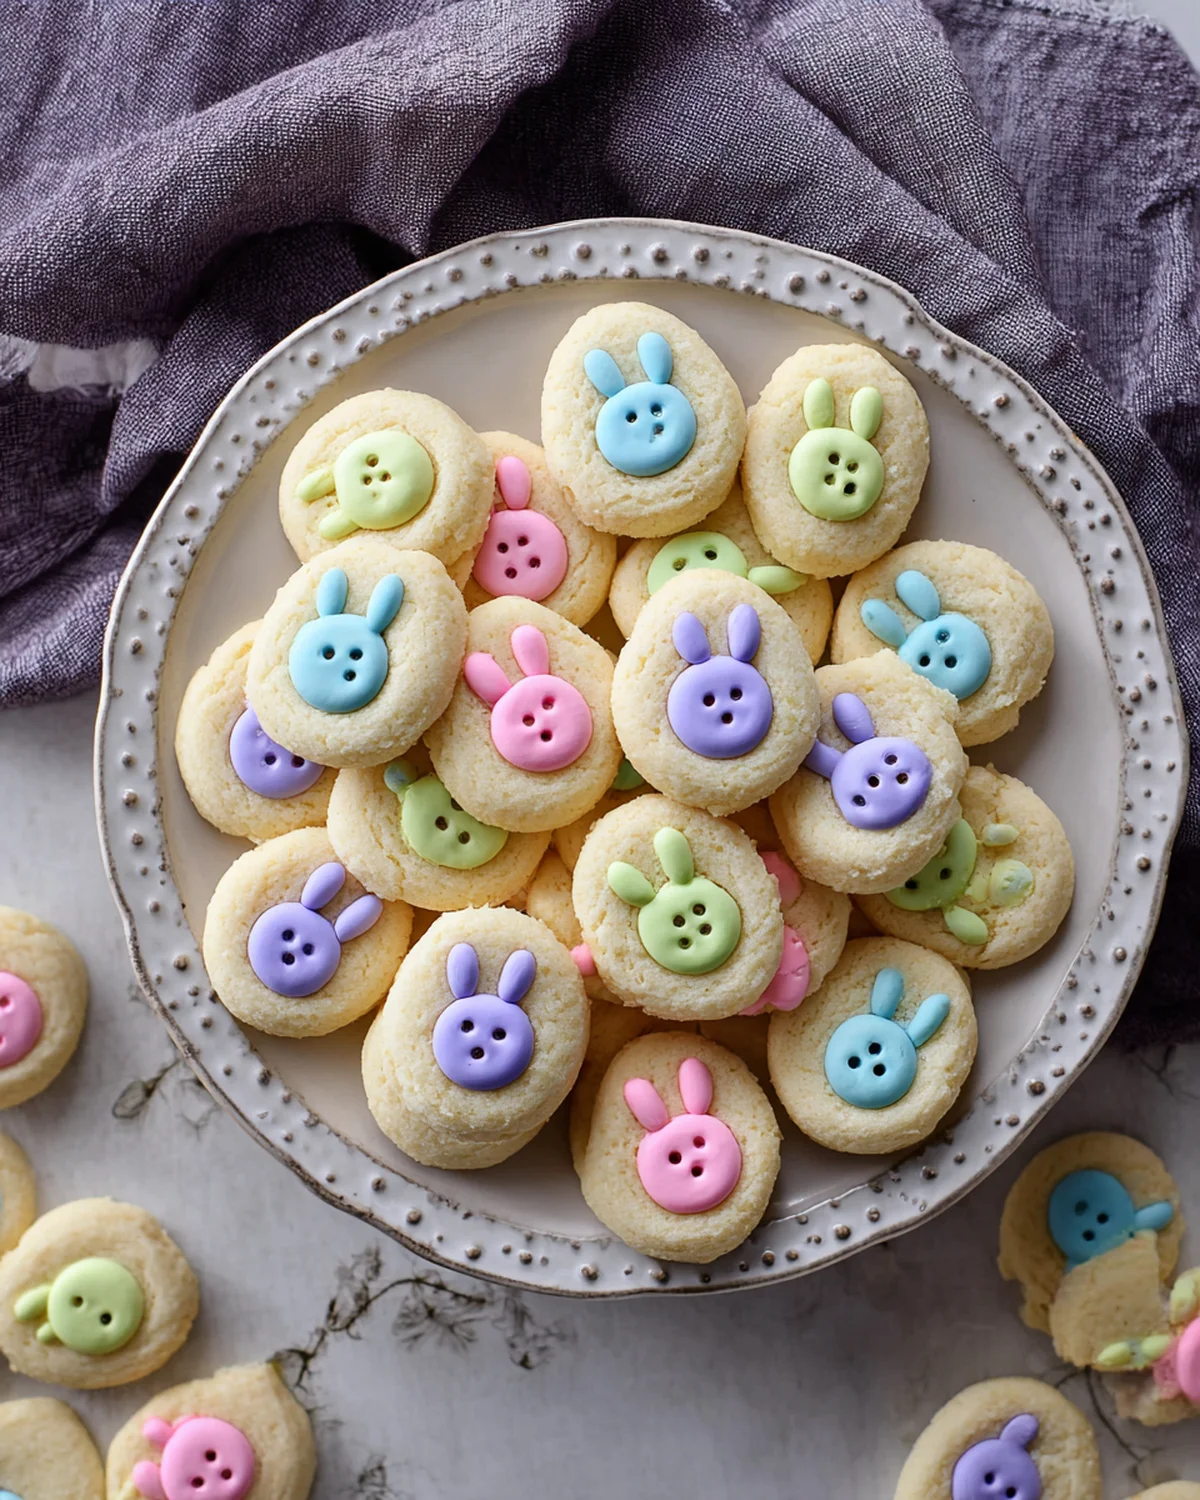
Easter at my house has always been a treasure trove of memories — pastel colors, the delightful scent of fresh-baked cookies wafting through the kitchen, and the sound of children’s laughter as they hunt for hidden treats. One of my cherished Easter traditions is baking these adorable Easter Bunny Button Cookies. With their cheerful candy center and sugar-crusted edges, they bring a smile to faces young and old alike. These cookies are not just a delight to the taste buds but a joyful experience that brings the family together in the heart of the home — the kitchen.
Baking these cookies is like a gentle walk down memory lane. I remember my own childhood, eagerly helping my mom mix the dough, my hands covered in flour, and stealing an M&M or two when she wasn’t looking. This recipe embodies that same spirit of nostalgia; it’s simple enough for little helpers to join in and feel the pride of creating something delightful. Plus, there’s a certain magic in the way these cookies come together so quickly — perfect for busy holidays when time is of the essence but love is abundant.
For me, the real charm of these cookies is in their versatility. You can make them ahead of time, so they’re ready to go when guests arrive. They’re also a convenient treat to take along to Easter gatherings or to share with neighbors as a sweet springtime gesture. And let’s not forget the colorful candies at the center — they add a pop of color that’s as bright and cheerful as a sunny spring day.
Why This Recipe Should Be on Your Table
These Easter Bunny Button Cookies bring a whimsical twist to your dessert table, perfect for gatherings or as a special treat at home. Here’s why they deserve a spot on your table:
Kid-Friendly Fun: These cookies are a fantastic way to get the kids involved in the kitchen, sparking creativity and fun as they press those colorful M&Ms into the dough. Enlist their help in rolling the dough into balls and dipping them in sugar — a task that little hands often find delightful.
Quick and Easy: With a prep time of just 15 minutes, these cookies are perfect for busy holiday schedules, allowing you to enjoy more time with family. It’s a straightforward recipe that doesn’t require any complicated steps or specialized techniques.
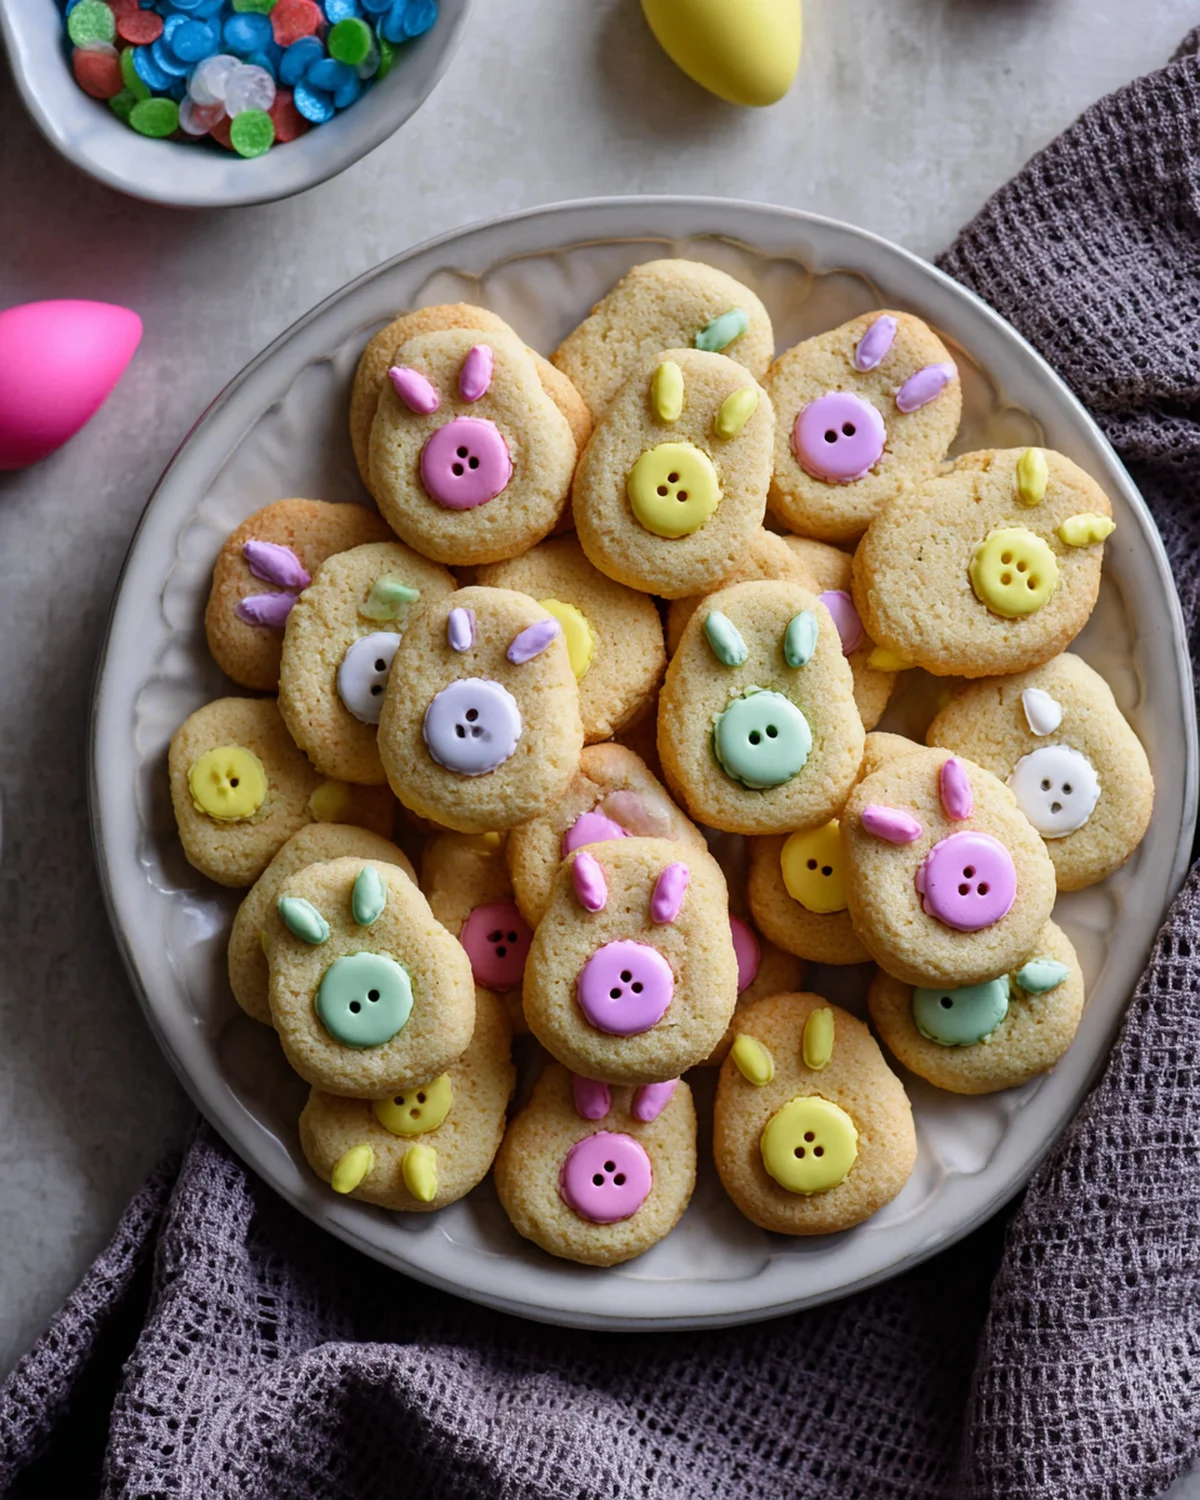
Festive and Cheerful: The vibrant M&M centers add a touch of festive cheer, making these cookies a visual delight for any celebration. Their bright colors can be customized to match the holiday theme, using pastel M&Ms for Easter or even red and green for Christmas.
Make-Ahead Marvels: Bake them in advance, and they’ll stay fresh for days, making them perfect for planning your Easter menu ahead of time. You can store them in airtight containers and they will maintain their crisp exterior and soft interior.
Versatile Treat: Whether you’re hosting a brunch or attending a potluck, these cookies are a crowd-pleaser that fits any occasion. Their simple yet delicious flavor profile appeals to both adults and kids alike, making them a universally accepted treat.
Kitchen Tools to Make This Recipe Easy Peasy
To whip up these delightful bites, you won’t need much — just a few trusty kitchen tools, much like the ones my grandma used when teaching me the joy of homemade snacks.
Mixing Bowl: Essential for combining all the ingredients into a smooth dough. Opt for a large enough bowl to prevent any spills as you mix.
Hand-Held Mixer: Helps achieve a light and fluffy texture for your butter and sugar mixture. A stand mixer will work just as well if you prefer a hands-free option.
Baking Sheet: Perfect for baking your cookies evenly, ensuring a golden finish. It’s a good idea to use heavy-duty baking sheets to avoid warping at high temperatures.
Parchment Paper or Silicone Baking Mat: Keeps the cookies from sticking and makes cleanup a breeze. These are preferable to greasing the pan, as they help the cookies retain their shape and prevent spreading too much.
Wire Cooling Rack: Allows cookies to cool evenly, maintaining their delightful texture. Cooling racks ensure that air circulates around the cookies, preventing them from becoming soggy.
How to Make This Recipe Easy Peasy
Ingredients
- 1 cup butter, softened
- 2/3 cup sugar
- 2 large egg yolks
- 1 teaspoon vanilla extract
- 2 1/3 cups all-purpose flour
- 1/2 cup sanding sugar
- 1/2 cup chocolate M&M candy
Instructions
- Preheat oven to 350 degrees. Line a baking sheet with parchment paper or a silicone baking mat. Set aside.
- In a mixing bowl, use a hand-held mixer to beat together the butter and sugar until light and fluffy. This step is crucial for creating the right texture, so take your time to ensure the mixture is well-aerated.
- Add in the egg yolks and vanilla extract. Beat to combine. The yolks not only contribute to the flavor but also help bind the dough together.
- Add the flour and mix into the butter mixture until just combined. Don’t overmix. Overworking the dough can lead to tough cookies.
- Portion into one teaspoon and roll into balls. Roll each ball into the sanding sugar and place on the prepared baking sheet. The sugar coating gives the cookies a delightful crunch and shimmer.
- Push a M&M candy into the center of the cookie. This step is perfect for little helpers, allowing them to express creativity with color selection.
- Bake for 10 minutes. Remove from oven and allow cookie to cool on the baking sheet for 3-5 minutes. Transfer the cookies to a wire cooling rack to finish cooling. The short cooling period on the baking sheet allows the cookies to firm up slightly, ensuring they don’t break when transferred.
Difficulty: Easy • Cuisine: American • Preparation Time: 15 minutes • Cooking Time: 10 minutes • Total Time: 25 minutes • Calories: 88 kcal • Servings: 1 serving
Note: For a fun twist, try using pastel-colored M&Ms for a more vibrant Easter look. You can also experiment with different flavors of M&Ms to customize the taste to your liking.
Health and Flavor Benefits of Ingredients
These Easter Bunny Button Cookies not only promise delightful flavors but also come with some surprising benefits:
Butter: Provides rich flavor and a creamy texture that makes these cookies melt in your mouth. Butter is also an excellent source of vitamin A, important for vision and immune function.
Egg Yolks: Add a rich, velvety texture while also providing essential nutrients like vitamin D and choline, which are beneficial for brain health.
All-Purpose Flour: Offers a neutral base that allows the cookie’s other flavors to shine through. It’s versatile and easy to work with, ensuring the cookies have the perfect structure.
M&M Candy: Adds a sweet and colorful touch, making these cookies irresistibly festive. While they contribute to the fun factor, they also add a bit of crunch and chocolatey surprise.
Tasty Pairings to Serve with This Easy Peasy Dish
These cookies are versatile companions to various beverages and dishes, making them perfect for any occasion:
Hot Chocolate: The creamy texture and warmth of hot chocolate complement the sweet and buttery notes of the cookies perfectly. Add a dash of cinnamon to your hot chocolate for an extra flavor dimension.
Tea: A light herbal or chamomile tea balances the sweetness and offers a refreshing contrast. The floral notes of chamomile enhance the vanilla in the cookies.
Milk: Classic and always a favorite, especially loved by kids who enjoy dunking their cookies. A glass of cold milk can enhance the cookie’s flavors, making each bite more enjoyable.
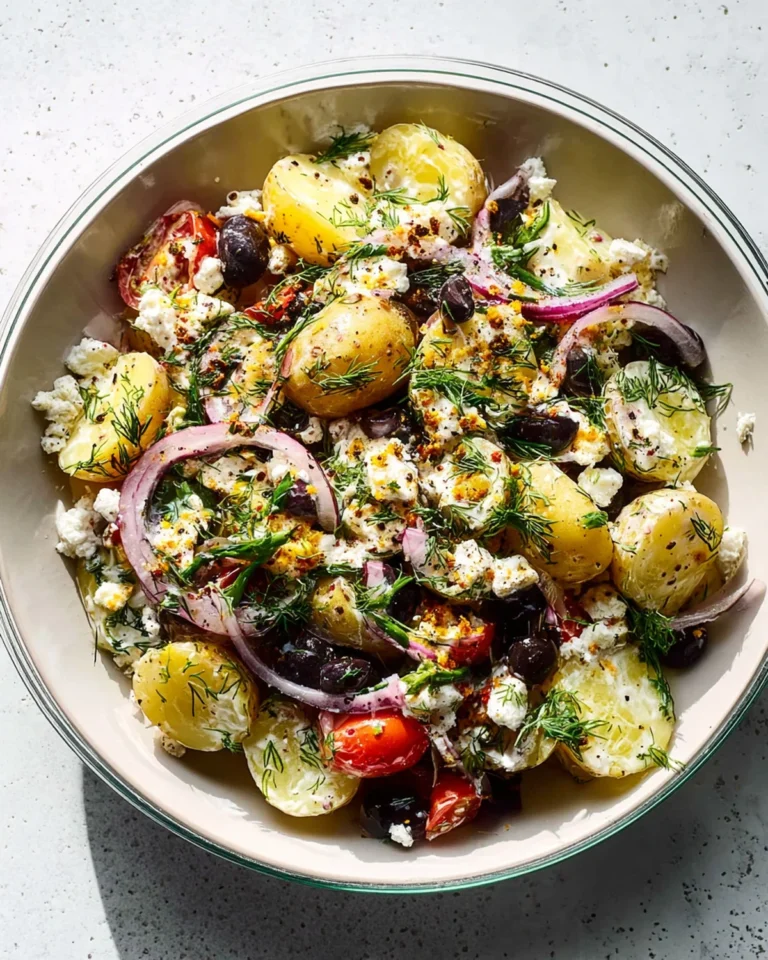
Fruit Salad: A fresh fruit salad can add a refreshing contrast and a pop of color to your dessert table. The natural sweetness of fruits like berries or melon pairs beautifully with the cookies.
Storage Tips and How to Enjoy Leftovers the Easy Peasy Way
Store your Easter Bunny Button Cookies in an airtight container at room temperature. They’ll stay fresh for up to a week, maintaining their delightful texture and flavor. If you find yourself with leftovers (though that rarely happens in my house!), these cookies are perfect for sharing with friends or packing in lunchboxes for a sweet midday treat. For a little variety, you can crumble them over a scoop of ice cream or yogurt for a delightful dessert topping.
As the scent of freshly baked cookies fills your kitchen, remember that homemade cooking is more than just making food — it’s about creating memories. These Easter Bunny Button Cookies are a testament to the timeless joy of baking, where every step, from mixing to baking, is an opportunity to share laughter and love. So gather your loved ones, roll up your sleeves, and let the simple pleasure of baking together bring warmth and joy to your home this Easter season.
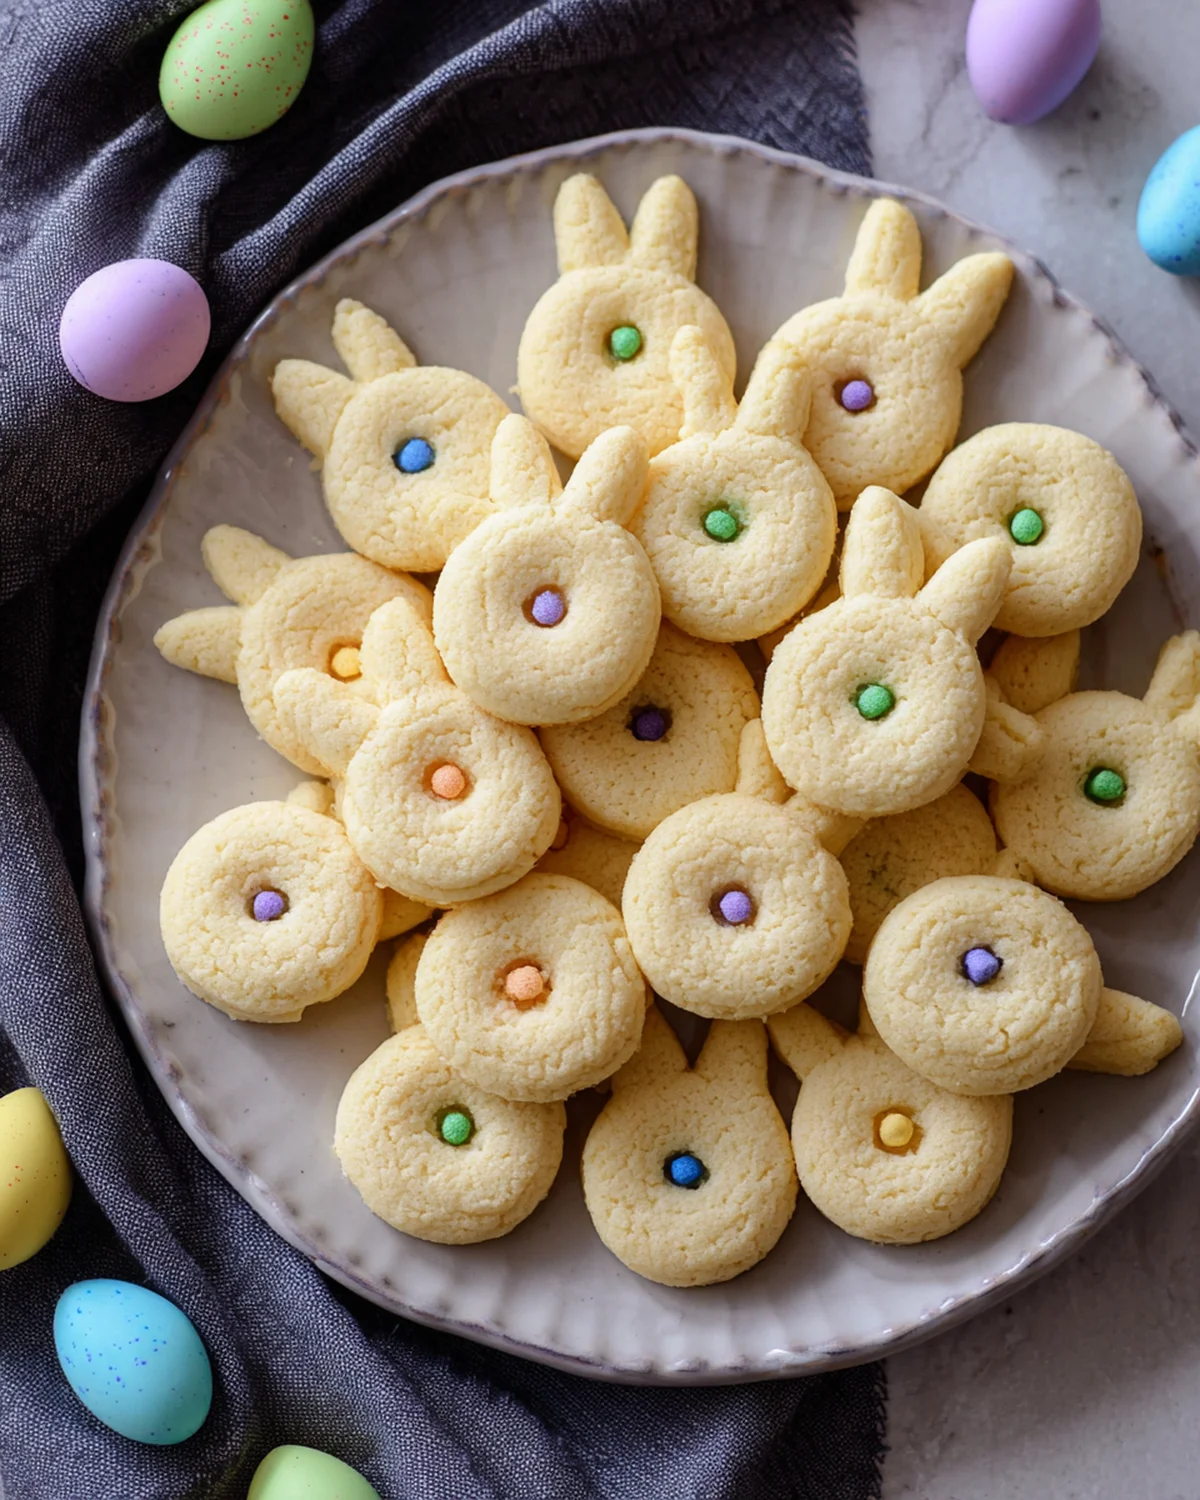
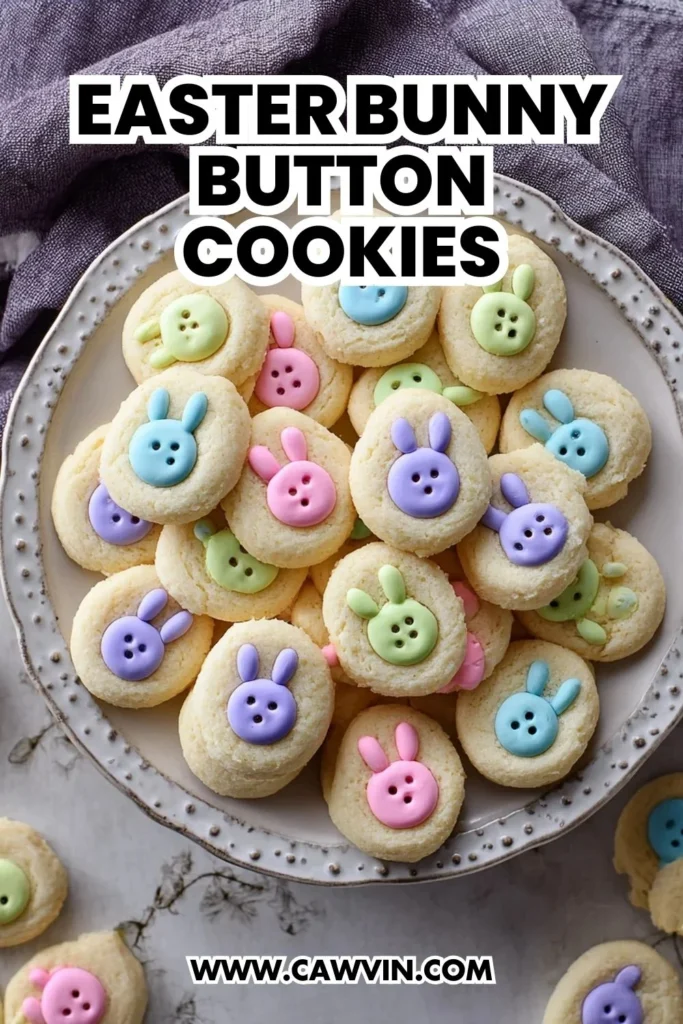
Pin this Easy Peasy recipe!
Love this recipe? Pin the image below to your favorite Pinterest boards and bring a little Easy Peasy comfort to your kitchen whenever you need it.

Easter Bunny Button Cookies
Ingredients
Equipment
Method
- Preheat oven to 350 degrees. Line a baking sheet with parchment paper or a silicone baking mat. Set aside.
- In a mixing bowl, use a hand-held mixer to beat together the butter and sugar until light and fluffy.
- Add in the egg yolks and vanilla extract. Beat to combine.
- Add the flour and mix into the butter mixture until just combined. Don’t over mix.
- Portion into one teaspoon and roll into balls. Roll each ball into the sanding sugar and place on the prepared baking sheet.
- Push a M&M candy into the center of the cookie.
- Bake for 10 minutes. Remove from oven and allow cookie to cool on the baking sheet for 3-5 minutes. Transfer the cookies to a wire cooling rack to finish cooling.