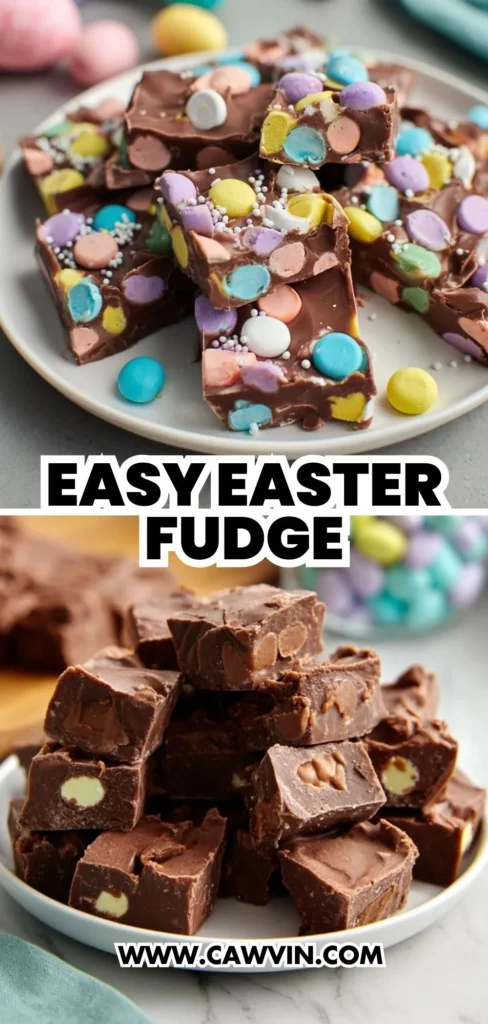
Easy Easter Fudge
Table of Contents
As the soft pastel colors of spring begin to sweep across the landscape, my heart is drawn back to warm kitchen memories filled with laughter and the sweet aroma of something delightful baking in the oven. Easter, in particular, brings a sense of joy and tradition, and nothing captures this essence quite like our Easy Easter Fudge. This recipe is more than just a treat; it’s a slice of nostalgia, reminiscent of those childhood days spent eagerly waiting for the Easter bunny. Imagine sinking your teeth into a rich, chocolatey bite, only to discover the playful crunch of mini candy-coated eggs nestled within. It’s the simplicity of homemade goodness that brings families together, evoking smiles and sweet moments shared. The best part? This fudge is as quick to make as it is delicious, perfect for bringing a little Easter magic into your home with ease.
Why This Recipe Should Be on Your Table
These Easy Easter Fudge treats bring a unique twist to traditional desserts, making them a delightful addition to any gathering or a special treat for yourself. Here’s why they deserve a spot on your table:
Nostalgic Delight: This fudge brings back cherished memories of Easter egg hunts and family gatherings, wrapped in a deliciously sweet package. The sight of colorful eggs peeking out of rich chocolate is enough to light up any Easter table. The vibrant colors and festive look of these treats are a nod to the joy and excitement of Easter mornings, creating a connection between past celebrations and present ones.
Effortless Enjoyment: With minimal prep time and a straightforward method, you’ll spend less time in the kitchen and more time enjoying the company of loved ones. Just a few minutes in the microwave, and your fudge is almost ready to delight your taste buds. This ease allows you to focus on setting up other parts of your Easter celebration or simply relax and enjoy the day.
Versatile Treat: Perfect for Easter celebrations, they also make a wonderful homemade gift or a fun surprise in your kids’ lunchboxes. Their vibrant appearance and delightful taste make them an instant hit at parties and gatherings. You can package them in colorful bags or boxes tied with ribbons for a personal touch, making them an excellent choice for hostess gifts or party favors.
Kid-Friendly: Little ones will love the colorful candy eggs and marshmallowy goodness, making it a hit with the entire family. Plus, it’s an excellent recipe to involve kids in the kitchen — they can help with stirring or placing the candy eggs. This involvement can turn the preparation into a fun family activity, building anticipation and excitement as they wait for the fudge to set.
Impressive Yet Simple: Despite its easy preparation, this fudge looks and tastes like a gourmet treat, sure to impress your guests. It’s a fantastic way to show off your culinary skills with minimal effort. The glossy chocolate and perfectly set fudge make it seem like a dessert that took hours to prepare, leaving your guests guessing your secret.
Kitchen Tools to Make This Recipe Easy Peasy
To whip up these delightful bites, you won’t need much — just a few trusty kitchen tools, much like the ones my grandma used when teaching me the joy of homemade snacks.
Microwave-Safe Bowl: Essential for melting the chocolate and sweetened condensed milk smoothly. A bowl with a handle can be helpful for easier handling when removing it from the microwave. Ensure the bowl is large enough to accommodate all ingredients without overflowing, as stirring can cause splashes.
Stirring Spoon or Spatula: For mixing the ingredients evenly without overworking the marshmallows. A silicone spatula is particularly useful as it can scrape every bit of chocolate from the sides of the bowl. This tool helps ensure you don’t waste any of the delicious mixture and makes for easy cleanup.
8 x 8-Inch Pan: The perfect size for setting the fudge, ensuring each piece is just the right thickness. A glass or metal pan works well, but avoid using a pan with a non-stick coating if you’re using a knife to cut the fudge. The size of the pan also ensures that the fudge is evenly thick, providing a consistent bite with each piece.
Waxed or Parchment Paper: Lining the pan makes for easy removal and clean-up. It prevents the fudge from sticking to the pan and makes slicing and serving a breeze. This step is crucial for maintaining the shape and integrity of each fudge piece, making them look as good as they taste.
Measuring Cups: To ensure the perfect ratio of ingredients for that ideal balance of flavors and textures. Accurate measurements mean consistent results every time. Ensuring the right balance of ingredients is key to achieving the perfect fudgy texture and rich flavor.
How to Make This Recipe Easy Peasy
Ingredients
- 12 oz bag chocolate chips
- 14 oz can sweetened condensed milk
- 1 1/2 cups marshmallows
- 1 1/3 cups mini candy-coated chocolate eggs (about a 10oz bag)
- 1 teaspoon vanilla (optional)
Instructions
In a microwave-safe bowl, add chocolate chips and pour sweetened condensed milk over them. Microwave on high for 2 1/2 to 3 minutes. This step melts the chocolate without burning it, ensuring a smooth, silky base for the fudge.
Stir the hot chocolate and sweetened condensed milk until smooth. The mixture should be glossy and lump-free. Stirring vigorously helps combine the ingredients thoroughly, creating a rich and cohesive base.
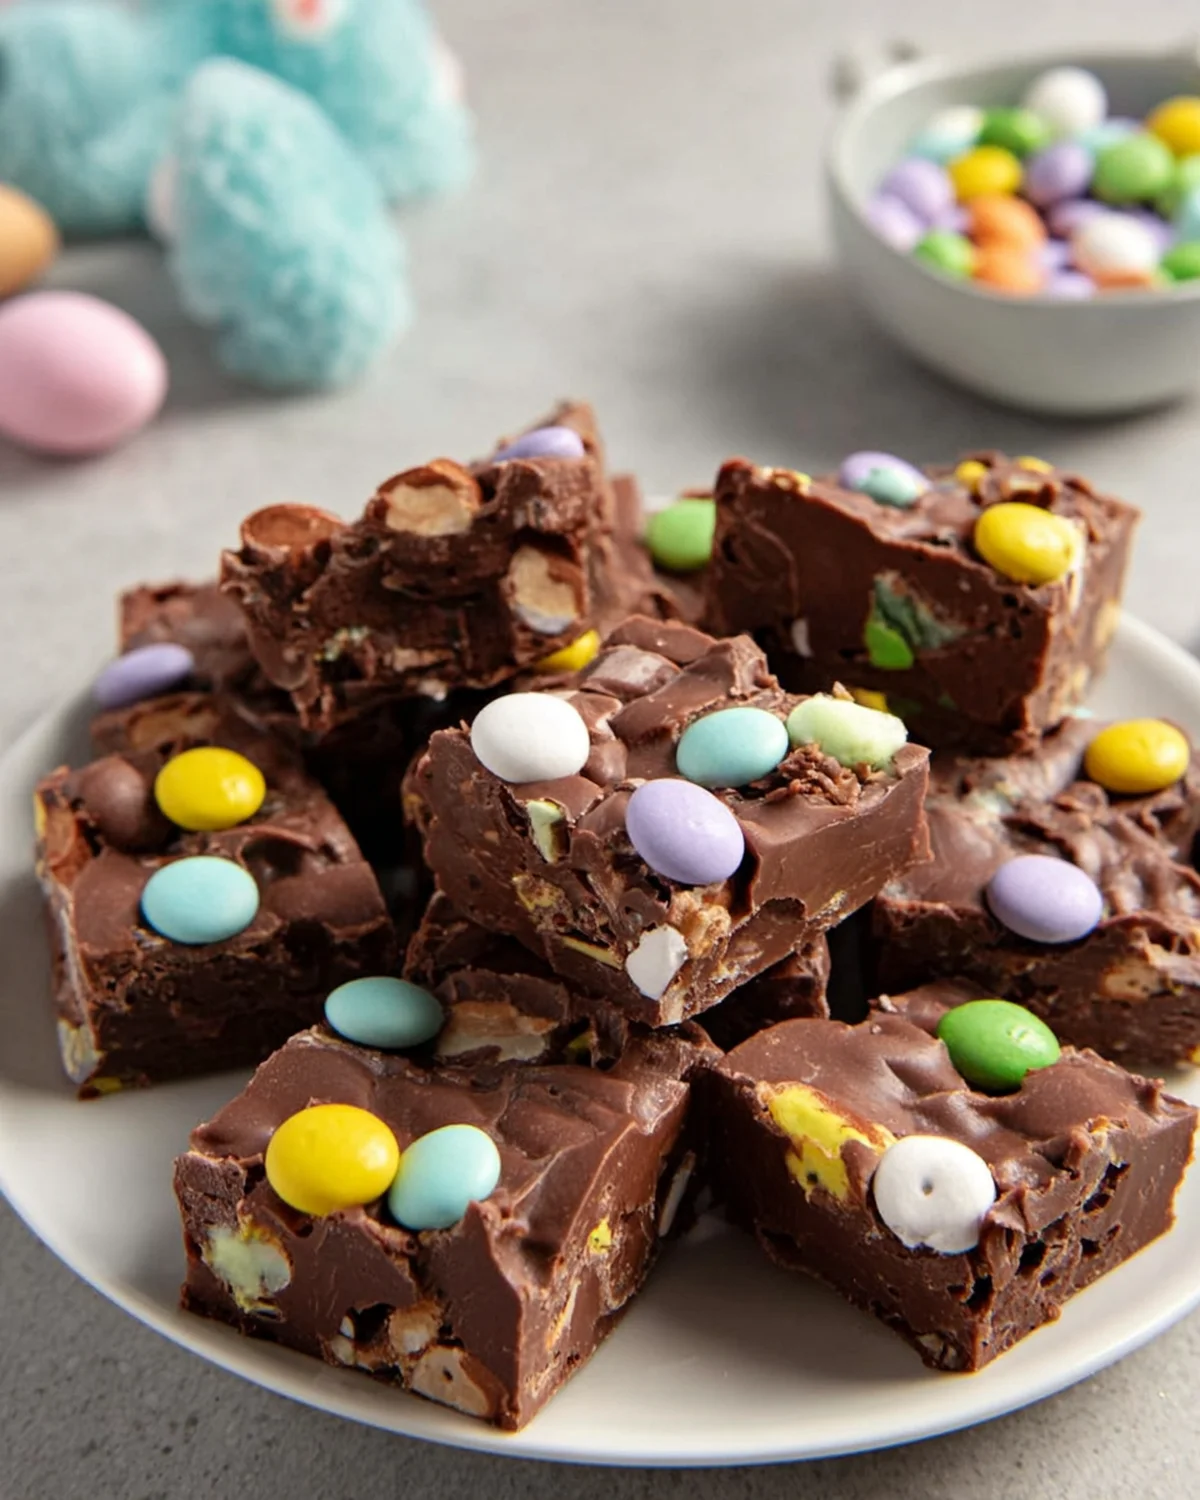
Add marshmallows and stir only until evenly distributed. The marshmallows will puff slightly because the chocolate mixture is warm. Avoid overmixing to prevent the marshmallows from dissolving. The marshmallows add a delightful chewy texture and a hint of sweetness.
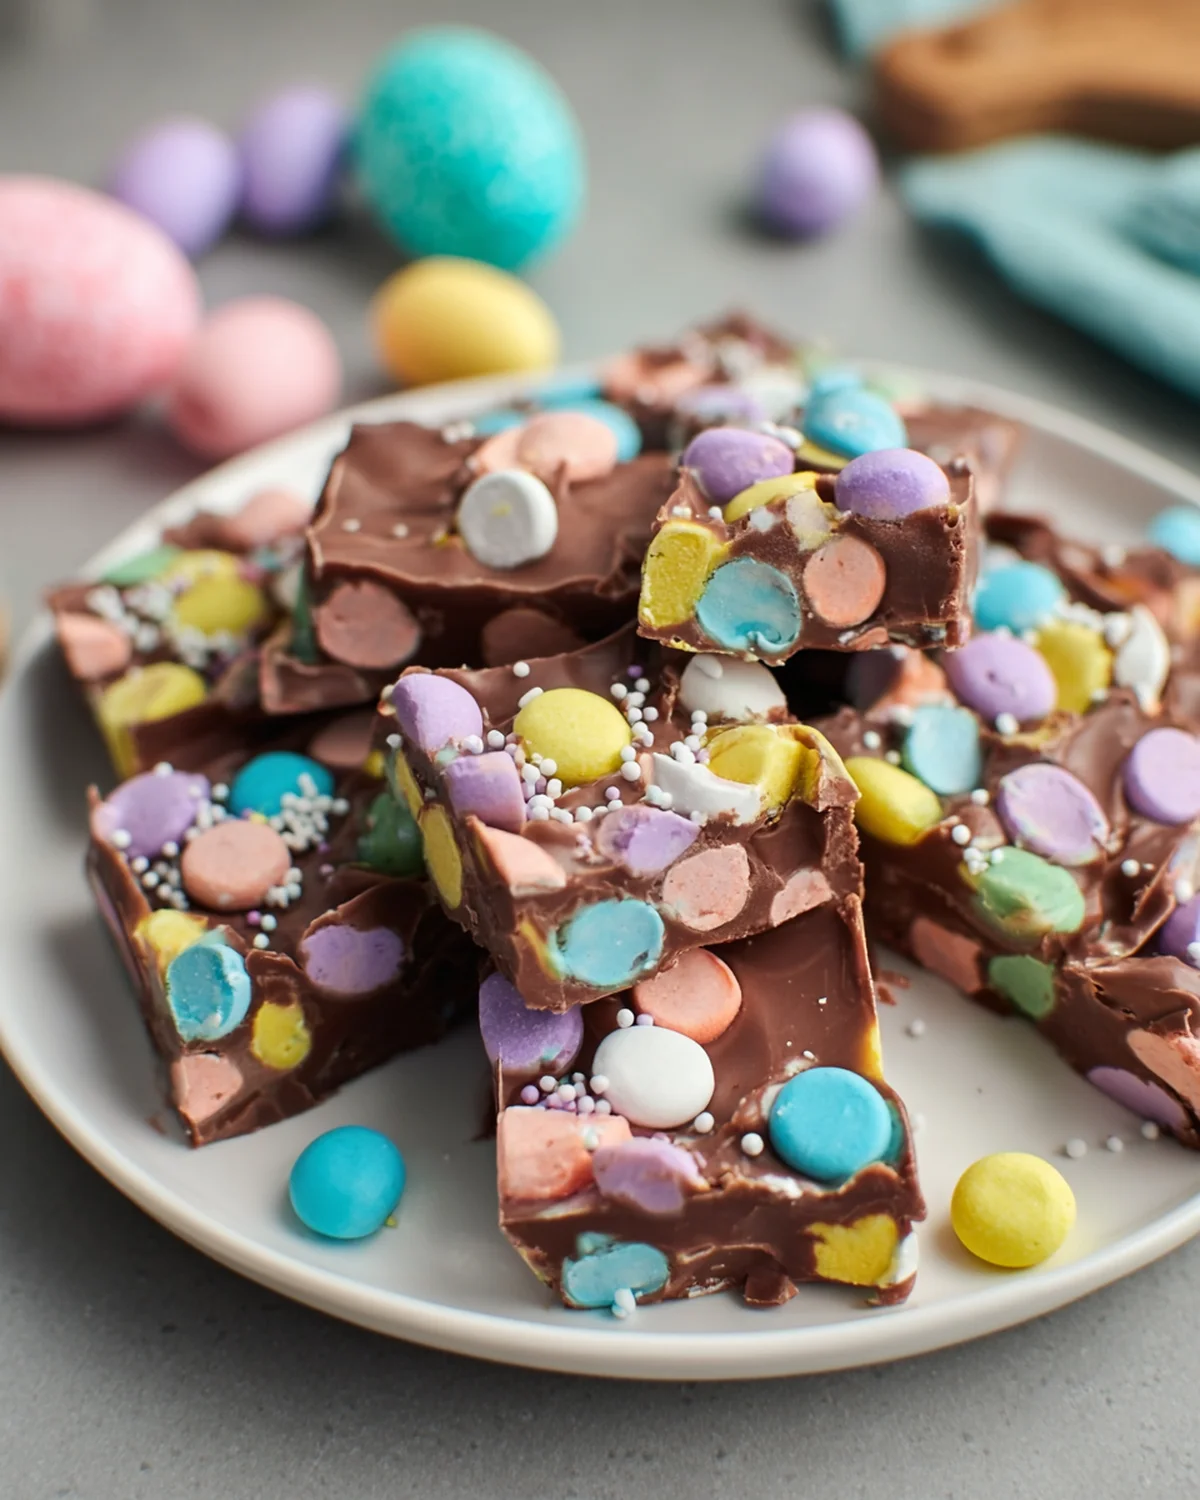
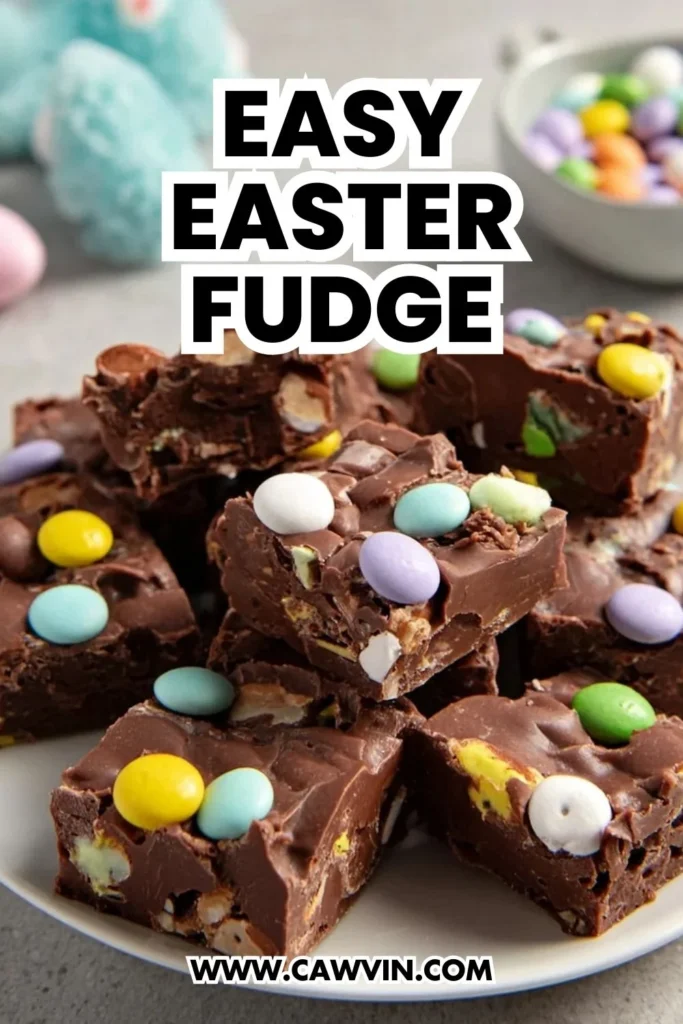
Line an 8 x 8-inch pan with waxed paper or parchment paper. Place half of the mini chocolate eggs at the bottom of the pan. This layer of candy eggs adds a surprise crunch to every bite of fudge, enhancing the overall texture and flavor.
Pour the fudge mixture over the top and smooth it out. Use the spatula to gently press the mixture into the corners of the pan. Ensuring an even layer is crucial for uniform pieces, making each piece visually appealing and perfectly portioned.
Place the remaining mini chocolate eggs on top, pressing them slightly to adhere. The colorful eggs on top provide a beautiful and festive finishing touch, making the fudge as visually delightful as it is tasty.
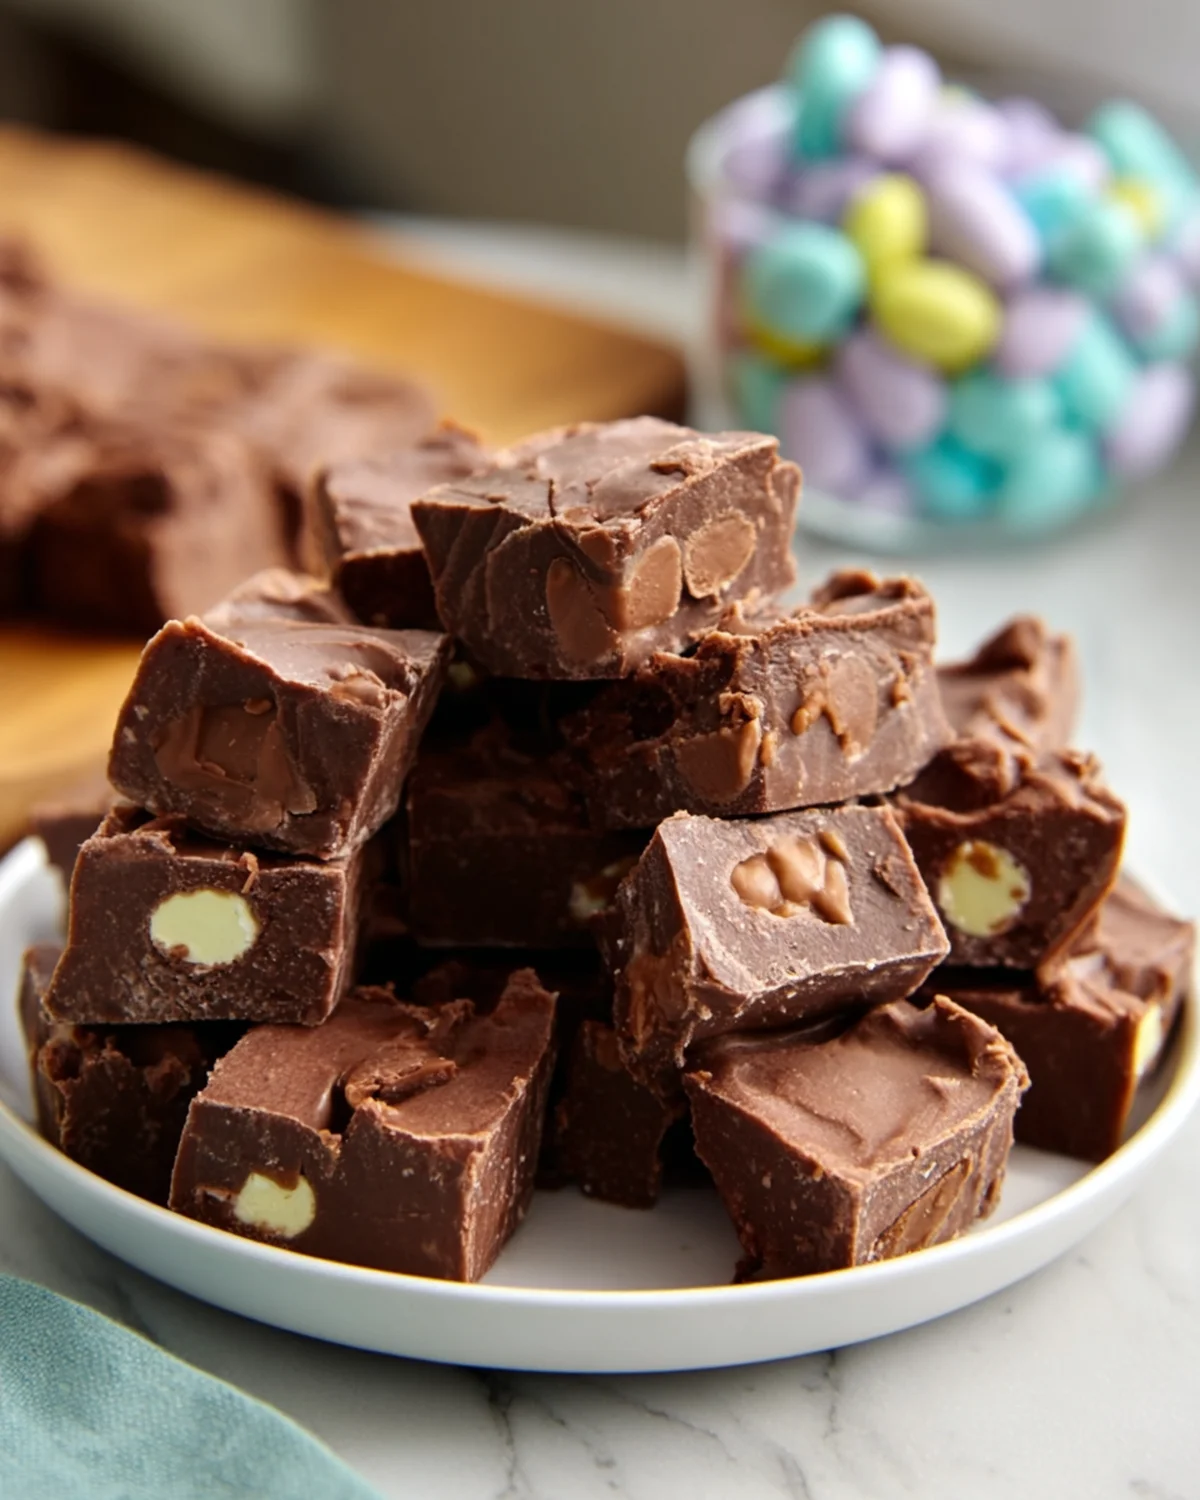
Chill until set (about 30-45 minutes), then cut into pieces. Chilling allows the fudge to firm up properly, ensuring it holds its shape when cut and served.
Difficulty: Easy • Cuisine: American • Preparation Time: 5 minutes • Cooking Time: 0 minutes • Total Time: 5 minutes • Calories: 136 kcal • Servings: 16
Note: For a fun twist, try using different flavored chocolate chips or adding a splash of peppermint extract for a refreshing zing. Experimenting with flavors keeps the recipe exciting and can cater to a variety of taste preferences.
Health and Flavor Benefits of Ingredients
These Easy Easter Fudge not only promise delightful flavors but also come with some surprising benefits:
Chocolate Chips: Rich in antioxidants, chocolate can boost your mood and add a delectable richness to the fudge. Choose high-quality chocolate chips for the best flavor and texture. The quality of the chocolate directly affects the taste of the fudge, making it worthwhile to invest in a good brand.
Sweetened Condensed Milk: Adds a creamy sweetness that enhances the chocolate flavor without needing additional sugar. It also helps achieve the perfect fudgy consistency. This ingredient is key to the fudge’s texture, providing a smooth and luscious mouthfeel.
Marshmallows: Provide a soft, chewy texture that contrasts beautifully with the crunchy candy eggs. They add a playful, light element to the fudge. The marshmallows also contribute to the visual appeal, with their white color adding contrast to the dark chocolate.
Mini Candy-Coated Chocolate Eggs: Not only do they offer a delightful crunch, but their colorful appeal makes the fudge visually inviting. They’re a festive addition that nods to the Easter season. The candy coating adds a subtle crunch, enhancing the overall texture of the fudge.
Vanilla (optional): Elevates the flavors, adding a subtle, aromatic sweetness that complements the chocolate. Even a small amount can enhance the overall taste profile of the fudge. Vanilla acts as a flavor enhancer, bringing out the best in the chocolate and other ingredients.
Tasty Pairings to Serve with This Easy Peasy Dish
These Easy Easter Fudge treats are versatile companions to various beverages and dishes, making them perfect for any occasion:
Hot Chocolate: The rich, creamy flavors of hot chocolate harmonize wonderfully with the fudge, creating a cozy dessert duo. Try serving with a dollop of whipped cream and a sprinkle of cocoa powder. This pairing is perfect for chilly spring evenings or as a decadent afternoon treat.
Easter Brunch Spread: Add these fudges to your brunch table for a sweet finish alongside savory quiches and fresh fruit. They balance out the savory dishes with their sweet indulgence. The fudge adds a festive touch to any spread, making it a delightful surprise for guests.
Coffee or Espresso: The bold flavors of coffee enhance the sweetness of the fudge, making it an ideal afternoon pick-me-up. A shot of espresso pairs particularly well, cutting through the richness of the fudge. This combination is perfect for coffee lovers looking to satisfy their sweet tooth.
Vanilla Ice Cream: Serve a piece of fudge atop a scoop of vanilla ice cream for an indulgent dessert that will delight kids and adults alike. The contrast between cold ice cream and the rich fudge is simply irresistible. This pairing transforms the fudge into a decadent sundae, perfect for special occasions.

Storage Tips and How to Enjoy Leftovers the Easy Peasy Way
To keep your Easy Easter Fudge fresh and delicious, store it in an airtight container in the refrigerator for up to two weeks. If you have leftover fudge, try these creative ideas:
Mix into Brownie Batter: Chop up the fudge and stir it into brownie batter for an extra layer of chocolatey goodness. This creates delightful pockets of fudge throughout the brownies. The addition of fudge elevates a simple brownie into a rich, indulgent treat.
Fudge Fondue: Melt down leftovers to create a rich chocolate fondue, perfect for dipping fruits and marshmallows. It’s a fun and interactive way to enjoy the fudge in a new form. This variation turns any gathering into a festive celebration, encouraging guests to dip and enjoy various treats.
Gift Packages: Wrap pieces of fudge in decorative bags for a delightful homemade gift that’s sure to bring a smile. They make perfect party favors or thoughtful presents for friends and family. Personalizing the packaging with seasonal decorations adds a thoughtful touch, making each gift feel special.
As you savor each bite of this Easy Easter Fudge, may it bring warmth to your heart and remind you of the simple joys of homemade cooking. Sharing these moments with loved ones is what makes kitchen creations truly special. So gather around, indulge in the sweetness, and let the flavors transport you to cherished memories and new traditions.
Pin this Easy Peasy recipe!
Love this recipe? Pin the image below to your favorite Pinterest boards and bring a little Easy Peasy comfort to your kitchen whenever you need it.
Easy Easter Fudge
Ingredients
Equipment
Method
- In a microwave-safe bowl, add chocolate chips then pour sweetened condensed milk over it. Microwave on high for 2 1/2 to 3 minutes.
- Stir hot chocolate and sweetened condensed milk until smooth.
- Add marshmallows and stir only until evenly distributed. The marshmallows will puff slightly because the chocolate mixture is warm. Over mixing will cause the marshmallows to dissolve.
- Line 8 x 8-inch pan with waxed paper or parchment paper. Place 1/2 the mini chocolate eggs to the bottom of the pan.
- Pour fudge mixture over the top and smooth out and place the remaining mini chocolate eggs on top.
- Chill until set (about 30-45 minutes) then cut into pieces.