Valentine’s Day Red Velvet Truffles
Table of Contents
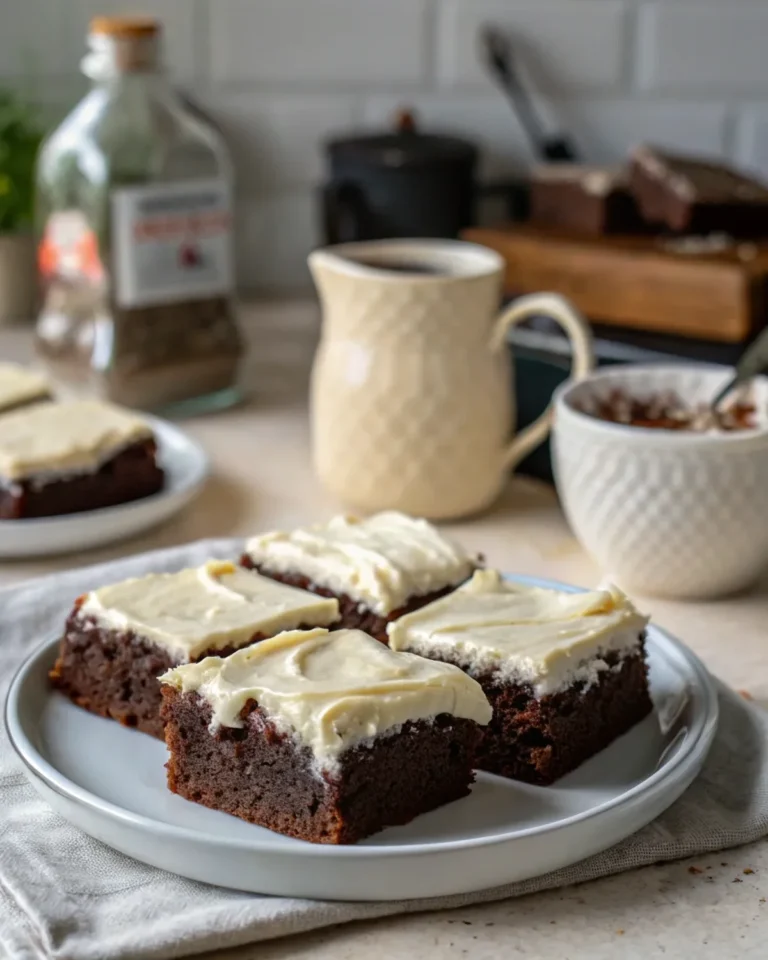
Valentine’s Day always brings a swirl of nostalgia, doesn’t it? It sweeps me back to childhood, when the kitchen was a flurry of heart-shaped cookies and red-hued treats. Today, I want to share a recipe that embodies that same warm, fuzzy feeling — Valentine’s Day Red Velvet Truffles. These little bites of heaven are not just a treat; they’re a memory in the making, ideal for sharing with loved ones or indulging in a quiet moment to yourself.
There’s something profoundly comforting about working with your hands in the kitchen, mixing and rolling, creating something special from simple ingredients. These Red Velvet Truffles bring the joy of homemade passion right into your kitchen, and they do it with grace and ease. Imagine the delight on your partner’s face when they see these rich, velvety treats, or the giggles from little ones as they sneak a taste before dinner.
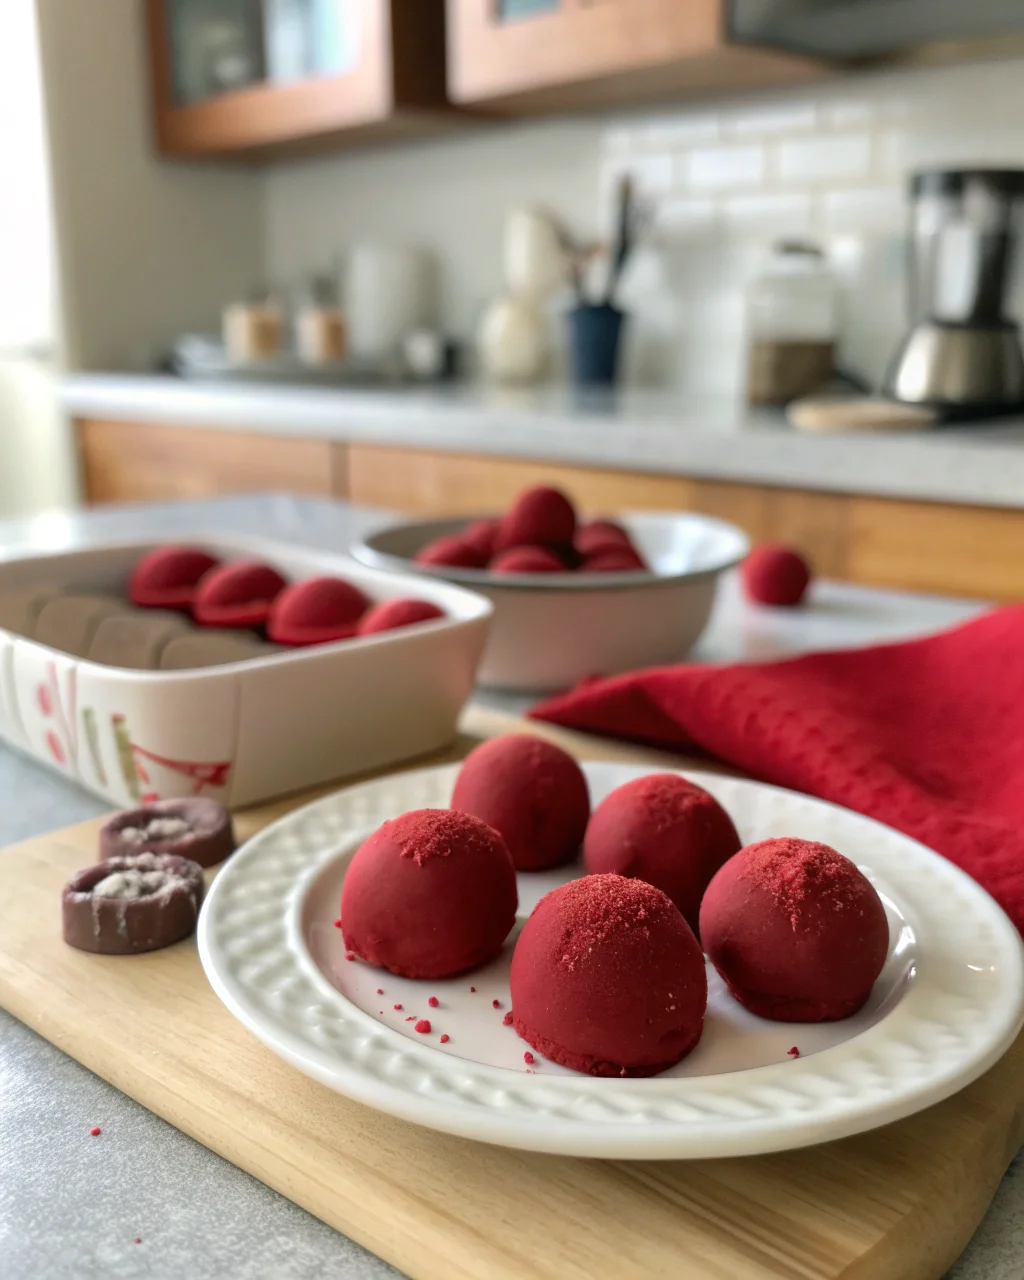
These Red Velvet Truffles are the embodiment of love in every bite. The velvety texture of the cake blended with the creamy richness of the frosting creates a heavenly mouthfeel. Each truffle is coated in a crisp layer of white chocolate, adding a delightful contrast. Whether you’re planning a romantic dinner or a fun family night, these truffles are the perfect sweet ending. They’re not just desserts; they’re a celebration of love and connection, perfect for this Valentine’s Day.
Picture this: you’ve just finished a lovely dinner, and as you bring out these truffles, the room fills with anticipation. The first bite is met with a satisfying snap of chocolate, followed by a burst of rich red velvet flavor. It’s a moment of pure indulgence, a sweet pause in the evening’s festivities.
Why This Recipe Should Be on Your Table
The benefits of this recipe are as sweet as the truffles themselves:
Nostalgic Warmth: Red velvet cake and cream cheese frosting are a classic combination, reminiscent of childhood celebrations. The delicate balance of cocoa and vanilla in red velvet, paired with the smooth tang of cream cheese, creates a flavor profile that’s both familiar and comforting.
Simple Ingredients: Everything you need is readily available, making it easy-peasy to whip up a batch. With a few pantry staples and a quick trip to the baking aisle, you’ll be ready to create these delightful treats.
Family Fun: Involve your little helpers in the kitchen. It’s the perfect opportunity to create Valentine’s memories together. Kids can have a blast crumbling cake and rolling truffles, making this a fun and interactive recipe for all ages.
Shareable Joy: These truffles are perfect for gifting to friends, neighbors, or anyone needing a little extra love. Pack them in a decorative box or a mason jar tied with a ribbon for a thoughtful homemade gift.
Let’s dive into the cozy world of red velvet and create something truly special together.
Kitchen Tools to Make This Recipe Easy Peasy
Creating these delightful Red Velvet Truffles doesn’t require any fancy equipment. Here’s what you’ll need to make your kitchen adventure smooth and enjoyable:
Mixing Bowl: For combining your cake crumbs and frosting. A medium-sized bowl works perfectly for this task, allowing you to mix thoroughly without making a mess.
Parchment Paper: Helps keep your truffles from sticking and makes for easy cleanup. It’s a non-negotiable for ensuring your truffles maintain their perfect shape.
Baking Tray: Essential for freezing and setting your truffles. A rimmed tray is especially useful to prevent any accidental rolling.
Cookie Scoop or Hands: For forming even truffle balls. A cookie scoop ensures uniformity, but using your hands works just as well if you prefer a more hands-on approach.
Microwave or Double Boiler: To melt the white chocolate and candy melts. The microwave method is quick and convenient, but a double boiler offers more control over melting.
Ziploc Bag: For drizzling the red candy melt. It’s a simple alternative to a piping bag, giving you precision without the fuss.
These tools ensure the process is as easy-peasy as possible, leaving you more time to enjoy the fruits of your labor.
How to Make This Recipe Easy Peasy
INGREDIENTS
- 1 9×13 cooked red velvet cake, crumbled (I used Duncan Hines cake mix)
- 1 Container of cream cheese frosting (16oz)
- 1 ½ Bags of white chocolate melting wafers (10oz)
- 1 cup Red candy melts
- Valentine’s sprinkles
INSTRUCTIONS
Prepare a large baking tray or cutting board with parchment paper and set aside. This step is crucial for ensuring easy removal and cleanup.
Mix the crumbled cake with half of the cream cheese frosting, then add more as needed to get a mix that can easily stick together. The key is achieving a texture that holds its shape but isn’t too sticky.
Using your hands or a cookie scoop, form 1 ½ inch balls from the cake mix. Try to keep them uniform for even coating later.
Place them all evenly on the baking tray. Ensure they are spaced slightly apart to prevent them from sticking together.
Freeze for 30 minutes and in the meantime melt the white chocolate in 30-second increments, stirring each time until it has melted completely. The chocolate should be smooth and glossy.
Remove the baking sheet from the freezer and work quickly, dip the balls into the white chocolate, drain and set them back down on the tray and let them cool and harden. (You may need to melt the chocolate again halfway through as it starts to thicken up.) A fork works well for dipping and draining excess chocolate.
If you’d like to add sprinkles directly to the dipped truffles without the red candy melt drizzle, sprinkle them on before the chocolate hardens. This ensures they stick properly.
Melt the red candy melts according to the instructions on the package, add it to a Ziploc bag and cut a pin-size hole in the bottom. This will give you a neat drizzle effect.
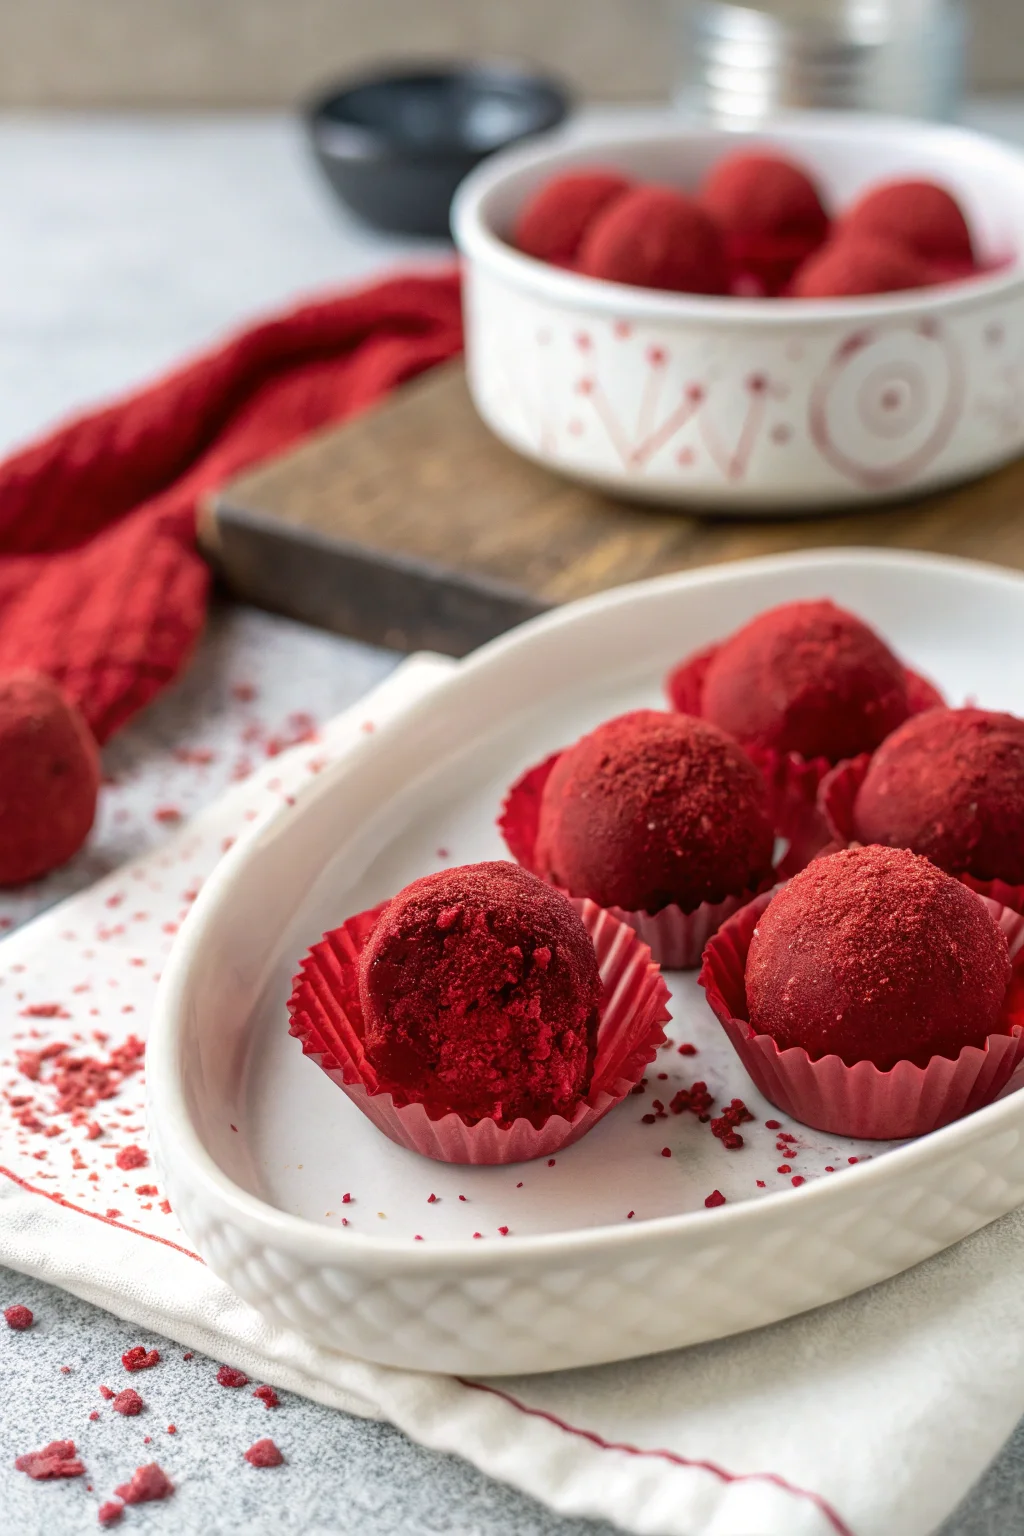
Lightly drizzle it over the truffles and add sprinkles. This step adds a festive touch, perfect for Valentine’s Day.
Let the red drizzle harden up then serve. Enjoy watching your loved ones’ faces light up with each bite.
Difficulty: Easy • Cuisine: American • Preparation Time: 15 minutes • Cooking Time: 15 minutes • Total Time: 30 minutes • Calories: 150 per truffle • Servings: 24
Note: For a pop of color, you can substitute the red candy melts with any color to match your occasion.
Health and Flavor Benefits of Ingredients
Red velvet cake and cream cheese frosting are a classic duo, offering not only a delicious taste but also a dash of nostalgia. These truffles, while indulgent, can be made a bit lighter with low-fat cream cheese frosting. White chocolate provides a creamy sweetness that perfectly complements the tang of the cream cheese. Plus, the act of making these truffles can be a mindful and stress-relieving activity, letting you savor the process as much as the result.
The cocoa in red velvet cake provides a subtle chocolatey depth, while the cream cheese frosting adds a rich and tangy flavor. Together, they create a balance that’s both sweet and satisfying. Moreover, white chocolate’s creamy texture pairs beautifully with the cake, adding a touch of luxury to each bite.
Tasty Pairings to Serve with This Easy Peasy Dish
These truffles can be the star of your dessert table or a delightful companion to other treats. Pair them with a glass of bubbly champagne for an elegant touch or a steaming cup of hot cocoa for a cozy night in. If you’re planning a full meal, consider serving them alongside a light, fruity dessert like a berry salad or a tangy lemon tart to balance the richness of the truffles.
If you’re hosting a tea party, these truffles can be served with a variety of teas—earl grey or jasmine would complement the sweetness beautifully. For a more indulgent experience, serve them with a scoop of vanilla ice cream or a dollop of whipped cream.
Storage Tips and How to Enjoy Leftovers the Easy Peasy Way
If you find yourself with leftover truffles (a rare occurrence in my house!), don’t worry. Store them in an airtight container in the refrigerator for up to a week. You can also freeze them for up to a month; just thaw them in the fridge before enjoying. These truffles make for a delightful surprise in lunchboxes or a sweet pick-me-up during a busy day.
To enjoy them at their best, allow refrigerated truffles to sit at room temperature for a few minutes before serving. This will enhance their flavor and texture, making each bite even more enjoyable. Whether you’re savoring them solo or sharing with friends, these truffles are sure to bring a smile.
And there you have it, a sweet and simple recipe that brings a piece of homemade magic to your Valentine’s Day. Cooking these red velvet truffles is a journey filled with love, perfect for sharing with those who matter most. So, gather your ingredients, roll up your sleeves, and let’s make some delicious memories.
Pin this Easy Peasy recipe!
Love this recipe? Pin the image below to your favorite Pinterest boards and bring a little Easy Peasy comfort to your kitchen whenever you need it.

Valentine’s Day Red Velvet Truffles
Ingredients
Equipment
Method
- Prepare a large baking tray or cutting board with parchment paper and set aside.
- Mix the crumbled cake with half of the cream cheese frosting, then add more as needed to get a mix that can easily stick together.
- Using your hands or a cookie scoop, form 1 ½ inch balls from the cake mix.
- Place them all evenly on the baking tray.
- Freeze for 30 minutes and in the meantime melt the white chocolate in 30 second increments, stirring each time until it has melted completely.
- Remove the baking sheet from the freezer and work quickly, dip the balls into the white chocolate, drain and set them back down on the tray and let them cool and harden. (You may need to melt the chocolate again halfway through as it starts to thicken up.)
- If you’d like to add sprinkles directly to the dipped truffles without the red candy melt drizzle, sprinkle them on before the chocolate hardens.
- Melt the red candy melts according to the instructions on the package, add it to a Ziploc bag and cut a pin-size hole in the bottom.
- Lightly drizzle it over the truffles and add sprinkles.
- Let the red drizzle harden up then serve.