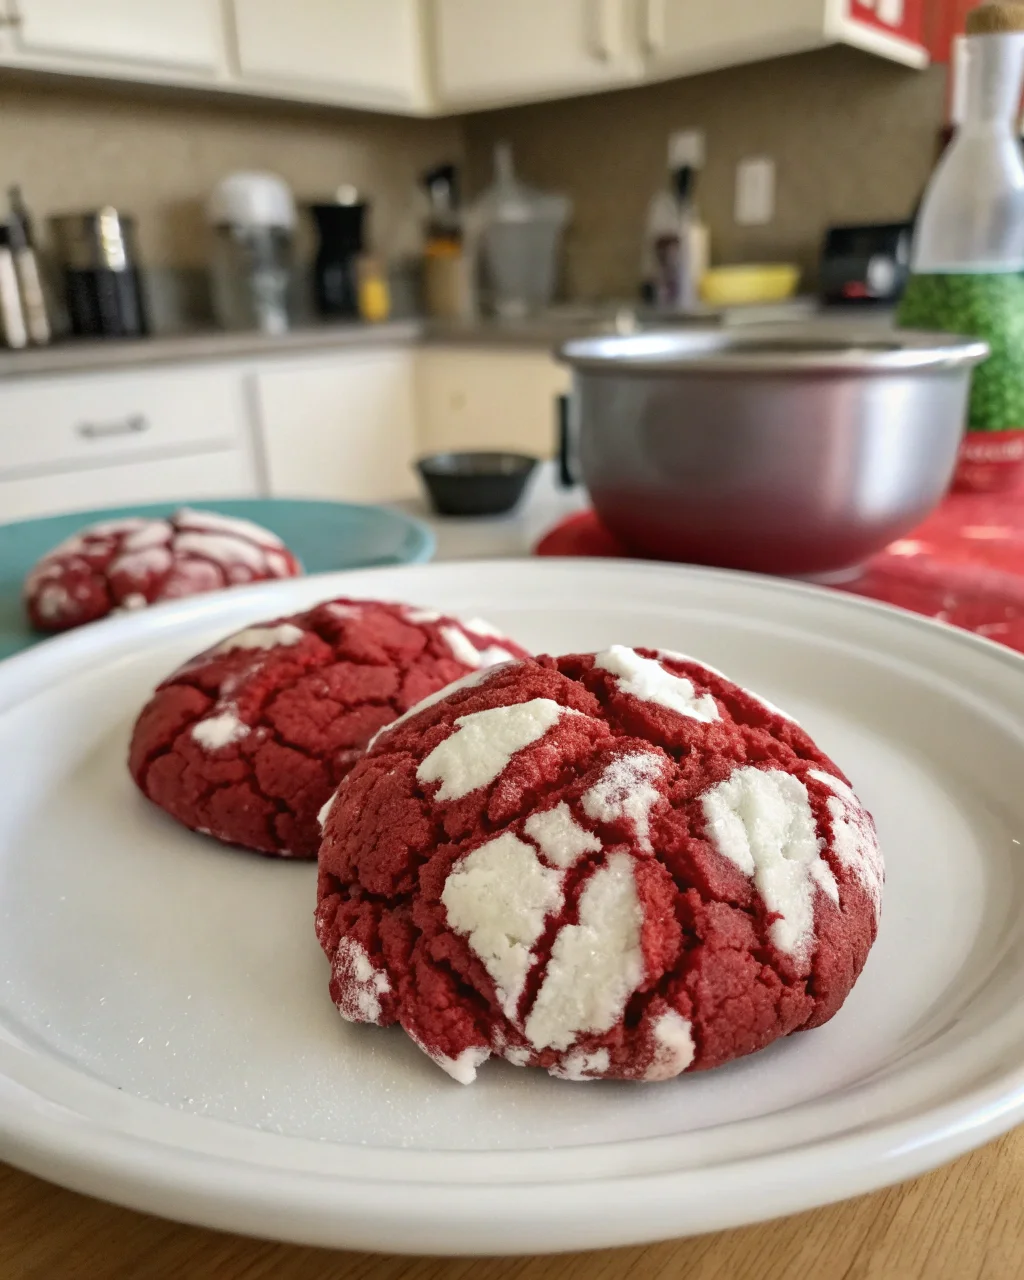
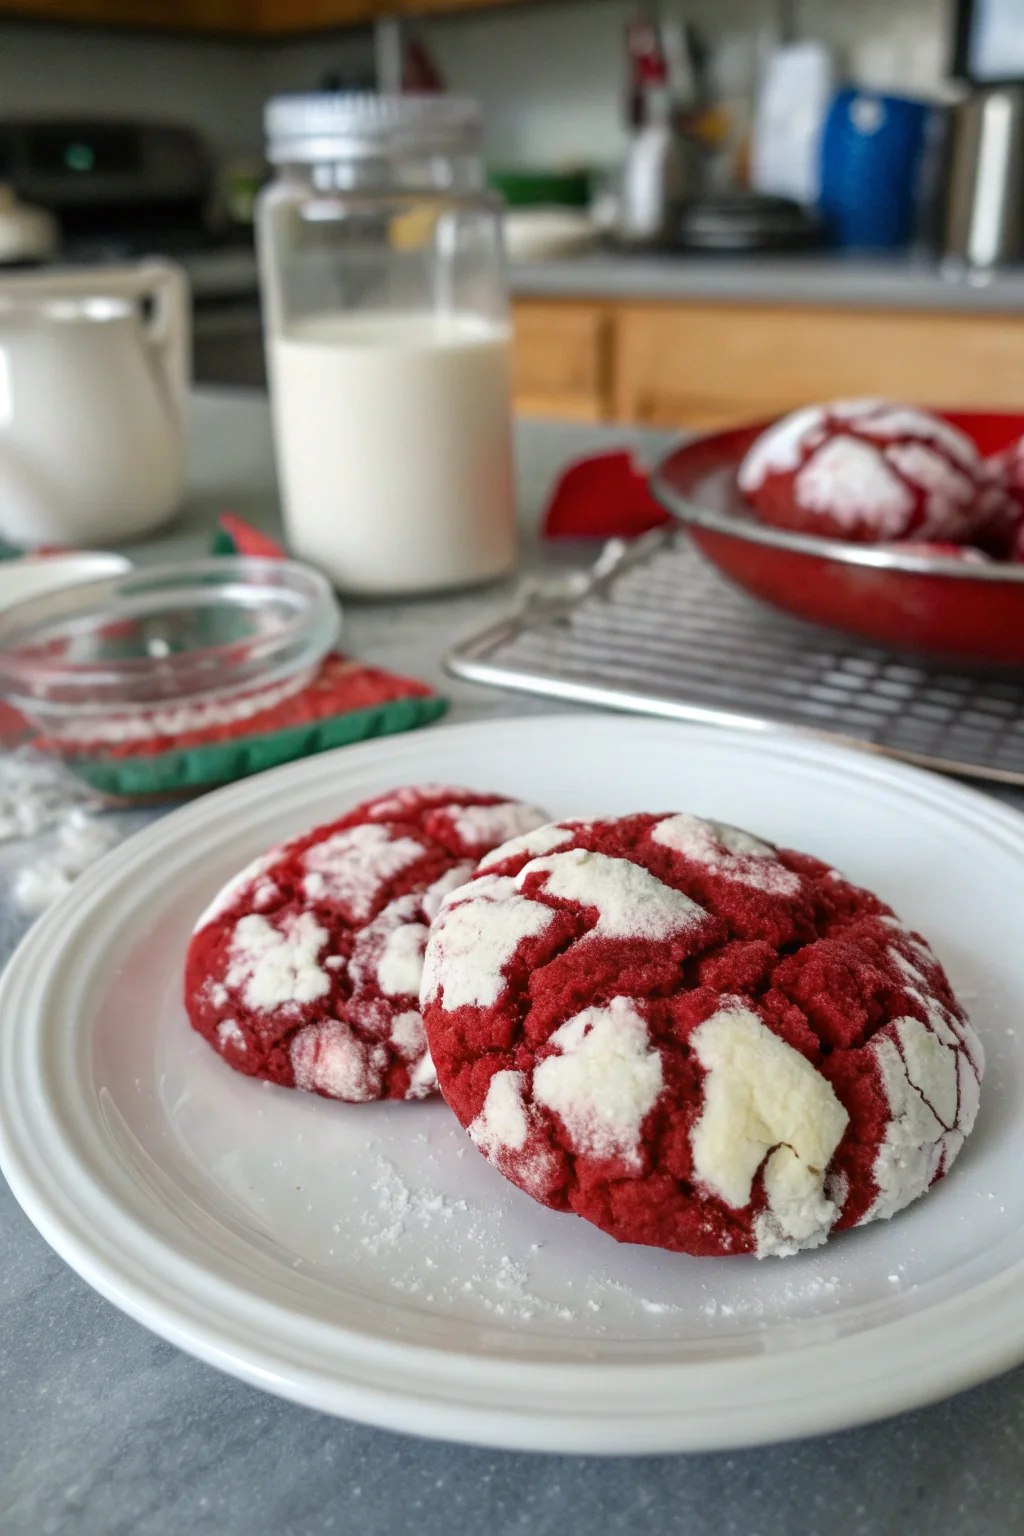
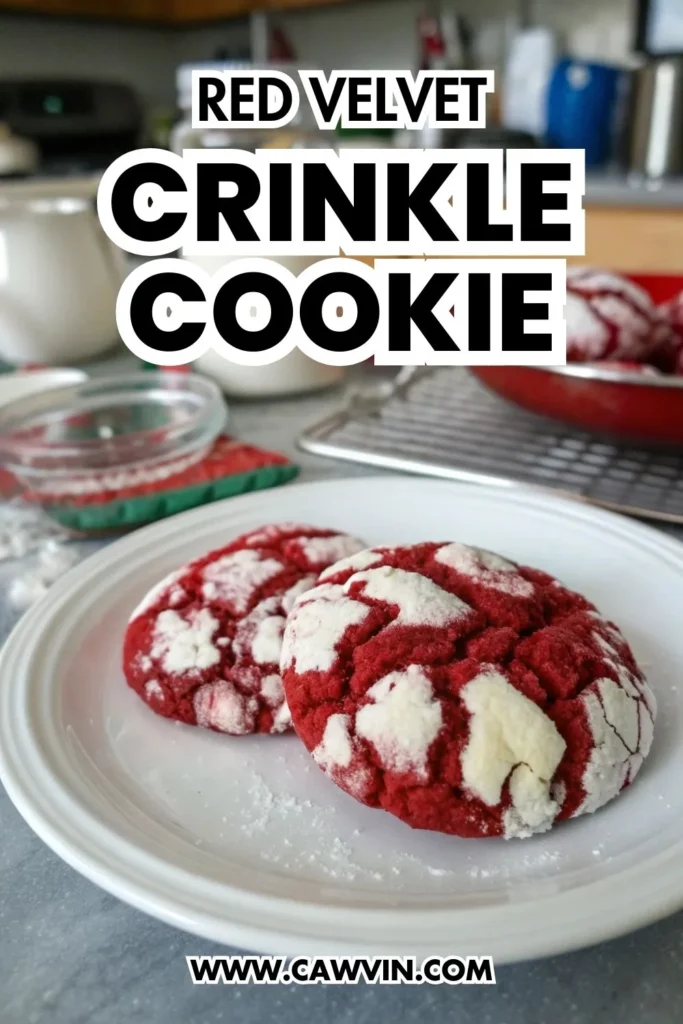
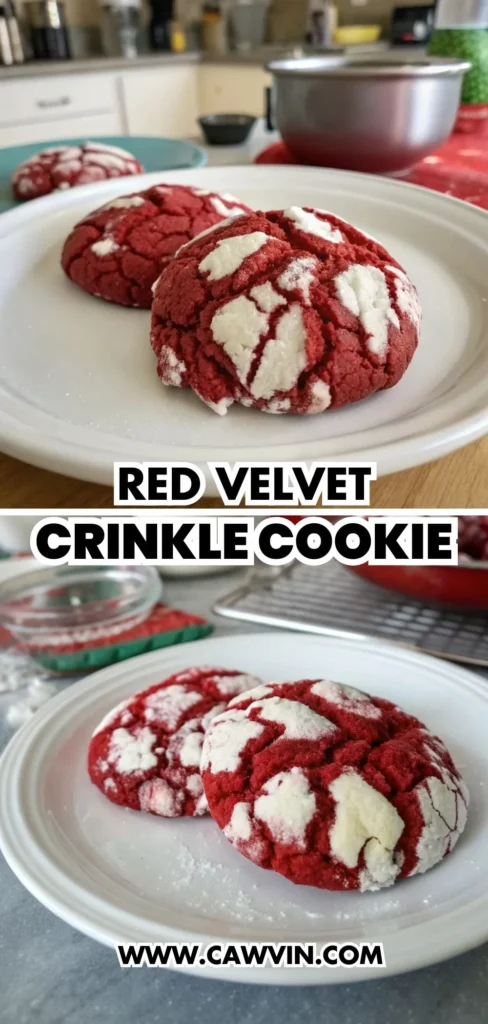
Red Velvet Crinkle Cookie
Table of Contents
Growing up, my kitchen was the heart of our home — a place where warmth, laughter, and the comforting aroma of freshly baked cookies intertwined to create memories that have lasted a lifetime. There’s something magical about the process of baking, especially when it involves the vibrant, festive hue of red velvet. Today, I’m thrilled to share with you a recipe that not only brings back those cherished moments but also fills your home with the sweet charm of homemade goodness: Red Velvet Crinkle Cookies.
These delightful cookies embody everything we love about homemade treats. They’re not just about satisfying your sweet tooth; they’re about creating a moment of joy and connection. Picture this: a cozy afternoon spent in the kitchen, the soft glow of the oven light casting a warm hue, and the anticipation of that first bite into a rich, chocolatey, and slightly tangy red velvet cookie with a crinkly powdered sugar coating.
But why should you make these Red Velvet Crinkle Cookies part of your kitchen repertoire? Let me tell you a few reasons that might just convince you to preheat that oven right now.
Why This Recipe Should Be on Your Table
First and foremost, these cookies are a celebration of simplicity and elegance. With just a handful of ingredients, you can create a batch of cookies that are as stunning to look at as they are delicious to eat. The vibrant red color makes them perfect for holiday gatherings, romantic dinners, or any occasion that calls for a touch of whimsy and delight.
Moreover, these cookies offer an emotional connection to tradition. They remind us of the joy of baking with loved ones, the laughter shared over a mixing bowl, and the simple pleasure of creating something from scratch. It’s a truly nostalgic experience that transports you back to simpler times.
Baking these cookies also provides an opportunity to create new memories. Whether you’re making them with children, friends, or simply for yourself, the process is as enjoyable as the end result. Sharing these cookies, warm from the oven, is a gift from the heart.
Finally, they are an approachable and rewarding project for bakers of all skill levels. The instructions are straightforward, and the ingredients are likely already in your pantry. Whether you’re a seasoned baker or a kitchen newcomer, you’ll find success and satisfaction in every bite.
Kitchen Tools to Make This Recipe Easy Peasy
Before you dive into the mixing and baking, let’s gather the tools you’ll need. In true Easy Peasy fashion, we’re keeping it simple and fuss-free:
- Mixing Bowls: One medium and one large to keep your wet and dry ingredients separate until the right moment.
- Electric Mixer: A hand mixer or stand mixer will help you achieve that perfect light and fluffy butter-sugar mixture.
- Whisk: For combining your dry ingredients with ease.
- Baking Sheets: Lined with parchment paper for easy cleanup and perfect cookies every time.
- Spoon or Cookie Scoop: To ensure uniform cookie sizes for even baking.
- Wire Rack: An essential for cooling your cookies perfectly, keeping them crisp on the outside and soft inside.
How to Make This Recipe Easy Peasy
INGREDIENTS
- 1 1/2 cups all-purpose flour
- 1/2 cup unsweetened cocoa powder
- 1 tsp baking powder
- 1/4 tsp salt
- 1/2 cup unsalted butter, softened
- 1 cup granulated sugar
- 2 large eggs
- 1 tsp vanilla extract
- 1 tbsp red food coloring
- 1/2 cup powdered sugar, for rolling
INSTRUCTIONS
- PREHEAT THE OVEN: Set the oven to 350°F (175°C) and line two baking sheets with parchment paper. Set aside.
- MIX DRY INGREDIENTS: In a medium bowl, whisk together the flour, cocoa powder, baking powder, and salt until well combined.
- CREAM BUTTER AND SUGAR: In a large bowl, beat the softened butter and granulated sugar together for 2 to 3 minutes until the mixture is light and fluffy.
- ADD EGGS AND COLORING: Add the eggs one at a time, beating well after each. Stir in the vanilla extract and red food coloring until the batter is evenly tinted.
- COMBINE MIXTURES: Gradually add the dry ingredients to the wet mixture, stirring just until no streaks of flour remain. The dough will be soft and sticky.
- CHILL THE DOUGH: Cover the bowl with plastic wrap and refrigerate for at least 30 minutes to firm up the dough and make it easier to handle.
- FORM AND COAT DOUGH BALLS: Once chilled, scoop out tablespoon-sized portions and roll them into 1-inch balls. Roll each ball generously in powdered sugar until fully coated.
- BAKE: Place the coated dough balls on the prepared baking sheets, spacing them about 2 inches apart. Bake for 10 to 12 minutes, or until the cookies are set on the edges but still soft in the center.
- COOL: Let the cookies rest on the baking sheets for 3 to 5 minutes, then transfer them to a wire rack to cool completely.
Difficulty: Easy • Cuisine: American • Preparation Time: 15 minutes • Cooking Time: 12 minutes • Total Time: 57 minutes • Calories: 120 • Servings: 24
Note: For a deeper chocolate flavor, consider adding a teaspoon of espresso powder to the dry ingredients.
Health and Flavor Benefits of Ingredients
Every ingredient in our Red Velvet Crinkle Cookies plays a crucial role in creating the perfect balance of taste and texture. Let’s explore these components a little further:
All-Purpose Flour and Cocoa Powder: These give structure and a rich, chocolatey base to our cookies. Cocoa powder is a wonderful source of antioxidants which can be a little health boost amidst the indulgence.
Butter and Sugar: Essential for that classic cookie texture and sweetness. Butter adds richness, while sugar contributes to the perfect level of sweetness and helps achieve that delightful crinkle effect.
Eggs: They provide moisture and help bind everything together, ensuring the cookies are beautifully textured and soft.
Red Food Coloring: While mainly for visual appeal, the iconic red hue is what sets these cookies apart, adding a festive and fun twist.
Powdered Sugar: Not just for decoration, this sugar coating caramelizes slightly during baking, adding a sweet crunch to the soft cookie center.
Tasty Pairings to Serve with This Easy Peasy Dish
These cookies are a versatile treat that can be enjoyed in various settings. Here are a few pairing suggestions to elevate your cookie experience:
Hot Beverages: A warm cup of cocoa or a robust coffee perfectly complements the chocolate undertones of the cookies. A spiced chai tea can also add a fragrant contrast.
Ice Cream: Pair these cookies with a scoop of vanilla bean ice cream for a dessert that balances warm and cold, soft and creamy.
Fruit Compote: A side of berry compote can introduce a tart contrast to the sweetness of the cookies, offering a fresh and fruity balance.
Cheese Platter: For an unexpected twist, serve your cookies alongside a selection of cheeses. The creamy textures and savory notes can enhance the cookie’s sweetness.
Storage Tips and How to Enjoy Leftovers the Easy Peasy Way
To keep your Red Velvet Crinkle Cookies fresh and delicious, follow these easy storage tips:
Room Temperature: Store the cookies in an airtight container at room temperature for up to a week. Place a slice of bread in the container to keep them moist and chewy.
Freezing: These cookies freeze beautifully! Place them in a single layer on a baking sheet to freeze initially, then transfer to a freezer-safe bag for up to 3 months. Thaw them at room temperature when you’re ready to enjoy.
Refreshing: If your cookies have been stored for a while, pop them in a preheated oven at 350°F (175°C) for 2-3 minutes to refresh their texture.
The joy of homemade cooking isn’t just in the creation but also in the sharing. These Red Velvet Crinkle Cookies are more than a sweet treat; they’re a taste of nostalgia, a connection to cherished memories, and an invitation to create new ones. Whether you’re baking them for a special occasion or simply to enjoy with a cup of tea, these cookies are sure to bring a smile to your face and warmth to your heart.
Pin this Easy Peasy recipe!
Love this recipe? Pin the image below to your favorite Pinterest boards and bring a little Easy Peasy comfort to your kitchen whenever you need it.
Red Velvet Crinkle Cookie
Ingredients
Equipment
Method
- PREHEAT THE OVEN: Set the oven to 350°F (175°C) and line two baking sheets with parchment paper. Set aside.
- MIX DRY INGREDIENTS: In a medium bowl, whisk together the flour, cocoa powder, baking powder, and salt until well combined.
- CREAM BUTTER AND SUGAR: In a large bowl, beat the softened butter and granulated sugar together for 2 to 3 minutes until the mixture is light and fluffy.
- ADD EGGS AND COLORING: Add the eggs one at a time, beating well after each. Stir in the vanilla extract and red food coloring until the batter is evenly tinted.
- COMBINE MIXTURES: Gradually add the dry ingredients to the wet mixture, stirring just until no streaks of flour remain. The dough will be soft and sticky.
- CHILL THE DOUGH: Cover the bowl with plastic wrap and refrigerate for at least 30 minutes to firm up the dough and make it easier to handle.
- FORM AND COAT DOUGH BALLS: Once chilled, scoop out tablespoon-sized portions and roll them into 1-inch balls. Roll each ball generously in powdered sugar until fully coated.
- BAKE: Place the coated dough balls on the prepared baking sheets, spacing them about 2 inches apart. Bake for 10 to 12 minutes, or until the cookies are set on the edges but still soft in the center.
- COOL: Let the cookies rest on the baking sheets for 3 to 5 minutes, then transfer them to a wire rack to cool completely.