
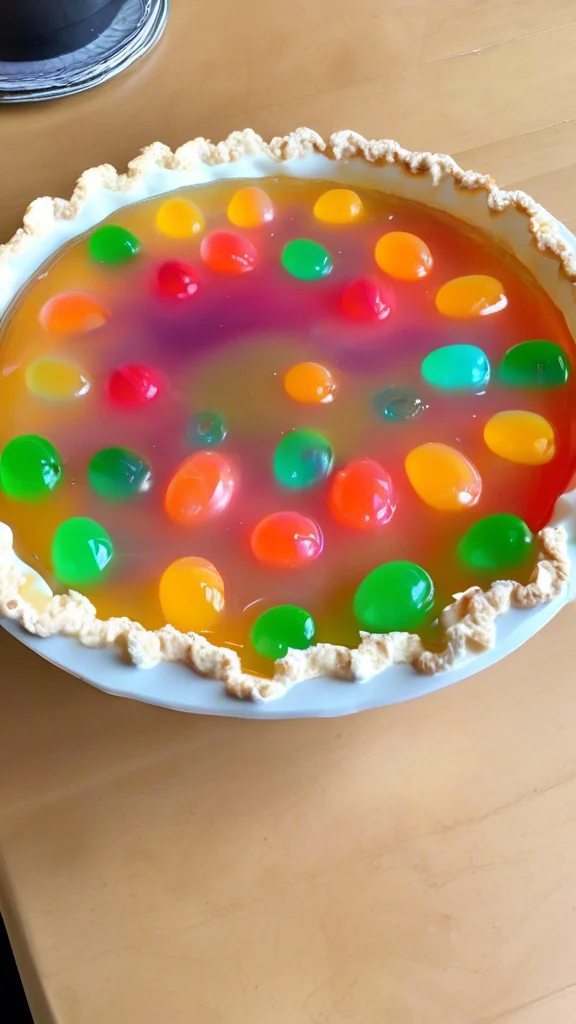
Easter has always been a symphony of colors and flavors at our house, a joyous celebration of spring’s arrival. And right there in the middle of the feast, nestled amongst the glazed ham and fluffy mashed potatoes, you’d always find my Grandma Rose’s famous Easter Jell-O Pie. It’s a vibrant, jiggly masterpiece that’s as much a feast for the eyes as it is for the taste buds. This isn’t just any dessert; it’s a tradition, a symbol of all things bright and cheerful. And today, I’m sharing this family gem, my very own take on this Easter Jell-O Pie, with you.
Table of Contents
Why You’ll Love This Easter Jell-O Pie
- It’s a nostalgic trip down memory lane: This Easter Jell-O Pie is a taste of childhood, a sweet reminder of simpler times. It’s the kind of dessert that makes you feel like a kid again.
- It’s a showstopper: With its vibrant layers and festive decorations, this pie is guaranteed to be the star of your Easter dessert spread. You can almost see the layers shimmering in the photo!
- It’s surprisingly easy to make: Don’t let the beautiful layers intimidate you. This Easter Jell-O Pie is incredibly simple to assemble, even for beginner bakers.
- It’s customizable: You can swap out the Jell-O flavors to match your Easter décor or create a rainbow of your favorite tastes.
- It’s a crowd-pleaser: From the youngest to the oldest, everyone loves a slice of this refreshing and delightful Easter Jell-O Pie.
- It’s perfect for potlucks and gatherings: This pie travels well and is always a hit at any Easter celebration.
What You’ll Need
- 1 pre-made graham cracker crust (The buttery, crumbly crust is the perfect foundation for the jiggly layers. You can even use a chocolate crust for a richer flavor!)
- 1 (3 oz) box lemon Jell-O (The bright, citrusy flavor of lemon is the first burst of sunshine in this pie.)
- 1 (3 oz) box grape Jell-O (The sweet, juicy grape flavor adds a lovely purple hue to the middle layer.)
- 1 (3 oz) box berry blue Jell-O (The refreshing berry blue Jell-O completes the Easter color palette and brings a touch of sweetness.)
- 3 cups boiling water (1 cup per Jell-O flavor. Be careful when handling boiling water!)
- 3 cups cold water (1 cup per Jell-O flavor. Ice water will help the Jell-O set faster.)
- 8 oz cream cheese, softened (This adds a creamy richness to the Jell-O layers, making them extra decadent.)
- 1 ½ cups whipped topping (The whipped topping adds a light and airy texture to the pie, making it even more irresistible.)
- Whipped cream, pastel sprinkles, and candy eggs for decoration (These festive toppings bring the Easter spirit to life!)
Let’s Make It Together!
Step 1: Prep Your Canvas
First things first, grab your graham cracker crust. Just like an artist preps their canvas, we need a sturdy base for our masterpiece. You can use a store-bought crust or make your own if you’re feeling ambitious.
Step 2: Lemon Layer – Sunshine in a Bowl
Let’s start with the lemon layer. In a large bowl, dissolve the lemon Jell-O in 1 cup of boiling water. Stir until completely dissolved, ensuring no granules remain. Now, add 1 cup of cold water and whisk gently. See how that beautiful yellow color comes alive?
Step 3: Creamy Lemon Dream
Once the lemon Jell-O mixture has cooled slightly (about 5 minutes), it’s time to add the creamy goodness. Gently whisk in ⅓ of the softened cream cheese and ½ cup of the whipped topping until everything is perfectly combined. This is what gives our Easter Jell-O Pie that dreamy, melt-in-your-mouth texture.
Step 4: First Layer Perfection
Carefully pour the lemon mixture into the graham cracker crust. Use a spoon to spread it evenly, ensuring it reaches all the corners. Now, pop it in the refrigerator for about 30 minutes to allow the first layer to set.
Step 5: Berry Blue Bliss
While the lemon layer chills, let’s move on to the berry blue layer. Repeat the same process as the lemon layer: dissolve the berry blue Jell-O in boiling water, add cold water, and whisk in the cream cheese and whipped topping. This vibrant blue layer is just gorgeous, isn’t it? You can see the beautiful color contrast in the image.
Step 6: Building the Blue
Once the lemon layer is set, gently pour the berry blue mixture over it. Use the back of a spoon to smooth the surface and create a clean line between the layers. Return the pie to the refrigerator for another 30 minutes.
Step 7: Grape Expectations
For our final layer, we’ll use the grape Jell-O. Follow the same steps as before, dissolving the Jell-O in boiling water, adding cold water, and then whisking in the cream cheese and whipped topping. This beautiful purple hue is the perfect finishing touch!
Step 8: The Grand Finale
Once the blue layer is set, carefully pour the grape mixture on top. Smooth the surface and admire your beautiful creation. Now, the hardest part – patience! Chill the Easter Jell-O Pie for at least 4 hours, or preferably overnight, to allow it to fully set.
Step 9: Decorating Delight
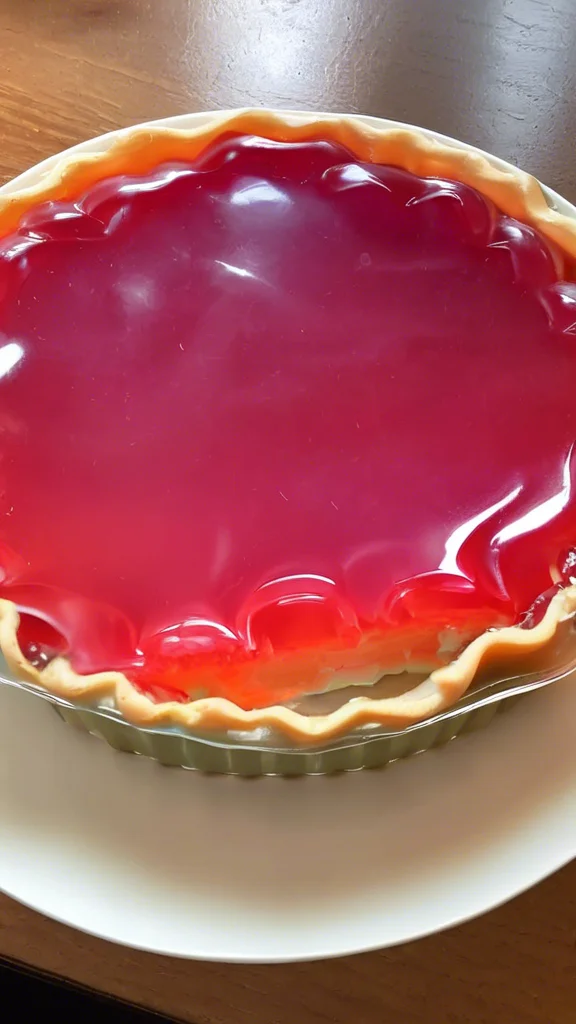
Once the pie is fully set, it’s time to unleash your inner artist. Decorate with whipped cream, pastel sprinkles, and candy eggs. This is where you can really let your creativity shine. Don’t be afraid to have fun with it! Look at how festive and inviting the finished pie looks in the photo.
Paisley’s Secrets for Success
- Gentle layering: Pour each layer slowly and gently over the back of a spoon to prevent the colors from mixing.
- Chill time is key: Allow each layer to set completely before adding the next one. This prevents the colors from bleeding into each other.
- Whipped topping magic: For an even lighter and fluffier texture, fold extra whipped topping into each Jell-O layer.
- Crust control: If you’re using a homemade graham cracker crust, blind bake it for a few minutes before adding the Jell-O layers to prevent it from getting soggy.
- Cream cheese perfection: Make sure your cream cheese is softened to room temperature for easy mixing and a smooth texture.
- Sweeten it up: If you prefer a sweeter pie, add a tablespoon or two of sugar to each Jell-O layer.
- Get creative with decorations: Use your imagination and have fun with the decorations! Fresh fruit, chocolate shavings, and edible flowers are all great options.
Tasty Twists to Try
- Tropical Twist: Use pineapple, mango, and coconut Jell-O for a taste of the tropics.
- Citrus Burst: Combine orange, lime, and grapefruit Jell-O for a refreshing citrus sensation.
- Berrylicious: Use strawberry, raspberry, and blueberry Jell-O for a berry explosion.
- Rainbow Delight: Create a rainbow effect by using a variety of different Jell-O flavors.
How I Love to Serve This
- Easter Brunch: This Easter Jell-O Pie is the perfect centerpiece for your Easter brunch table.
- Potlucks and Parties: It’s easy to transport and always a crowd-pleaser.
- Family Gatherings: This pie is a wonderful way to share a sweet treat with loved ones.
- Afternoon Tea: A slice of this pie pairs perfectly with a cup of tea or coffee.
- Dessert Buffet: Add this vibrant pie to your dessert spread for a pop of color and flavor.
Pull Up a Chair & Chat
I’d love to hear your stories! Do you have a special Easter dessert tradition? What are your favorite Jell-O flavors to use in this pie? Share your thoughts and ideas in the comments below!
Final Thoughts
From my cozy kitchen to yours, I hope this Easter Jell-O Pie brings as much joy to your table as it does to mine. It’s a simple yet spectacular dessert that’s perfect for celebrating the season. So gather your ingredients, put on your apron, and let’s bake some happiness together!
FAQs About Easter Jell-O Pie
- Can I make this pie ahead of time? Absolutely! This pie is best made a day ahead to allow it to fully set.
- How long does it last in the refrigerator? Store leftover pie in the refrigerator for up to 3 days.
- Can I use sugar-free Jell-O? Yes, you can use sugar-free Jell-O for a lighter option.
- Can I freeze this pie? While you can freeze it, the texture might change slightly upon thawing. It’s best enjoyed fresh.
- What if my layers don’t set properly? Make sure you’re using enough cold water and allowing sufficient chilling time for each layer. You can also try using a little less liquid for a firmer set.
- Can I use a different type of crust? Feel free to experiment with different crusts, such as Oreo or shortbread.
- Can I add fruit to the layers? Yes! Fresh berries, mandarin oranges, or chopped pineapple would be delicious additions. Just make sure to add them after the Jell-O has cooled slightly but before it starts to set.

Easter Jell-O Pie
Course: DessertCuisine: AmericanDifficulty: Easy4
servings30
minutes40
minutes300
kcal1
hour10
minutesA vibrant and layered Jell-O pie perfect for Easter celebrations, featuring lemon, blue, and grape flavors in a graham cracker crust, topped with whipped cream and festive decorations.
Ingredients
1 pre-made graham cracker crust
1 (3 oz) box lemon Jell-O
1 (3 oz) box grape Jell-O
1 (3 oz) box berry blue Jell-O
3 cups boiling water (1 cup per Jell-O flavor)
3 cups cold water (1 cup per Jell-O flavor)
8 oz cream cheese, softened
1 ½ cups whipped topping
Whipped cream, for decoration
Pastel sprinkles, for decoration
Candy eggs, for decoration
Directions
- Dissolve lemon Jell-O in 1 cup boiling water.
- Add 1 cup cold water to the lemon Jell-O mixture and stir until completely dissolved.
- Let the lemon mixture cool slightly.
- In a separate bowl, beat ⅓ of the softened cream cheese until smooth.
- Gently fold ½ cup of whipped topping into the lemon Jell-O mixture.
- Pour the lemon layer into the graham cracker crust.
- Refrigerate for 30 minutes, or until set.
- Repeat steps 1-6 with the berry blue Jell-O, layering it gently over the set lemon layer. Refrigerate for another 30 minutes.
- Repeat steps 1-6 with the grape Jell-O, pouring it on top of the blue layer.
- Chill the pie for at least 4 hours, or until fully set.
- Decorate with whipped cream, pastel sprinkles, and candy eggs before serving.