Cookies and Cream Dessert Cups
Table of Contents
There’s something wonderfully magical about simple, delightful desserts that transport us back to cherished moments in our childhood kitchens. As I stand here in my cozy kitchen, surrounded by the familiar aroma of cookies and cream dessert cups, I’m instantly reminded of those sunny afternoons spent baking with my grandmother. Her laugh was as warm as the oven, and her love was as comforting as the treats we made together. These little cups of joy hold a special place in my heart, and today, I’m thrilled to share this easy peasy recipe with you.
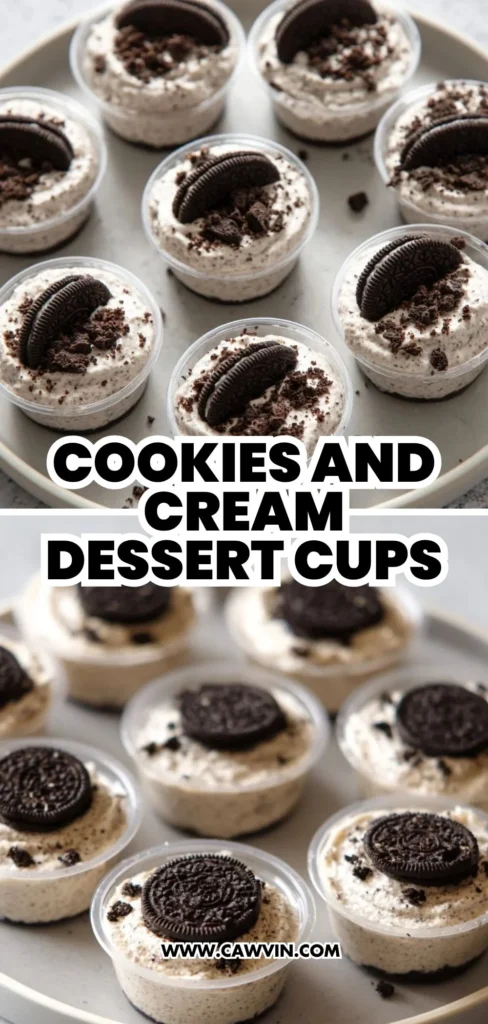
Imagine a dessert that combines the classic charm of cookies and cream with an effortless preparation that even the busiest among us can manage. That’s the magic of these Cookies and Cream Dessert Cups. They bring together the creamy, dreamy flavors we all love in a no-bake treat that’s perfect for any occasion. Whether you’re seeking comfort on a rainy day, looking to impress at a family gathering, or just craving a sweet indulgence, these dessert cups are your answer. With each spoonful, you’ll taste the nostalgia of homemade goodness and the simplicity of a recipe that feels like a warm hug. Plus, they’re a hit with kids and adults alike, making them a versatile addition to your dessert repertoire.
Why This Recipe Should Be on Your Table
These Cookies and Cream Dessert Cups bring a unique twist to traditional desserts, making them a delightful addition to any gathering or a special treat for yourself. Here’s why they deserve a spot on your table:
Easy Preparation: With no baking required, these dessert cups are perfect for those who want a quick treat without the fuss. The simplicity of this recipe means that it can be whipped up in under 30 minutes, making it ideal for last-minute dessert needs or spontaneous sweet cravings.
Crowd-Pleaser: The classic combination of cookies and cream is universally loved, ensuring that these cups will be a hit at any event. Whether it’s a birthday party, a potluck with friends, or a casual dinner, these cups are bound to be a conversation starter.
Make-Ahead Friendly: Prepare these cups in advance and store them in the fridge, freeing up your time for other activities. You can easily make these a day before, allowing the flavors to meld and intensify, creating an even richer taste.
Kid-Friendly: Small cups and familiar flavors make this a fun and engaging treat for little ones to enjoy. You can even involve children in the preparation process, letting them crush the cookies or help with layering the dessert cups, turning it into a fun family activity.
Versatile Presentation: Serve them casually for a cozy night in or dress them up with fancy toppings for a special occasion. Consider adding a sprinkle of edible glitter, a drizzle of chocolate sauce, or a few fresh berries for a colorful and elegant touch.
Kitchen Tools to Make This Recipe Easy Peasy
To whip up these delightful bites, you won’t need much — just a few trusty kitchen tools, much like the ones my grandma used when teaching me the joy of homemade snacks.
Small Mixing Bowl: Perfect for combining the chocolate cookie crust ingredients. A medium-sized bowl will also do if you plan to make a larger batch.
Electric Hand Mixer: Essential for creating a smooth, creamy filling. If you don’t have one, a sturdy whisk will work, though it might take a bit more elbow grease.
Piping Bag: Helps in neatly layering the filling into the cups. If you don’t have a piping bag, a zip-top plastic bag with a corner snipped off works as a great alternative.
Measuring Cups and Spoons: For precise ingredient measurements. Precision is key to maintaining the perfect balance of flavors in this recipe.
Plastic Cups or Dessert Cups: Ideal for serving individual portions of the dessert. You can opt for glass cups for a more upscale presentation, or even biodegradable options for environmentally conscious events.
How to Make This Recipe Easy Peasy
Ingredients
Chocolate Cookie Crust
- 2 cups (320 g) crushed chocolate sandwich cookies
- ¼ cup (56 g) butter, melted
Cookies and Cream Filling
- 8 oz (227 g) cream cheese, room temperature
- ¾ cup (150 g) granulated sugar
- 2 tsp vanilla extract
- 1 ½ cups (357 g) heavy cream
- ½ cup (80 g) crushed chocolate sandwich cookies
Garnish
- 28 mini chocolate sandwich cookies
Instructions
In a small bowl, combine 2 cups chocolate sandwich cookie crumbs and melted butter. The melted butter acts as a binding agent, holding the cookie crumbs together to form a firm base for the dessert cups.
Portion the crumbs into 28 2-ounce plastic cups using a small cookie scoop or spoon. Use one of the plastic cups to press the crumbs into the bottom of the cup. This ensures an even, compact crust that will hold up well when the filling is added.
In another mixing bowl, combine room temperature cream cheese and granulated sugar. Cream together with an electric hand mixer on medium speed until combined and smooth. The cream cheese should be soft and pliable to ensure a smooth mixture without lumps.
Add in heavy cream and vanilla extract. Whip on medium-high speed until light and fluffy. This step incorporates air into the mixture, giving it a luxurious, mousse-like texture.
Fold in ½ cup chocolate sandwich cookie crumbs. This adds texture and an extra punch of flavor to the creamy filling.
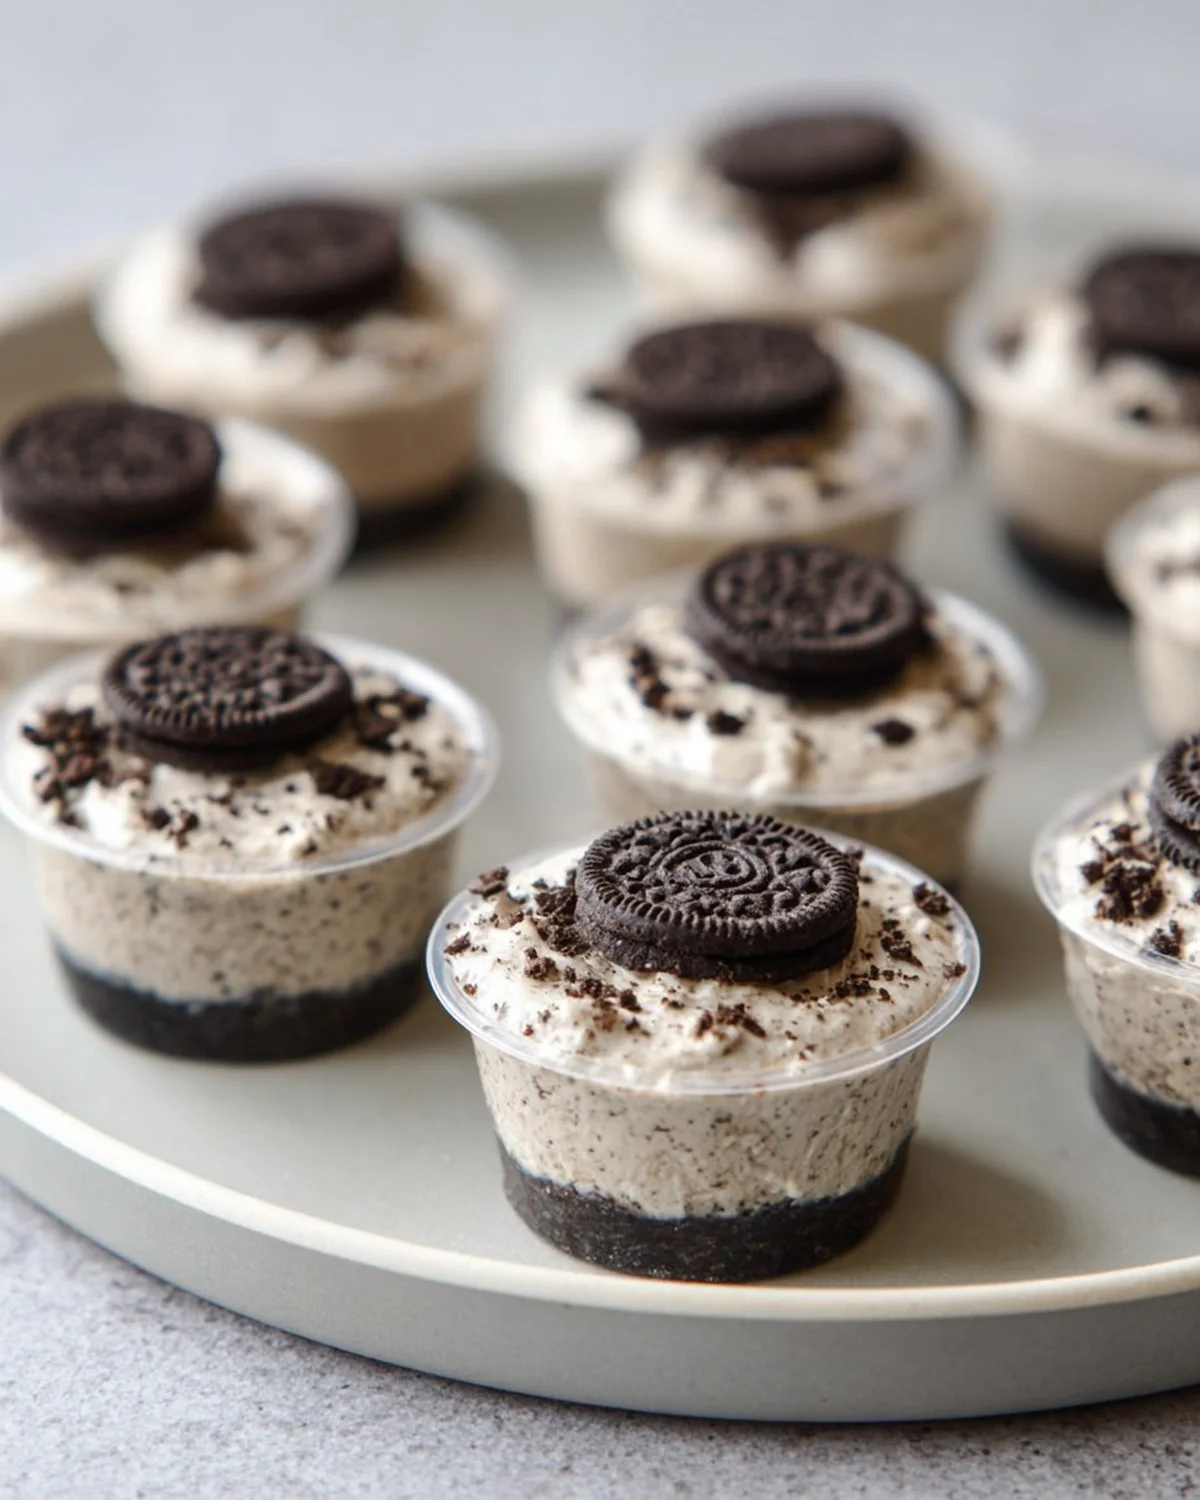
Fill a piping bag with the cookies and cream mixture. Pipe the mixture into the cups until about 3/4 full. This method allows for a neat and even distribution of the filling.
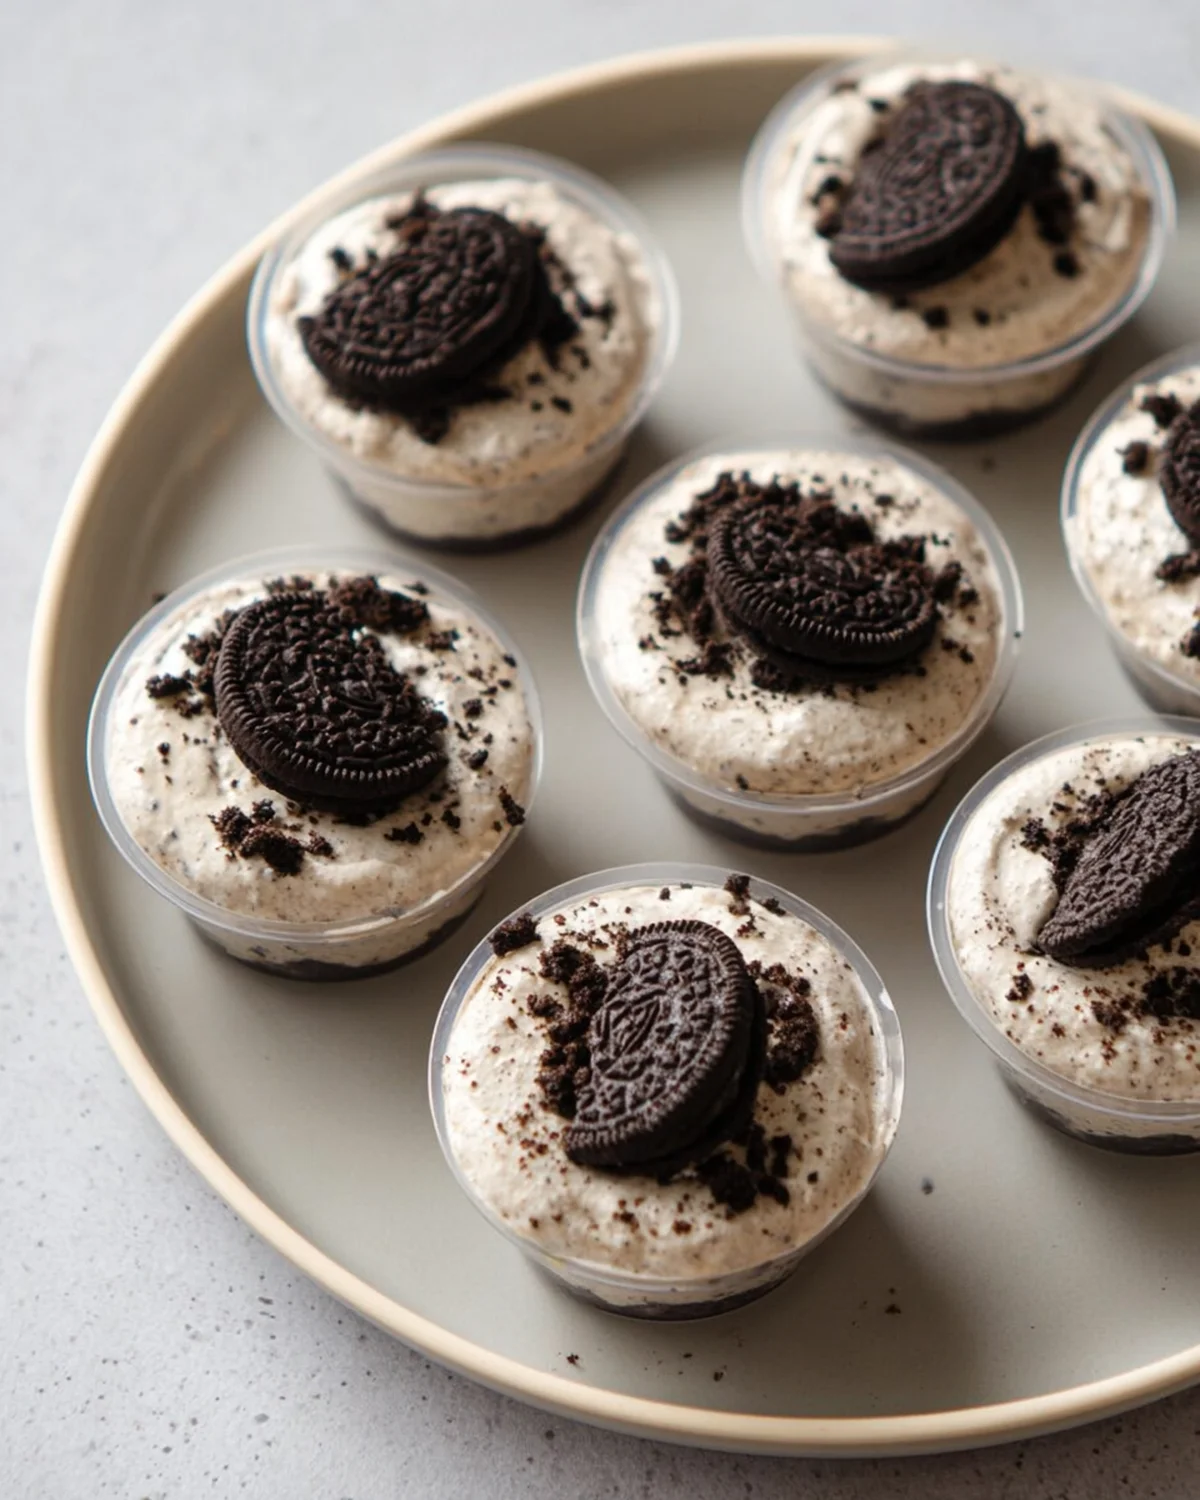
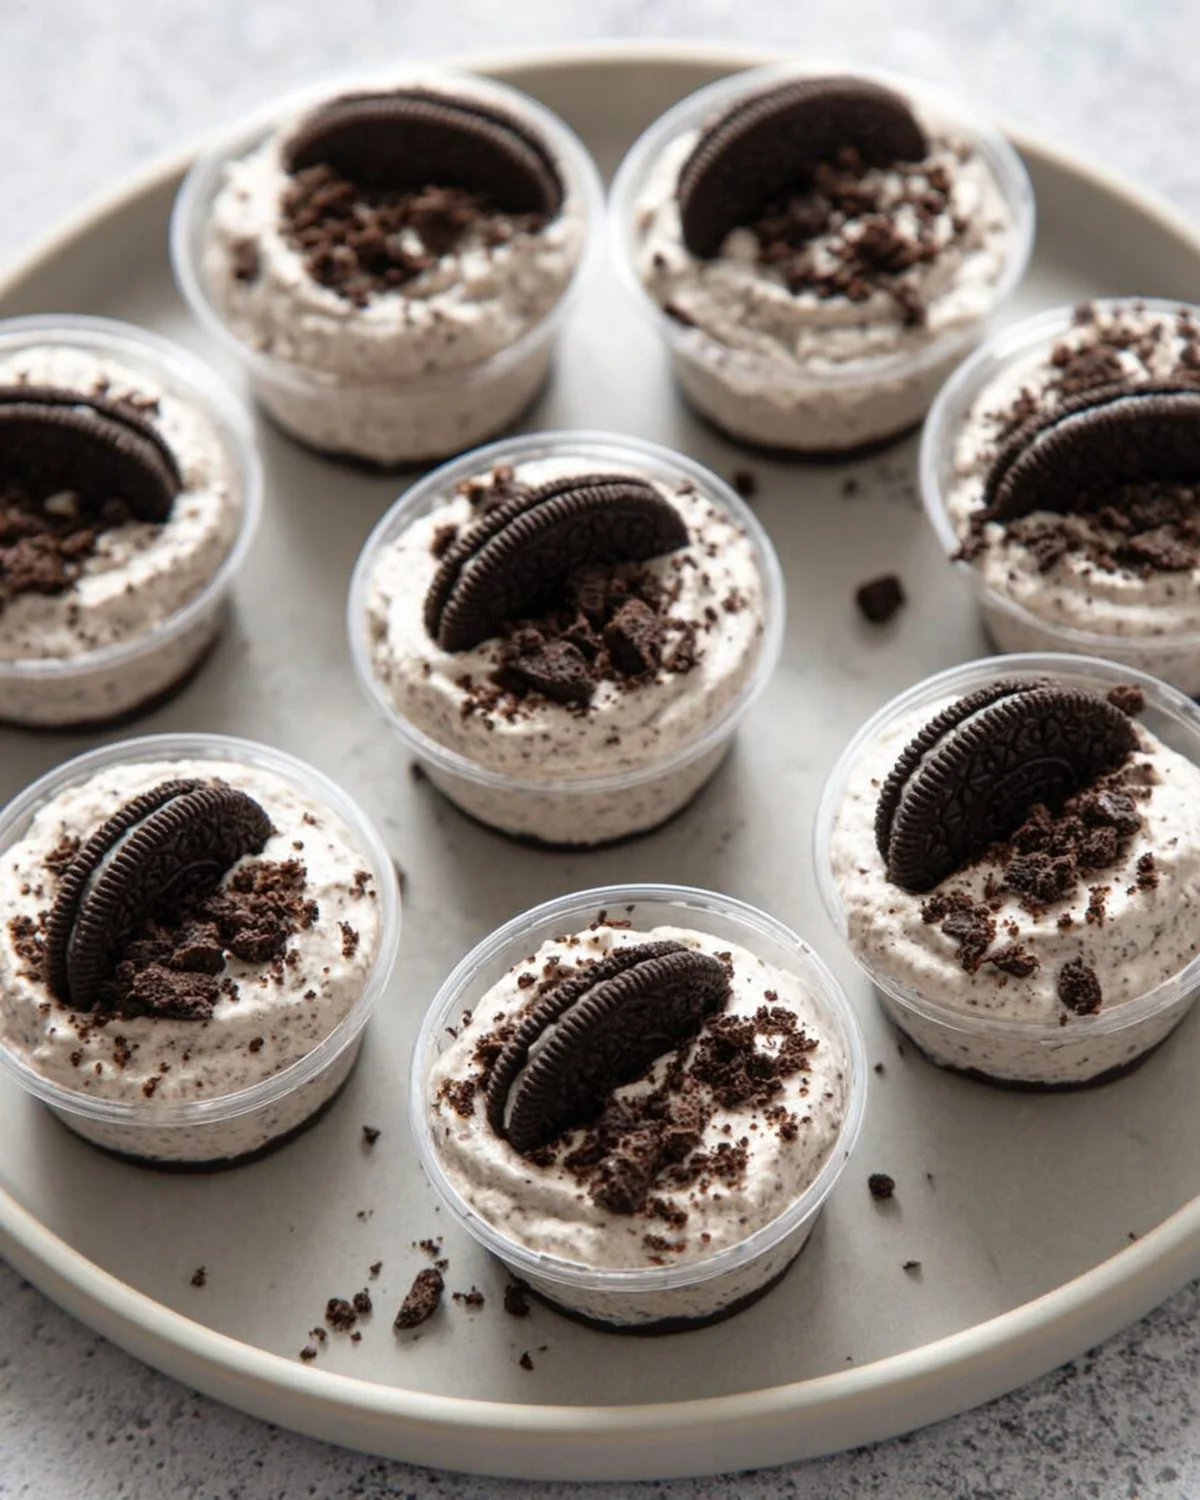
Top each dessert cup with a mini chocolate sandwich cookie or additional cookie crumbs. This garnish not only adds visual appeal but also a delightful crunch.
Seal the cups with a lid and chill. The cups can be served immediately or stored in the refrigerator for 2-3 days. Chilling helps the flavors meld together, enhancing the overall taste.
Difficulty: Easy • Cuisine: American • Preparation Time: 20 minutes • Cooking Time: None • Total Time: 20 minutes • Calories: 200 per cup • Servings: 28
Note: For a richer taste, try adding a hint of cocoa powder to the cream cheese mixture. This addition intensifies the chocolate flavor, making the dessert even more decadent.
Health and Flavor Benefits of Ingredients
These Cookies and Cream Dessert Cups not only promise delightful flavors but also come with some surprising benefits:
Chocolate Sandwich Cookies: Provide a familiar, comforting flavor that evokes childhood memories. They are the quintessential component of the cookies and cream flavor, offering both taste and texture.
Cream Cheese: Adds a rich, tangy flavor and creamy texture to the filling. It is also a source of calcium and protein, making it a slightly healthier option for a creamy base.
Heavy Cream: Whips into a light, fluffy consistency for a luscious, melt-in-your-mouth experience. It contributes to the rich mouthfeel of the dessert and aids in achieving the perfect texture.
Vanilla Extract: Enhances the flavor profile, adding depth and warmth to the dessert. It’s the secret ingredient that ties all the flavors together, providing a sweet, aromatic undertone.

Tasty Pairings to Serve with This Easy Peasy Dish
These Cookies and Cream Dessert Cups are versatile companions to various beverages and dishes, making them perfect for any occasion:
Coffee: The rich, bitter notes of coffee balance beautifully with the sweetness of the dessert. Consider serving a fresh espresso or a cappuccino alongside these dessert cups for a sophisticated pairing.
Milk: A classic, refreshing pairing that complements the creamy filling. This combination is sure to be a favorite among children and those young at heart.
Fresh Berries: Add a pop of color and a hint of tartness to each serving. Raspberries, strawberries, or blueberries work particularly well, offering a contrast that enhances the dessert’s sweetness.
Mint Tea: Offers a light, herbal contrast to the rich, sweet flavors. The refreshing notes of mint cleanse the palate, making each bite of the dessert feel like the first.
Storage Tips and How to Enjoy Leftovers the Easy Peasy Way
To keep your Cookies and Cream Dessert Cups fresh and delicious, store them in an airtight container in the refrigerator for up to three days. This not only maintains their freshness but also ensures that the creamy filling remains soft and velvety.
If you find yourself with leftovers, these cups can be easily transformed into a fun ice cream topping. Simply scoop out the filling and crumble the crust over your favorite ice cream for a quick and easy treat. Alternatively, you can freeze the cups for an hour to create a firmer, ice cream-like texture, offering a different but equally delightful dessert experience.
As you savor each spoonful of these delightful dessert cups, remember that the heart of cooking isn’t just about the food we create, but the love we pour into it. Whether you’re making these for a family gathering, a holiday celebration, or just a quiet night at home, these Cookies and Cream Dessert Cups are sure to bring comfort and joy to your table. Happy cooking!
Pin this Easy Peasy recipe!
Love this recipe? Pin the image below to your favorite Pinterest boards and bring a little Easy Peasy comfort to your kitchen whenever you need it.

Cookies and Cream Dessert Cups
Ingredients
Equipment
Method
- In a small bowl, combine 2 cups chocolate sandwich cookie crumbs and melted butter.
- Portion the crumbs into 28 2-ounce plastic cups using a small cookie scoop or spoon. Use one of the plastic cups to press the crumbs into the bottom of the cup.
- In another mixing bowl, combine room temperature cream cheese and granulated sugar. Cream together with an electric hand mixer on medium speed until combined and smooth.
- Add in heavy cream and vanilla extract. Whip on medium-high speed until light and fluffy.
- Fold in 1/2 cup chocolate sandwich cookie crumbs.
- Fill a piping bag with the cookies and cream mixture. Pipe the mixture into the cups until about 3/4 full.
- Top each dessert cup with a mini chocolate sandwich cookie or additional cookie crumbs.
- Seal the cups with a lid and chill. The cups can be served immediately or stored in the refrigerator for 2-3 days.