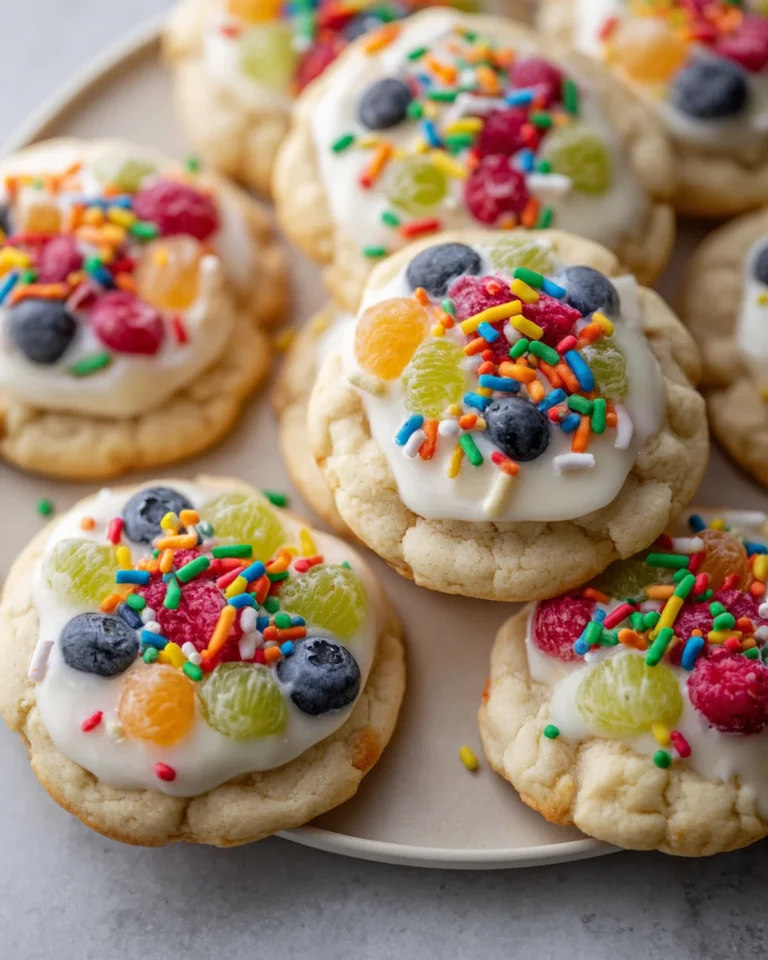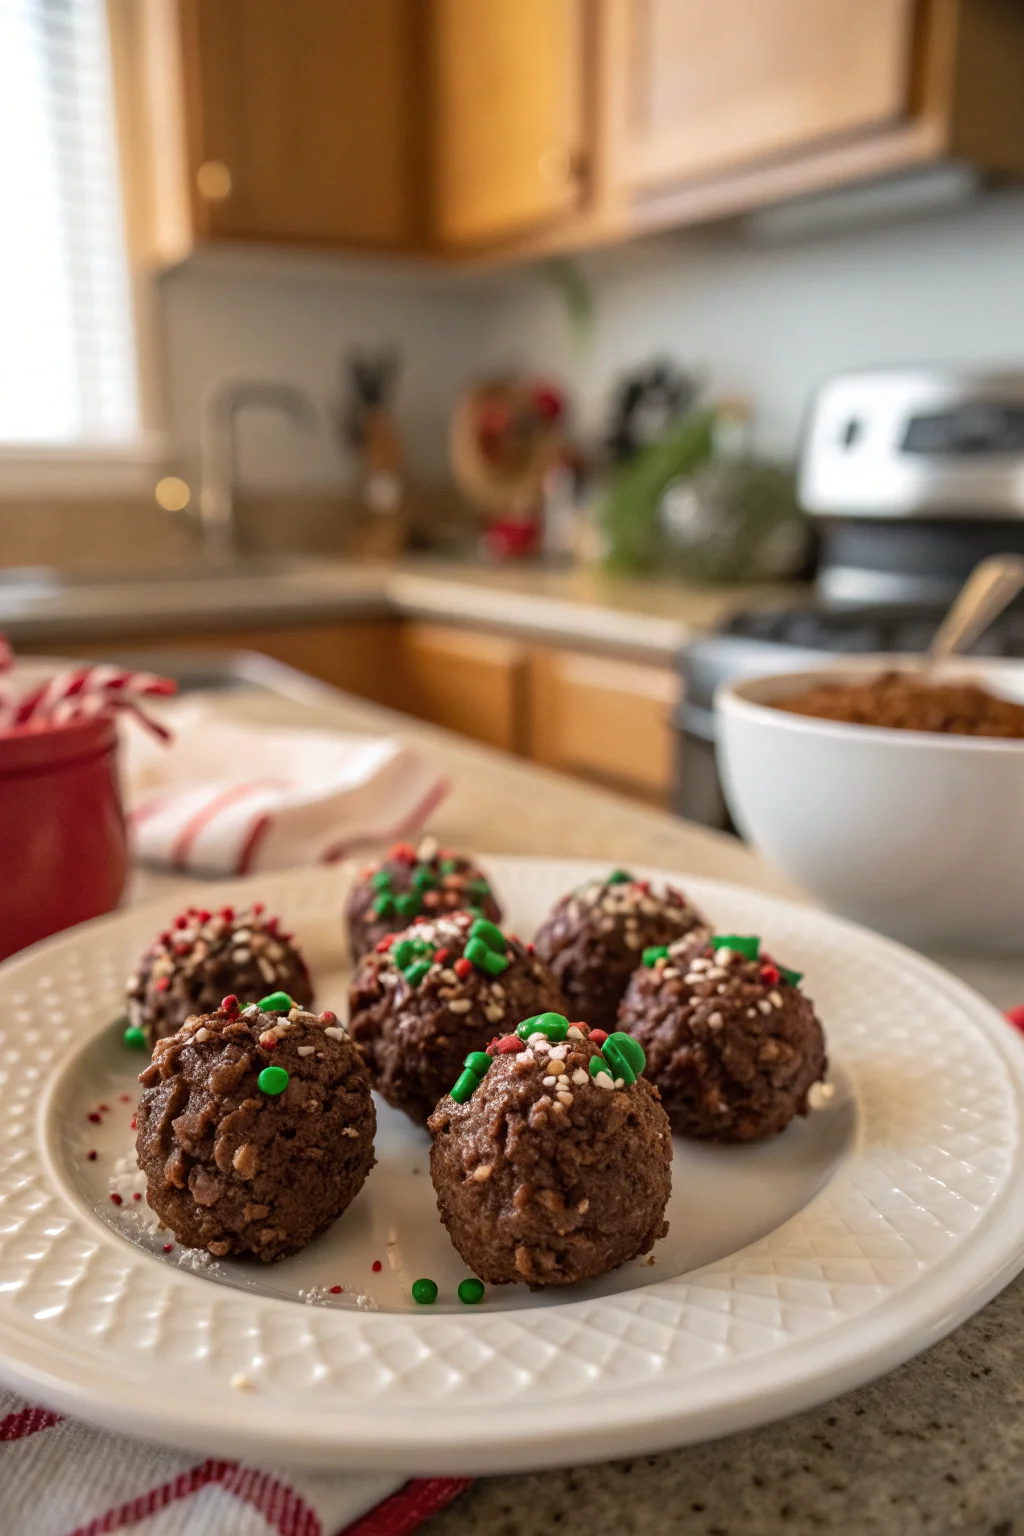
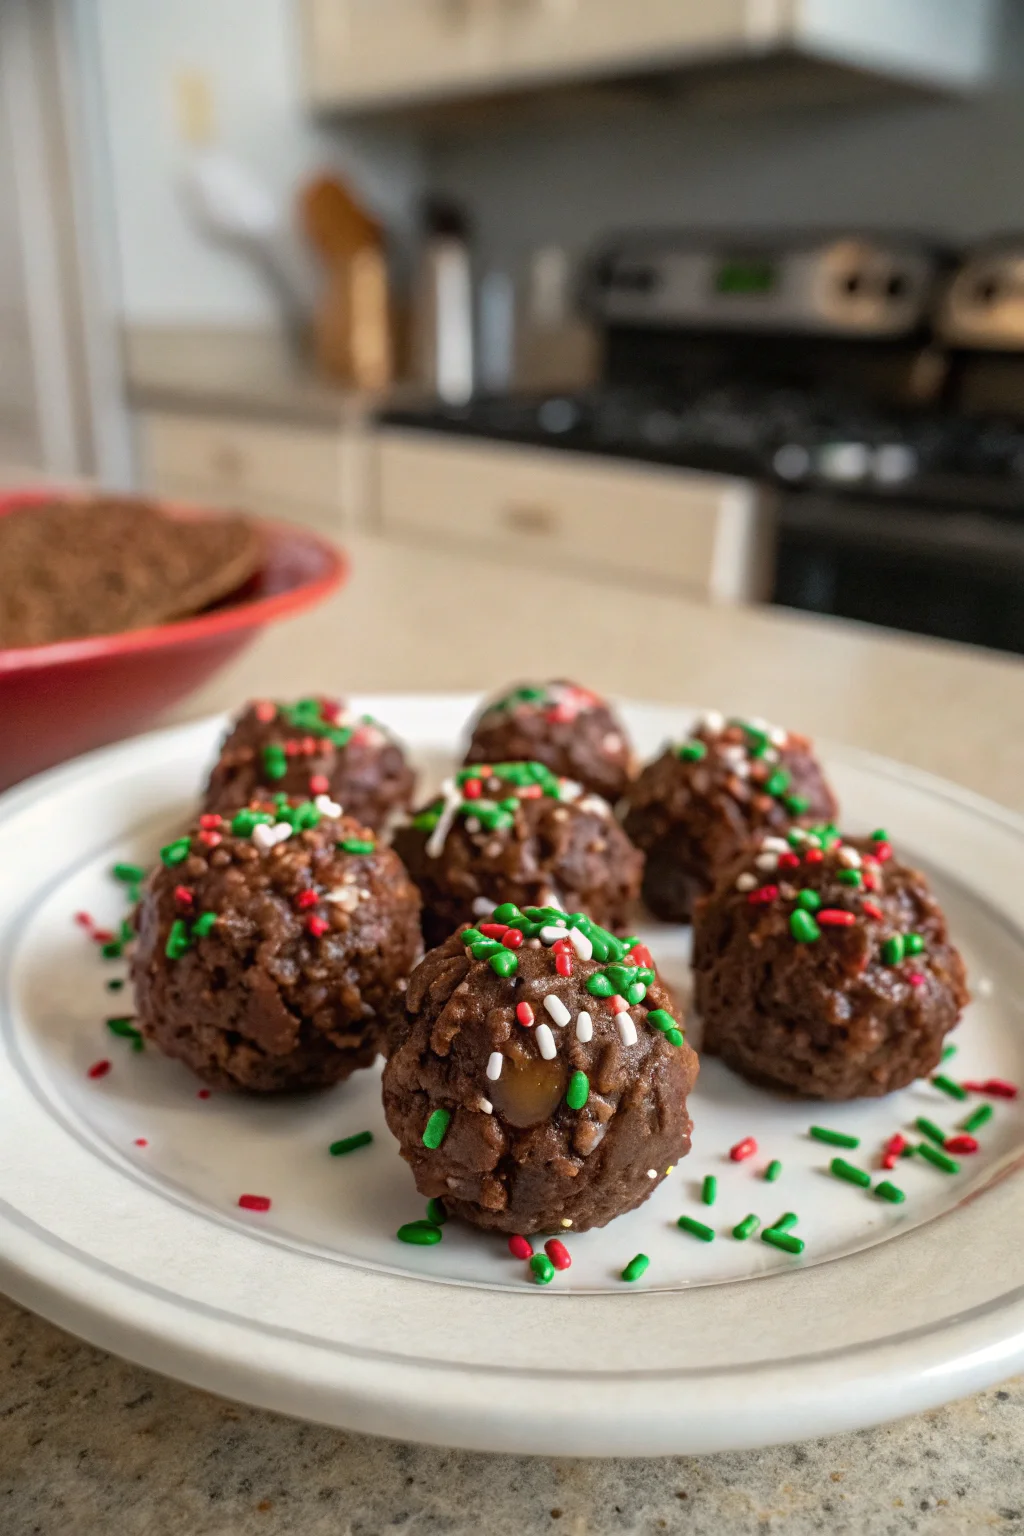
Christmas Chocolate Rice Krispie Balls with Peanut Butter
Table of Contents
As the holidays approach, the air becomes crisp and the world seems to twinkle with festive lights, I find myself drawn to the kitchen, ready to create treats that bring joy and warmth to my loved ones. One of my all-time favorites is the Christmas Chocolate Rice Krispie Balls. These little bites of happiness are more than just a treat—they’re a tradition in my home. Every year, as I mix the ingredients together, I’m transported back to my grandmother’s kitchen, where the smell of chocolate and peanut butter filled the air, and laughter echoed through the halls. The charm of this recipe lies in its simplicity and the way it brings people together, one sweet bite at a time.
Why This Recipe Should Be on Your Table
- Simple Ingredients: You’ll likely find most of these ingredients already in your pantry, making this recipe both convenient and budget-friendly. With staples like peanut butter, butter, and chocolate, there’s no need for a last-minute grocery run.
- Quick Preparation: With just 15 minutes of prep time, these treats are perfect for those busy holiday schedules. Even with the added time for chilling, you’ll find yourself enjoying these sweet treats quickly.
- Versatile Flavor: The combination of creamy peanut butter, crunchy Rice Krispies, and rich chocolate create a texture and flavor that’s hard to resist. The balance between the sweetness of chocolate and the slight saltiness of peanut butter is divine.
- Perfect for Gifting: These balls make delightful homemade gifts, beautifully packaged in a festive tin or jar. Add a ribbon or a personal note to make your gift even more special.
- Kid-Friendly: A fun recipe to make with kids, encouraging them to get involved in holiday traditions. Watching children roll the mixture into balls and dip them in chocolate is a joy to behold.
Kitchen Tools to Make This Recipe Easy Peasy
- Large mixing bowl
Essential for mixing your ingredients without making a mess. - Small cookie scoop or your hands
Depending on your preference for precision or a more rustic approach. - Microwave-safe bowl
Ensure it’s large enough to hold all the chocolate chips, allowing for easy stirring. - Baking sheet
Line with parchment paper for easy clean-up and to prevent sticking. - Parchment paper
Keeps your treats from sticking and makes transferring them simple. - Fork
Perfect for dipping and removing the balls from the chocolate.
How to Make This Recipe Easy Peasy
INGREDIENTS
For the Filling:
– ½ cup peanut butter (smooth or crunchy)
Whether you prefer smooth or crunchy peanut butter, both will work well, adding a luscious consistency or a bit of extra crunch.
– 3 tbsp butter, softened
Softened butter ensures easy mixing and a smooth texture in the mixture.
– 1 tsp vanilla extract
This adds a warmth and depth of flavor that complements the other ingredients beautifully.
– 1 cup Rice Krispies cereal
The key to the delightful crunch in every bite.
– ½ cup chopped pecans, toasted (optional)
Toasting the pecans brings out their full, rich flavor, adding a delightful nutty note.
– 1 cup shredded coconut
For a tropical twist and extra texture, you can opt for sweetened or unsweetened coconut depending on your preference.
For the Coating:
– 1 package chocolate chips (milk, semi-sweet, or dark chocolate)
Use your favorite type of chocolate to customize the sweetness and richness of your coating.
– 1 square sweet chocolate
This helps balance the flavors, especially if using a darker chocolate variety for the chips.
INSTRUCTIONS
- In a large mixing bowl, combine the peanut butter, softened butter, and vanilla extract. Stir until smooth and creamy. This mixture is the foundation of your Krispie Balls, providing both flavor and structure.
- Add the Rice Krispies cereal, chopped pecans, and shredded coconut to the bowl. Mix gently until all ingredients are well incorporated. Be careful not to crush the cereal to maintain that desirable crunch.
- Using your hands or a small cookie scoop, form the mixture into bite-sized balls and place them on a parchment-lined baking sheet. The size is up to you, but I find that about 1-inch balls are perfect for popping into your mouth.
- In a microwave-safe bowl, melt the chocolate chips and sweet chocolate in 30-second intervals, stirring in between, until smooth and fully melted. Be patient and stir frequently to avoid burning the chocolate.
- Dip each Rice Krispie ball into the melted chocolate coating, ensuring it is fully covered. Use a fork to lift and allow excess chocolate to drip off. This step can be a bit messy but it’s worth every chocolatey finger!
- Place the coated balls back on the parchment-lined baking sheet. Refrigerate for at least 1 hour or until the chocolate hardens. This ensures a nice, crisp coating that holds up well during serving.
- Serve chilled or at room temperature for a festive and crunchy treat. The choice is yours; chilled offers a firmer bite, while room temperature gives a softer, gooey experience.
Difficulty: Easy • Cuisine: American • Preparation Time: 15 minutes • Cooking Time: 10 minutes • Calories: 180 kcal • Servings: 20 servings
Note: Toast pecans lightly in a dry skillet to bring out their nutty flavor before adding to the mixture.
Health and Flavor Benefits of Ingredients
- Peanut Butter: Provides a creamy base and rich flavor, while also adding protein. It’s the heart of the recipe, bringing everything together with its nutty goodness.
- Butter: Adds smoothness and helps bind the ingredients together. It also contributes to the richness of the flavor.
- Vanilla Extract: Enhances the sweetness with a delicate aroma. Its presence elevates the overall flavor profile.
- Rice Krispies Cereal: Offers a delightful crunch and airy texture. It’s the surprise element that makes each bite interesting.
- Chopped Pecans: Optional but recommended for a nutty depth. Their crunch and flavor are an excellent complement to the sweetness.
- Shredded Coconut: Adds a chewy texture and tropical hint. It’s a subtle addition that makes a big difference in texture.
- Chocolate Chips & Sweet Chocolate: Give the balls a decadent coating, making them irresistibly chocolatey. The type of chocolate you choose can make each batch unique.
Tasty Pairings to Serve with This Easy Peasy Dish
These Christmas Chocolate Rice Krispie Balls are versatile enough to be served alongside a variety of other holiday treats like sugar cookies, gingerbread men, or a warm cup of cocoa. They also pair wonderfully with a glass of cold milk or festive eggnog, making them a perfect addition to any holiday dessert table. Consider adding them to a dessert platter for parties, where their unique shape and rich flavor will stand out among traditional cookies and cakes.
Storage Tips and How to Enjoy Leftovers the Easy Peasy Way
To keep your Rice Krispie Balls fresh, store them in an airtight container in the refrigerator for up to a week. This helps maintain their texture and flavor. If you’re planning to make them ahead of time, they can also be frozen. Simply place them in a single layer on a baking sheet to freeze initially, then transfer to a freezer-safe container or bag. They’ll keep well for up to three months. When you’re ready to enjoy, just allow them to thaw in the fridge overnight. This method ensures you always have a sweet treat on hand for unexpected guests or a quick dessert fix.
I hope these Christmas Chocolate Rice Krispie Balls bring as much joy to your home as they do to mine. Creating these treats is more than just about the end result—it’s about the love and care that goes into each step. Share them with family and friends, and let the sweet memories unfold. From my kitchen to yours, I hope this recipe brings comfort and smiles to your table. May these little chocolate delights become a cherished part of your holiday tradition, creating moments of happiness for years to come.
Pin this Easy Peasy recipe!
Love this recipe? Pin the image below to your favorite Pinterest boards and bring a little Easy Peasy comfort to your kitchen whenever you need it.


Ingredients
Method
- In a large mixing bowl, combine the peanut butter, softened butter, and vanilla extract. Stir until smooth and creamy. This mixture is the foundation of your Krispie Balls, providing both flavor and structure.
- Add the Rice Krispies cereal, chopped pecans, and shredded coconut to the bowl. Mix gently until all ingredients are well incorporated. Be careful not to crush the cereal to maintain that desirable crunch.
- Using your hands or a small cookie scoop, form the mixture into bite-sized balls and place them on a parchment-lined baking sheet. The size is up to you, but I find that about 1-inch balls are perfect for popping into your mouth.
- In a microwave-safe bowl, melt the chocolate chips and sweet chocolate in 30-second intervals, stirring in between, until smooth and fully melted. Be patient and stir frequently to avoid burning the chocolate.
- Dip each Rice Krispie ball into the melted chocolate coating, ensuring it is fully covered. Use a fork to lift and allow excess chocolate to drip off. This step can be a bit messy but it’s worth every chocolatey finger!
- Place the coated balls back on the parchment-lined baking sheet. Refrigerate for at least 1 hour or until the chocolate hardens. This ensures a nice, crisp coating that holds up well during serving.
- Serve chilled or at room temperature for a festive and crunchy treat. The choice is yours; chilled offers a firmer bite, while room temperature gives a softer, gooey experience.