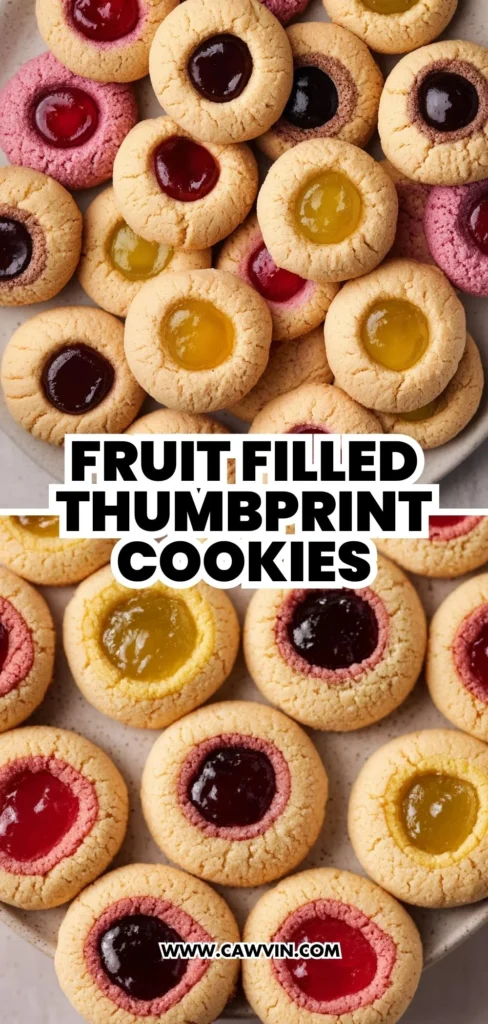
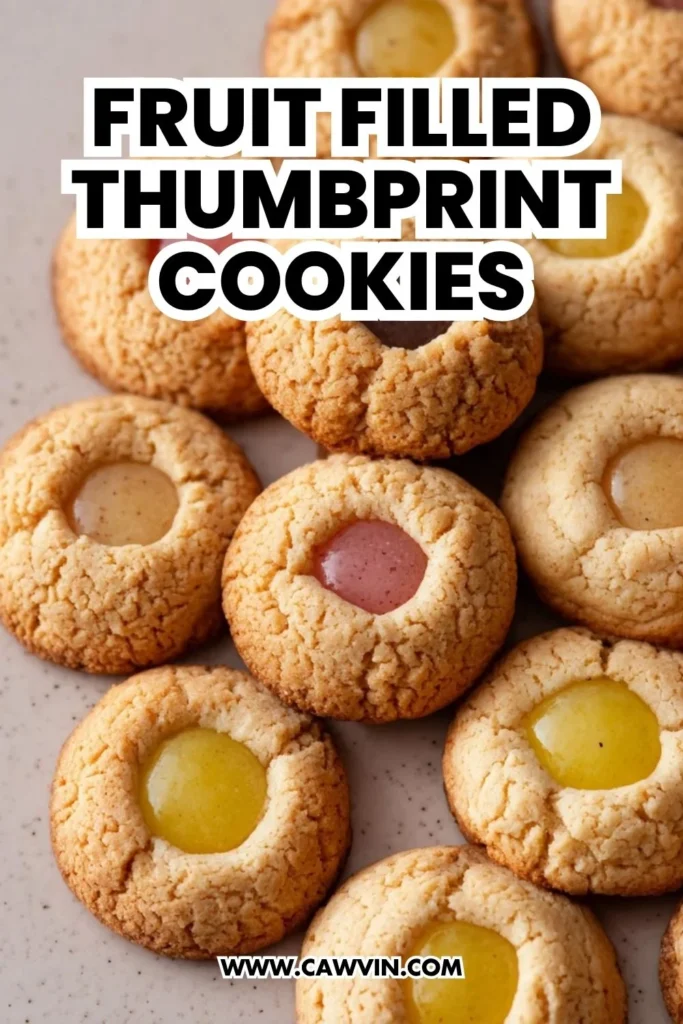
Fruit Filled Thumbprint Cookies
Table of Contents
When the seasons change and the air turns crisp, my memories drift to the cozy afternoons spent in my grandmother’s kitchen, with the aroma of freshly baked treats swirling around us like a warm embrace. One of my favorite memories is of making thumbprint cookies, those simple but delightful little bites that take me back to those cherished times. Today, I want to share with you my own twist on this classic recipe: Fruit Filled Thumbprint Cookies. These cookies promise not only the joy of baking but also the sweet satisfaction of a homemade treat, filled with the vibrant flavors of lemon or lime curd.
Imagine the crunch of a perfectly baked cookie giving way to a burst of tangy curd — it’s like a little taste of sunshine in every bite. They’re perfect for sharing during a cozy afternoon tea, delighting friends and family with their charm and flavor. And, for those who love to create simple yet impressive desserts, this recipe offers a wonderful opportunity to hone your baking skills while keeping it easy peasy. Plus, the ingredients are accessible, making these cookies a delightful project to enjoy with loved ones, whether you’re a seasoned baker or a kitchen newbie.
Why This Recipe Should Be on Your Table
These Fruit Filled Thumbprint Cookies bring a unique twist to traditional desserts, making them a delightful addition to any gathering or a special treat for yourself. Here’s why they deserve a spot on your table:
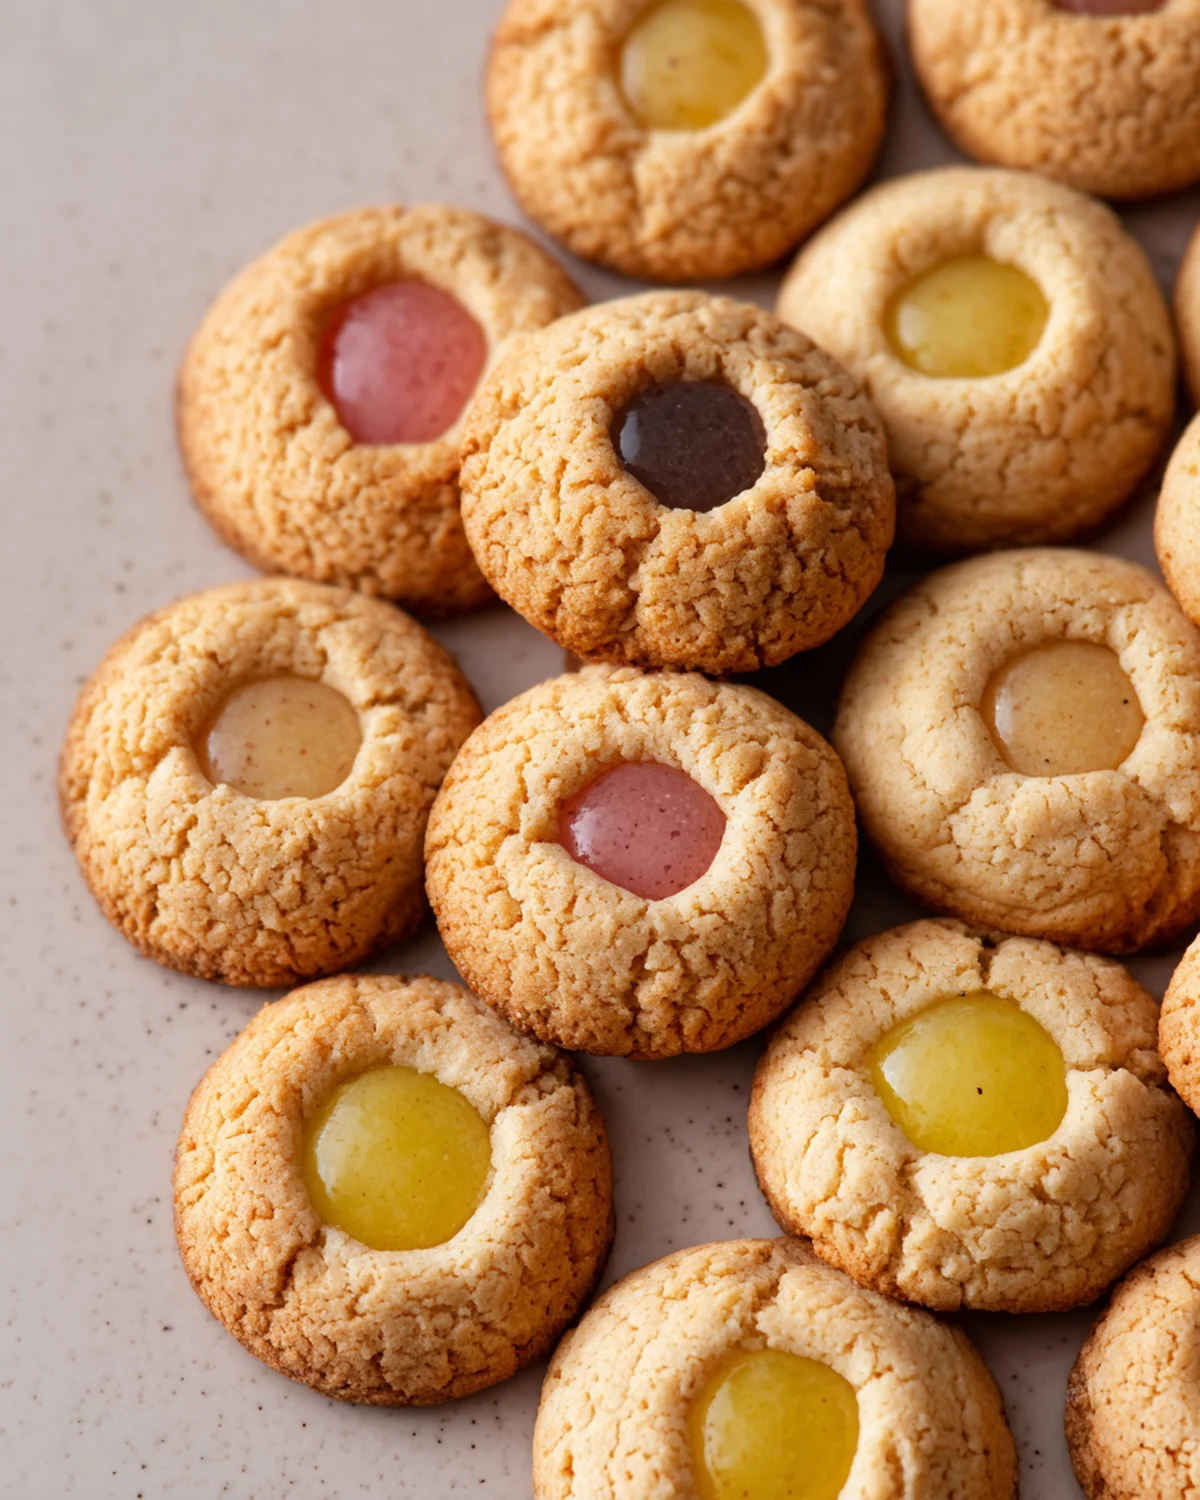
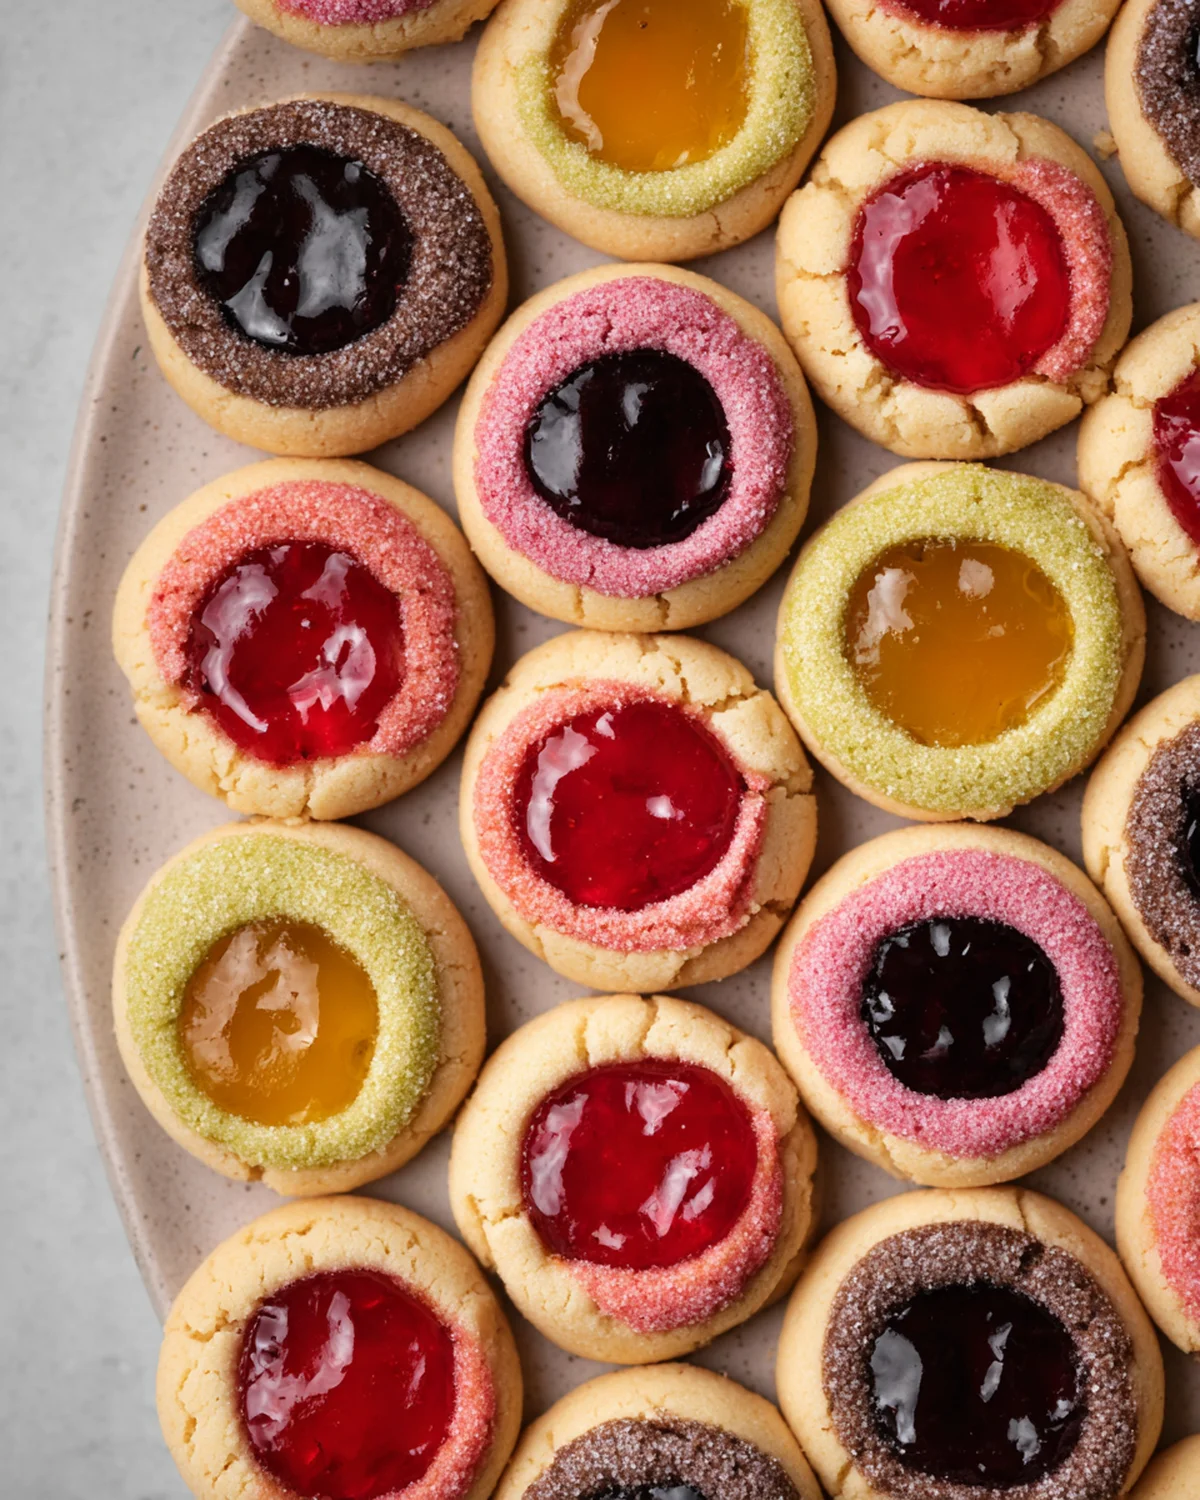
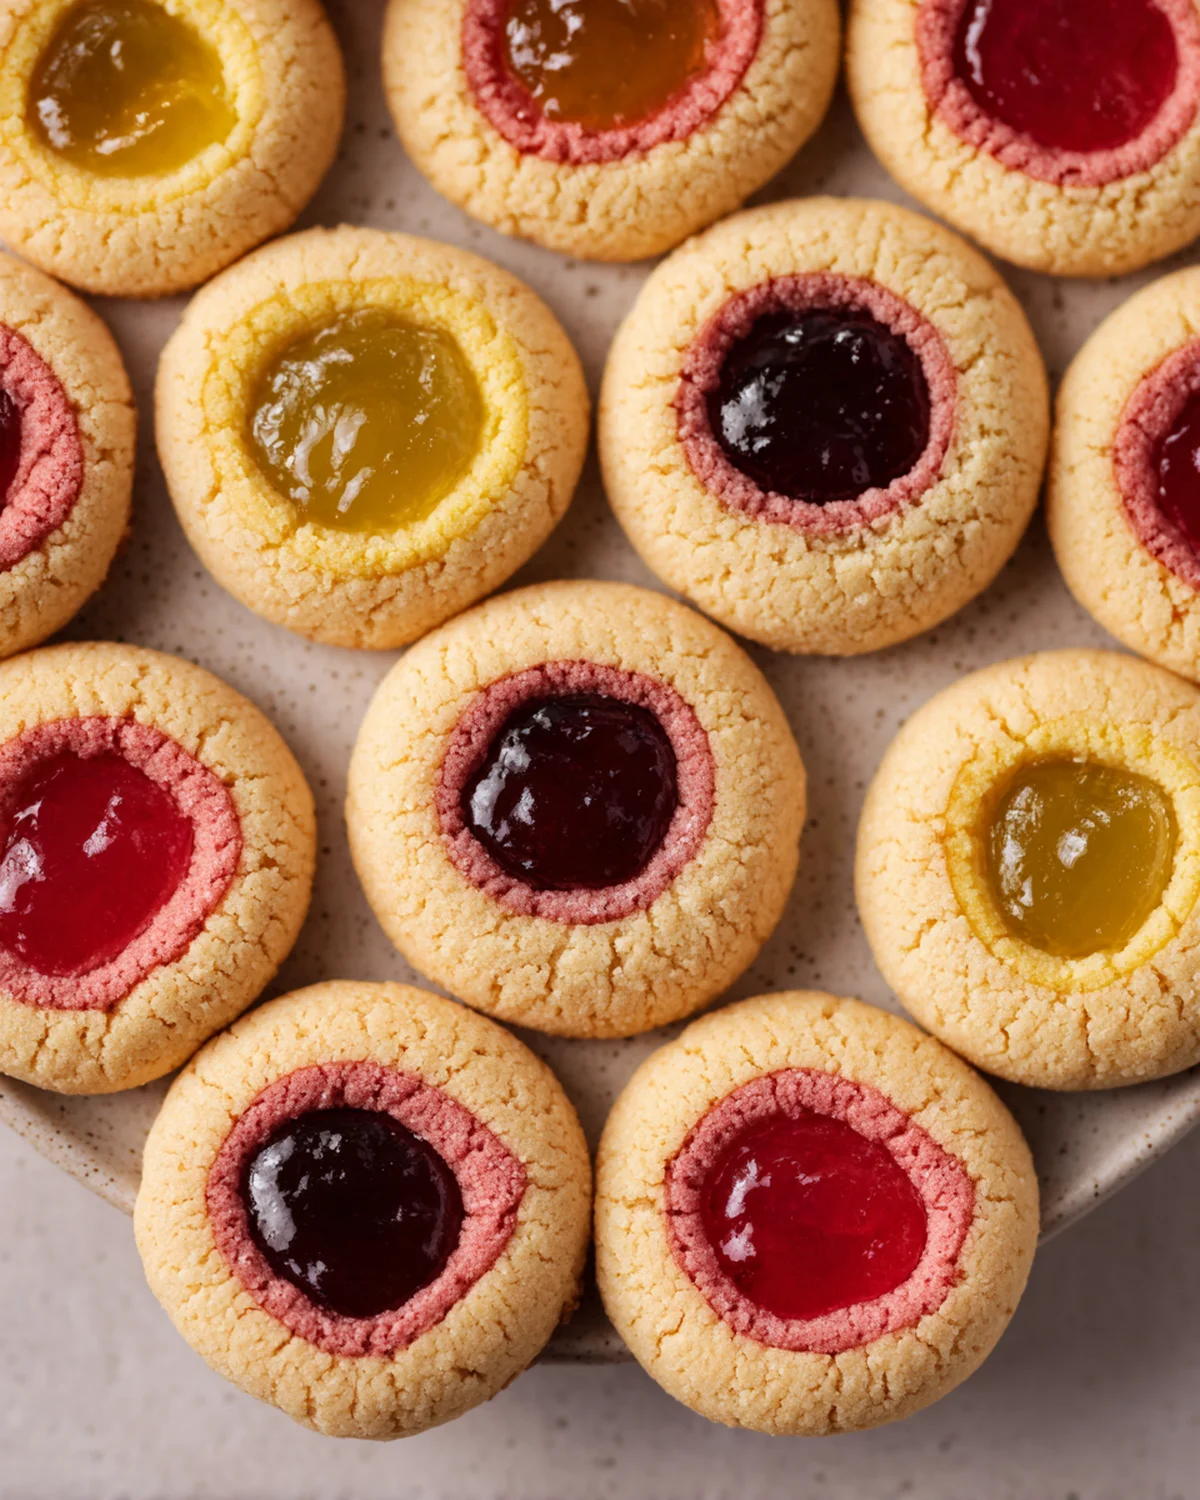
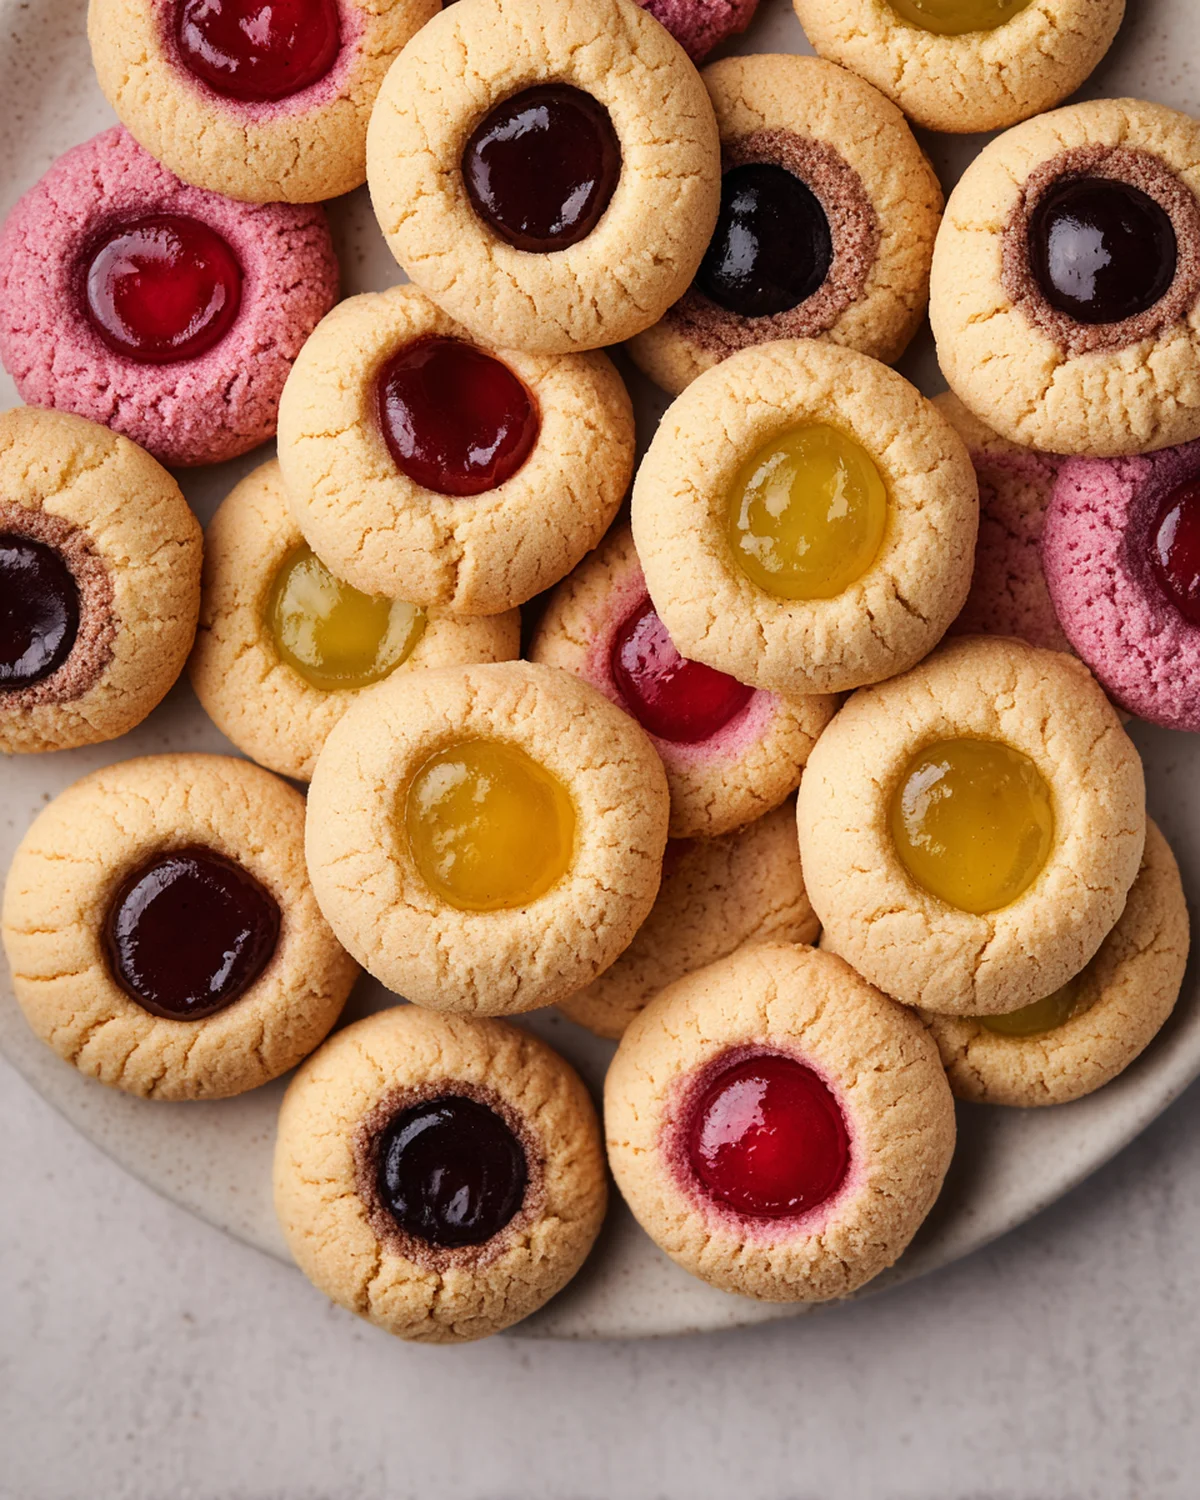
- Festive Appeal: Their bright, fruity centers make these cookies a show-stopper, perfect for any celebration or holiday table. Imagine a platter of these cookies at a festive gathering; their colorful centers catch the eye and invite curiosity.
- Versatile Delight: The option to use either lemon or lime curd offers a versatile flavor profile that can be adjusted to your taste. Whether you prefer the sunny sweetness of lemon or the zesty edge of lime, these cookies cater to your personal preference.
- Simple Elegance: Despite their sophisticated appearance, these cookies are easy to make, embodying the essence of effortless elegance. They have that magical quality of looking like they took hours of painstaking effort, when in fact, they come together with surprising ease.
- Nostalgic Comfort: They bring back the comforting joy of childhood baking, making them a heartwarming treat to share with family and friends. The process of pressing thumbprints into each dough ball evokes those warm kitchen memories and creates new ones with each batch.
- Perfect for Sharing: With their inviting look and delightful taste, these cookies are a wonderful way to spread love and sweetness. They make for the perfect homemade gift, wrapped in a simple box with a ribbon.
Kitchen Tools to Make This Recipe Easy Peasy
To whip up these delightful bites, you won’t need much — just a few trusty kitchen tools, much like the ones my grandma used when teaching me the joy of homemade snacks:
- Stand Mixer (or Hand Mixer): Essential for creaming the butter and sugar to create a fluffy cookie base. If you don’t have one, a sturdy wooden spoon and some elbow grease will work, though it might take a bit more time.
- Baking Sheet: A must for baking these cookies to perfection. Consider lining with parchment paper for easy cleanup and to prevent sticking.
- Parchment Paper: Ensures your cookies don’t stick and makes cleanup a breeze. It also allows you to reuse a single sheet for multiple batches, making the process efficient.
- Blender or Food Processor: Handy for grinding freeze-dried fruit into a fine powder. If you’re working with a smaller kitchen, a small spice grinder can serve the same purpose.
- Fine Mesh Sieve: Useful for straining the curd to achieve that smooth, velvety texture. A sieve also ensures no zest or egg bits remain in the curd, leaving a silky finish.
How to Make This Recipe Easy Peasy
Ingredients
For the cookies:
- 6 tbsp butter
- ½ cup granulated sugar
- 1 egg
- 1 tsp vanilla
- 1¼ cup flour
- ½ tsp salt
- ⅔ cup freeze dried fruit
Lemon or Lime Curd:
- 1 egg
- ⅓ cup granulated sugar
- 1 tsp cornstarch
- ¼ cup lemon or lime juice
- 1 tsp vanilla extract
- 1 pinch salt
- zest of 4 limes (if making lime curd)
- 2 tbsp butter
- green food coloring (optional if making lime curd)
Instructions
For the curd:
- In a small bowl, whisk egg, sugar, cornstarch, salt, and zest (for lime curd) together until combined, then whisk in the citrus juice and vanilla. This mixture should be smooth and well combined, making sure the cornstarch is fully dissolved to avoid any lumps.
- In a small saucepan, melt butter on low-medium heat. Be careful not to brown the butter; you want it just melted to incorporate seamlessly into the curd.
- Pour the lemon mixture into the saucepan and whisk over medium-low heat for about 5-10 minutes, until the mixture is thickened and bubbling slightly. Curd should coat the back of a spoon when it’s ready. Stir constantly to prevent the egg from scrambling.
- Optional: if making lime curd, add a drop of green food coloring to enhance the green color. This step is purely for aesthetic purposes, so feel free to skip if you prefer a more natural look.
- Strain the curd through a fine mesh sieve into a jar or bowl. Cover and chill for 2 hours or overnight. Store any excess curd in a sealed container in the fridge for 1-2 weeks. This curd is not only perfect for these cookies but makes a delicious spread on toast or a filling for pastries.
For the cookies:
- Prepare a baking sheet with parchment paper. This step ensures easy removal of the cookies and helps them bake evenly.
- In the bowl of a stand mixer with the paddle attachment, cream the butter and sugar together until fluffy. Add in the egg and vanilla extract, mixing until fully combined. The mixture should be light and creamy, an indication that the sugar has dissolved well.
- Add freeze dried fruit to a blender or food processor and grind into a fine powder. If needed, use a mortar and pestle (or a rolling pin) to grind down any large chunks left. The finer the powder, the more evenly distributed the fruit flavor will be.
- Mix the flour, salt, and fruit powder together in a separate bowl, then combine with wet ingredients and mix well to form a dough. The dough should hold together without being sticky; if it’s too dry, add a teaspoon of milk at a time.
- Use a cookie scoop to portion the dough, roll into 12 smooth balls, and arrange them on the baking sheet. Gently press your thumb, knuckle, or the back of a spoon on top of each dough ball to make a circular indent. The indent should be deep enough to hold a good amount of curd but not so deep that it cracks the dough.
- Chill the sheet of cookies for at least 30 minutes (or overnight). Chilling helps the cookies maintain their shape and prevents spreading during baking.
- Preheat the oven to 350ºF and bake cookies for 12 minutes, scooting after baking if needed. Let the cookies cool completely before adding your jams or curds to each one. To scoot, gently press the edges of each cookie inward with a spatula immediately after baking to maintain a round shape.
Difficulty: Easy • Cuisine: American • Preparation Time: 20 minutes • Cooking Time: 12 minutes • Total Time: 32 minutes • Calories: 150 • Servings: 12
Note: For a colorful twist, consider using different types of freeze-dried fruits for a variety of flavors and colors in your cookie batch. Strawberry, raspberry, or even blueberry can provide a delightful variation.
Health and Flavor Benefits of Ingredients
These Fruit Filled Thumbprint Cookies not only promise delightful flavors but also come with some surprising benefits:
- Freeze Dried Fruit: Packed with concentrated flavors and nutrients, freeze-dried fruit provides a unique taste and texture. They’re an excellent way to infuse natural fruit flavors without adding extra moisture.
- Lemon/Lime Juice: Rich in vitamin C, these citrus juices add a refreshing tang and healthful zest. They can boost your immune system and add a vibrant flavor punch to the cookies.
- Butter: A source of healthy fats, butter adds a rich flavor and smooth texture to your cookies. Using unsalted butter allows you to control the salt levels in your baking.
- Eggs: Provide structure and richness, while also being a good source of protein. They help bind the ingredients together and give the cookies their delightful crumb.
Tasty Pairings to Serve with This Easy Peasy Dish
These cookies are versatile companions to various beverages and dishes, making them perfect for any occasion:
- Tea: The classic pairing, a cup of tea complements the citrusy notes of the cookies beautifully. Green tea or a light Earl Grey can accentuate the citrus flavors.
- Coffee: For those who prefer a stronger brew, coffee adds a robust contrast to the sweet and tart profile. A mild coffee blend can balance the tartness of the curd.
- Vanilla Ice Cream: A scoop of vanilla ice cream alongside these cookies turns them into a delightful dessert. The creaminess of the ice cream pairs wonderfully with the cookie’s texture and flavors.
- Fruit Salad: Enhance the fruity theme with a fresh fruit salad that adds color and freshness to your table. A mix of berries, melon, and a drizzle of honey can complement the cookies perfectly.
Storage Tips and How to Enjoy Leftovers the Easy Peasy Way
Storing these delightful Fruit Filled Thumbprint Cookies is as simple as making them. Once baked and filled, keep them in an airtight container at room temperature for up to three days. If you’ve made a batch with the intention of savoring them over a longer period, consider storing them in the refrigerator, where they can last up to a week. For those who love to plan, you can also freeze the unfilled cookies for up to a month. Just thaw them at room temperature, fill with curd, and enjoy!
Leftovers, if any, can be refreshed by warming them slightly in the oven. This not only enhances their aroma but also gives the curd a lovely, melt-in-your-mouth consistency. Enjoy these cookies as a quick breakfast treat, a teatime indulgence, or a sweet end to any meal.
There’s something incredibly heartwarming about gathering in the kitchen and creating something delightful from scratch. These Fruit Filled Thumbprint Cookies are more than just a treat; they’re a reminder of the simple joys of baking and sharing love through food. Whether you’re reminiscing about family traditions or creating new ones, these cookies offer a taste of nostalgia with every bite. So, gather your loved ones, roll up your sleeves, and let’s bring a little homemade happiness to your table.
Pin this Easy Peasy recipe!
Love this recipe? Pin the image below to your favorite Pinterest boards and bring a little Easy Peasy comfort to your kitchen whenever you need it.
Fruit Filled Thumbprint Cookies
Ingredients
Equipment
Method
- In a small bowl, whisk egg, sugar, cornstarch, salt, and zest (for lime curd) together until combined, then whisk in the citrus juice and vanilla.
- In a small saucepan, melt butter on low-medium heat.
- Pour the lemon mixture into the saucepan and whisk over medium-low heat for about 5-10 minutes, until the mixture is thickened and bubbling slightly. Curd should coat the back of a spoon when it’s ready.
- Optional: if making lime curd, add a drop of green food coloring to enhance the green color.
- Strain the curd through a fine mesh sieve into a jar or bowl. Cover and chill for 2 hours or overnight.
- Store any excess curd in a sealed container in the fridge for 1-2 weeks.
- Prepare a baking sheet with parchment paper.
- In the bowl of a stand mixer with the paddle attachment, cream the butter and sugar together until fluffy. Add in the egg and vanilla extract, mixing until fully combined.
- Add freeze dried fruit to a blender or food processor and grind into a fine powder. If needed, use a mortar and pestle (or a rolling pin) to grind down any large chunks left.
- Mix the flour, salt, and fruit powder together in a separate bowl, then combine with wet ingredients and mix well to form a dough.
- Use a cookie scoop to portion the dough, roll into 12 smooth balls, and arrange them on the baking sheet. Gently press your thumb, knuckle, or the back of a spoon on top of each dough ball to make a circular indent.
- Chill the sheet of cookies for at least 30 minutes (or overnight).
- Preheat the oven to 350ºF and bake cookies for 12 minutes, scooting after baking if needed. Let the cookies cool completely before adding your jams or curds to each one!