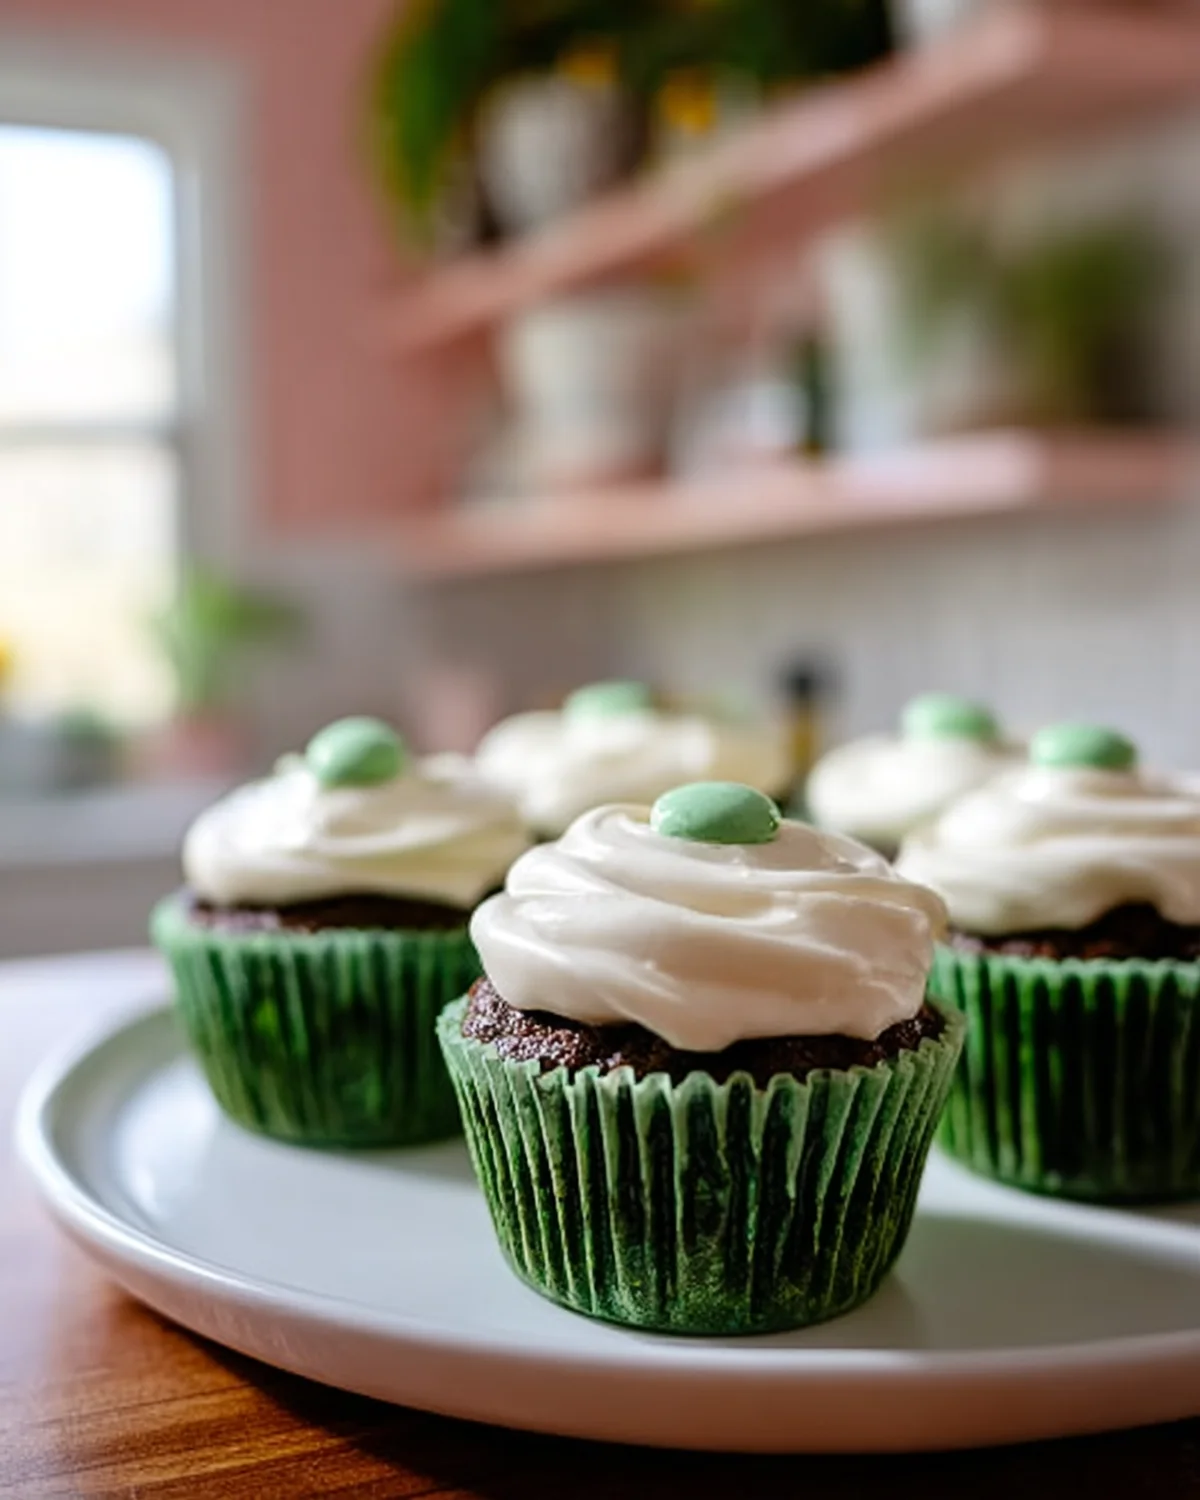
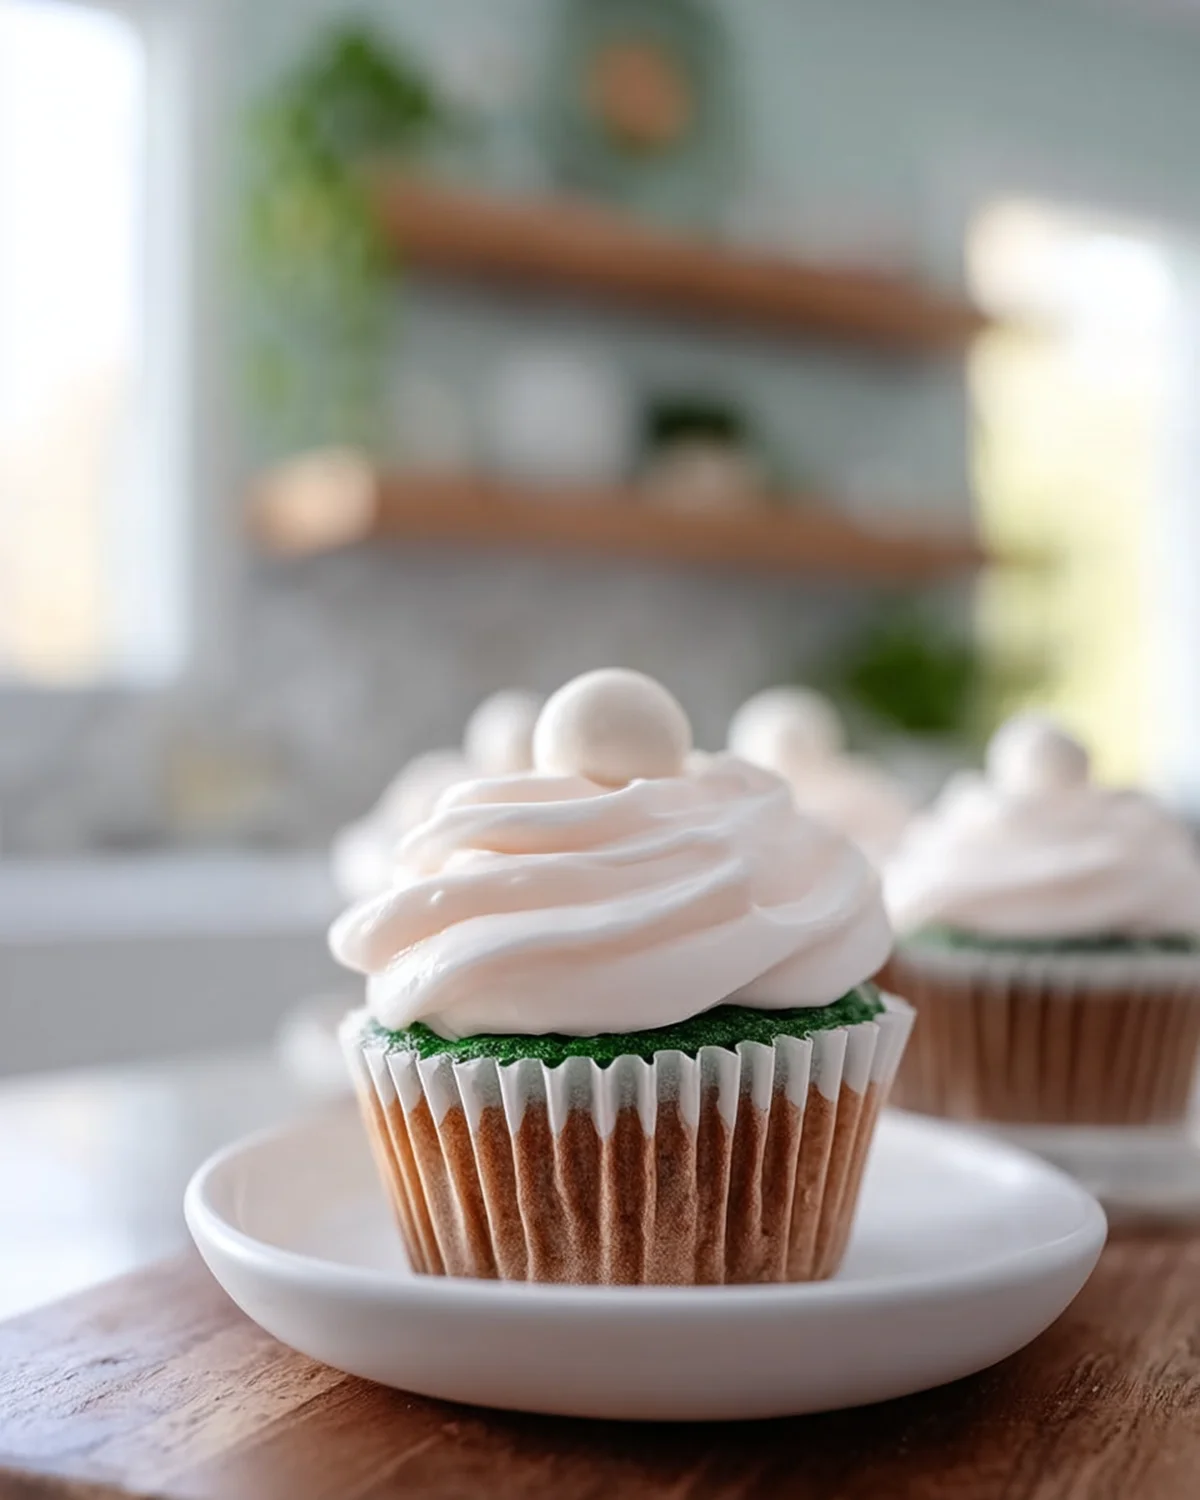
Green Velvet Cake And Cupcakes
Table of Contents
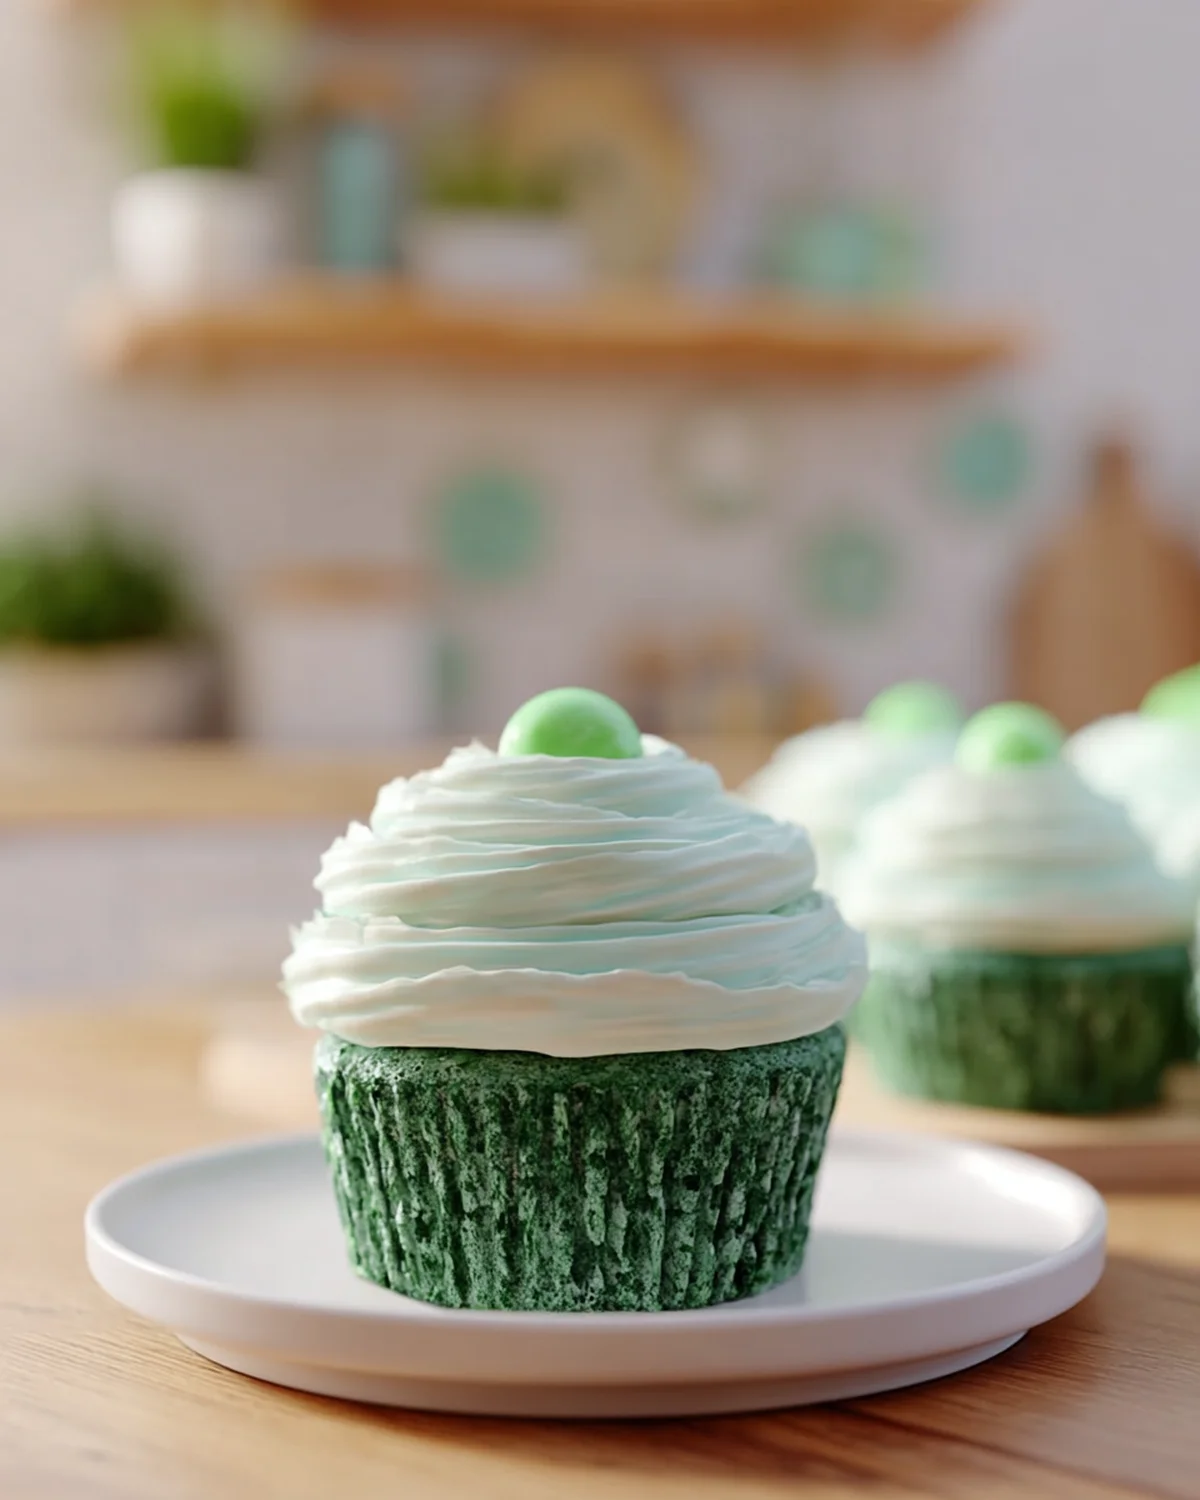
Stepping into my kitchen feels like wrapping yourself in a warm quilt stitched with childhood memories and family traditions. Today, I’m inviting you to join me in making something truly special: Green Velvet Cake and Cupcakes. These delightful treats hold a special place in my heart, reminiscent of the vibrant, joyful gatherings at my grandmother’s house, where the air was always filled with laughter and the sweet aroma of homemade goodies.
There’s something magically nostalgic about the way these green velvet confections transform any occasion into a celebration. The lush, velvety texture and the captivating color make them an absolute joy to bake and share. They’re perfect for any holiday, especially St. Patrick’s Day, or even as a surprise twist for a birthday party. And let’s not forget how the cream cheese frosting adds a tangy-sweet balance that dances on your taste buds and leaves everyone asking for more.
But beyond the taste and color, what makes this recipe truly dear to my heart is its simplicity. You don’t need to be a seasoned baker to whip these up — just a sprinkle of enthusiasm and a dash of love. This is the kind of recipe that makes you feel like a kitchen wizard, effortlessly creating something extraordinary from a handful of basic ingredients. Plus, it’s versatile enough to cater to your baking whims, whether you fancy a towering cake or a tray of dainty cupcakes.
Why This Recipe Should Be on Your Table
These Green Velvet Cake and Cupcakes bring a unique twist to traditional desserts, making them a delightful addition to any gathering or a special treat for yourself. Here’s why they deserve a spot on your table:
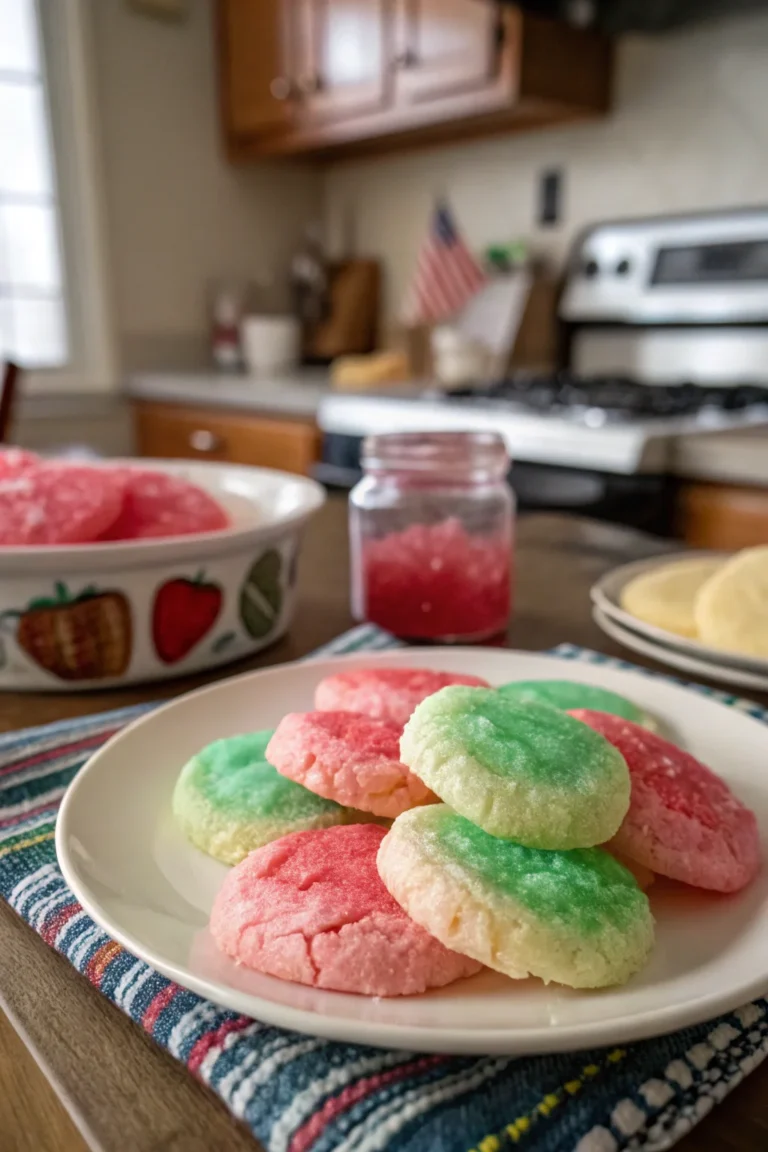
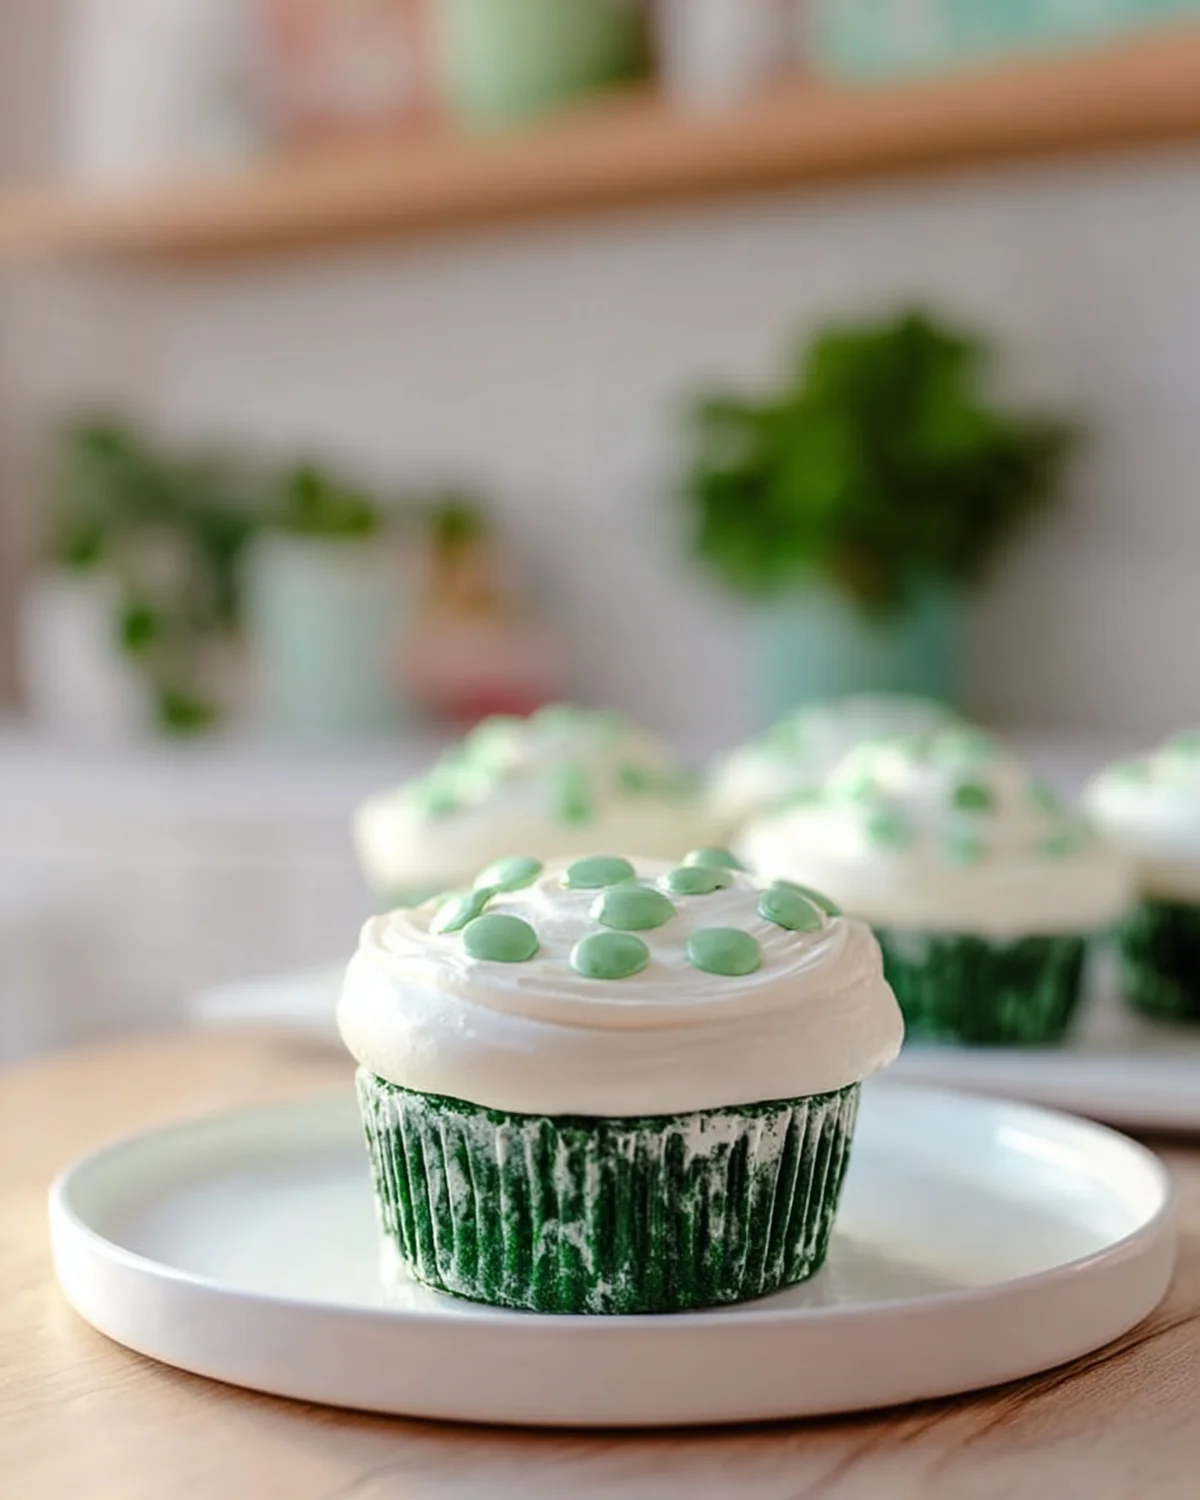
Vibrant Presentation: The striking green hue is a showstopper that adds a festive flair to any occasion. The color is not only visually appealing but also makes the dessert a conversation starter. Imagine the delight of presenting a cake that resembles a lush emerald gem, immediately catching the eye of everyone at the table.
Perfect for Celebrations: Whether it’s a holiday, a birthday, or just because, these treats bring joy and excitement to the table. They have a way of transforming everyday moments into unforgettable celebrations. Picture a St. Patrick’s Day feast where these cupcakes add a whimsical touch to the festivities, or a child’s birthday party where they serve as vibrant centerpieces.
Simple Ingredients: Made with pantry staples, this recipe is both budget-friendly and easy to prepare. You likely have most of these ingredients on hand, making it convenient to whip up at a moment’s notice. This accessibility means you can satisfy sudden dessert cravings or surprise guests without a last-minute dash to the store.
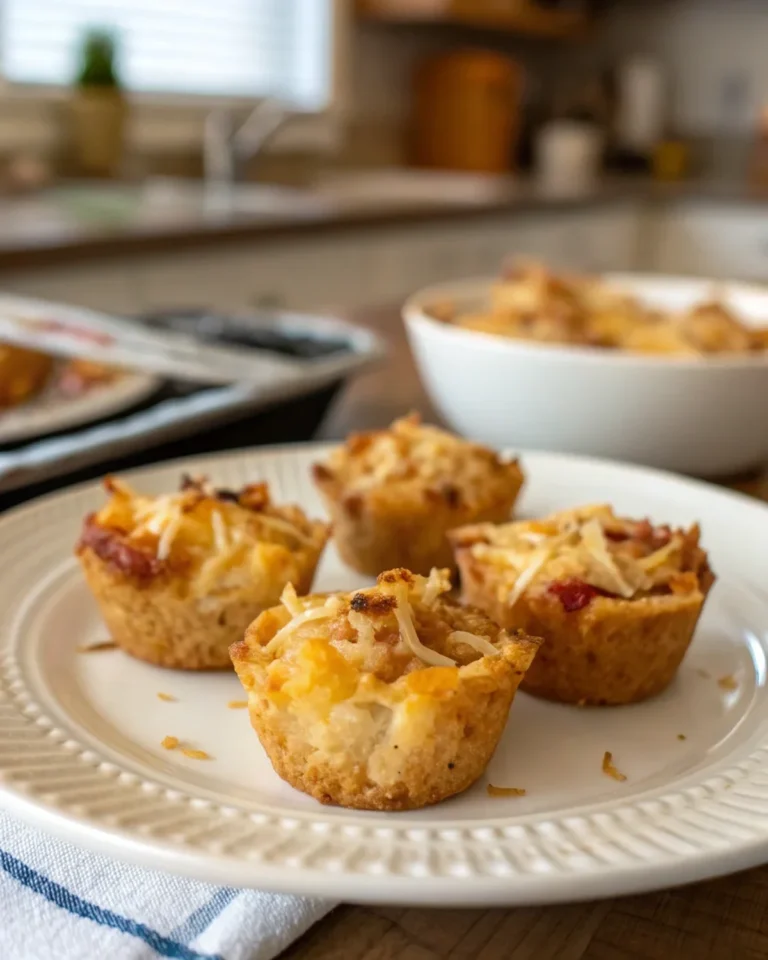
Versatile Baking Options: Bake as a cake for a grand statement or cupcakes for individual delights. You can even make mini cupcakes for a bite-sized treat that’s perfect for kids’ parties or as a sweet addition to any dessert table. The versatility allows you to tailor the presentation to suit the occasion, from elegant dinner parties to casual family gatherings.
Crowd-Pleaser: The combination of moist cake and creamy frosting is a guaranteed hit with both kids and adults. The balance of flavors ensures that it’s not just the color that captivates, but also the taste that leaves a lasting impression. The creamy tang of the frosting perfectly complements the gentle sweetness of the cake, ensuring each bite is a harmonious blend of flavors.
Kitchen Tools to Make This Recipe Easy Peasy
To whip up these delightful bites, you won’t need much — just a few trusty kitchen tools, much like the ones my grandma used when teaching me the joy of homemade snacks.
Mixing Bowls: Essential for combining your wet and dry ingredients separately. Having a variety of sizes can be helpful for different stages of the recipe. A large bowl for mixing the dry ingredients and a medium one for the liquids will streamline your prep process.
Whisk: Perfect for gently blending the eggs and other liquid ingredients. A whisk is ideal for ensuring that your batter is smooth and lump-free, helping to aerate the mixture slightly for a lighter texture.
Electric Mixer: Makes mixing your batter and frosting a breeze. It saves time and ensures that your ingredients are thoroughly combined, producing a smoother texture. If you don’t have an electric mixer, a hand mixer will work just as effectively.
Cake Pans/Muffin Tins: Depending on whether you’re making a cake or cupcakes. Non-stick pans can help in easy removal of the baked goods. Using liners for cupcakes not only prevents sticking but also adds a decorative touch.
Rubber Spatula: Handy for scraping down the sides of your mixing bowl. It’s also useful for folding ingredients together without deflating the batter. This tool is perfect for ensuring that every last bit of batter is used, minimizing waste.
How to Make This Recipe Easy Peasy
Ingredients
CAKE
- 2 1/2 cups all-purpose flour
- 2 cups sugar
- 1 tablespoon cocoa
- 1 teaspoon salt
- 1 teaspoon baking soda
- 2 eggs
- 1 cup oil
- 1 cup buttermilk
- 1 tablespoon vinegar
- 1 teaspoon vanilla
- 1 oz green food coloring
CREAM CHEESE FROSTING
- 1 package of softened cream cheese
- 1/4 cup softened butter
- 1 teaspoon vanilla extract
- 1 bag powdered sugar (2 lb bag)
- Milk as needed
Instructions
CAKE
- Preheat your oven to 350 degrees. This ensures even baking and helps the cake rise properly.
- Grease your cake pans, muffin tins, or whoopie pie pans. Proper greasing prevents sticking and ensures clean removal. You can use a non-stick spray or a light coating of butter and flour.
- Lightly stir eggs in a medium bowl with a whisk. Add in remaining liquid ingredients. Whisk until blended, then stir in food coloring and set aside. The food coloring should be mixed thoroughly to achieve a uniform color. If you want a more intense green, adjust the amount of food coloring accordingly.
- Place all dry ingredients in your mixing bowl and stir together well. This helps in even distribution of the baking soda and cocoa, which are critical for the texture and flavor.
- Pour your wet ingredients into your dry ingredients and mix on medium-high for about a minute or two until well combined. The batter should be smooth and vibrant, with no lumps.
- Pour the batter into cake pans or cupcake pans. Fill each pan about two-thirds full to allow room for rising. This prevents overflow and ensures even cooking.
- Baking times will vary based on what you are using. For one 8″ cake pan, it is about 22 minutes. Regular size cupcakes are around 16 minutes, mini cupcakes and whoopie pie pans are both about 13 minutes. Use a toothpick to check for doneness; it should come out clean. Allow them to cool slightly before removing from pans to prevent sticking.
FROSTING
- Cream together cream cheese, butter, and vanilla in a bowl until smooth. Use an electric mixer for the best results, as this helps achieve a fluffy texture.
- Gradually add in powdered sugar and continue mixing. Adjust sweetness to taste. Add the sugar in increments to avoid a sugar cloud in your kitchen and to ensure it blends well.
- Add in milk as needed to reach the desired consistency. Store frosting and frosted cupcakes in the refrigerator. The frosting should be spreadable but not runny, perfect for piping or spreading with a spatula.
Difficulty: Easy • Cuisine: American • Preparation Time: 15 minutes • Cooking Time: 22 minutes • Total Time: 37 minutes • Calories: 450 per serving • Servings: 12
Note: For a deeper color, adjust the amount of food coloring. Experiment with different pan sizes for varied baking times. You can even add a touch of lemon zest to the frosting for an extra zing.
Health and Flavor Benefits of Ingredients
These Green Velvet Cake and Cupcakes not only promise delightful flavors but also come with some surprising benefits:
- Buttermilk: Adds a tangy flavor and moisture, making the cake tender and rich. It also helps in activating the baking soda, ensuring a good rise. Buttermilk is lower in fat than regular milk, adding flavor without extra calories.
- Cocoa: A small amount adds depth and richness to the flavor profile. Cocoa is also known for its antioxidant properties, contributing to your overall health while enhancing the taste.
- Cream Cheese: Provides a creamy texture and tangy flavor that complements the sweet cake. It’s also a source of calcium and protein, adding a nutritional element to your dessert.
- All-Purpose Flour: A versatile ingredient that gives structure and holds the cake together. Provides a neutral base that allows the other flavors to shine, ensuring a balanced taste.
Tasty Pairings to Serve with This Easy Peasy Dish
These Green Velvet Cake and Cupcakes are versatile companions to various beverages and dishes, making them perfect for any occasion:
- Hot Chocolate: The rich warmth of cocoa pairs beautifully with the cake’s creamy frosting. It’s a comforting combination that’s perfect for colder weather, enhancing the cozy feel of the dessert.
- Champagne: For a celebratory twist, pair these treats with a glass of bubbly. The effervescence of champagne cuts through the richness, creating a balanced palate and elevating the dessert experience.
- Fresh Berries: Add a pop of color and freshness to your dessert spread. Berries like raspberries or strawberries enhance the visual appeal and add a natural sweetness, complementing the cake’s flavors.
- Vanilla Ice Cream: A scoop on the side elevates this treat to a decadent dessert. The cold, creamy texture of ice cream complements the moist cake, creating a delightful contrast in textures and temperatures.
Storage Tips and How to Enjoy Leftovers the Easy Peasy Way
Store any leftover cake or cupcakes in an airtight container in the refrigerator to keep them fresh. The frosting can be a bit delicate, so make sure to cover them well. These treats can be enjoyed up to three days after baking. To bring back that just-baked flavor, let them sit at room temperature for a few minutes before serving. If you’re in the mood for something extra special, try crumbling leftover cupcakes over a bowl of vanilla ice cream for a delightful dessert twist. You can also freeze unfrosted cupcakes for up to a month and frost them when needed. This allows you to enjoy a quick sweet treat anytime without starting from scratch.
As you embark on this baking adventure, remember that the true magic of cooking lies not just in the food itself, but in the moments we create around it. Whether you’re sharing these Green Velvet Cake and Cupcakes with loved ones or indulging in a personal treat, know that every bite is infused with love and the warm spirit of homemade goodness. Thank you for joining me in the kitchen today. Until next time, happy baking!
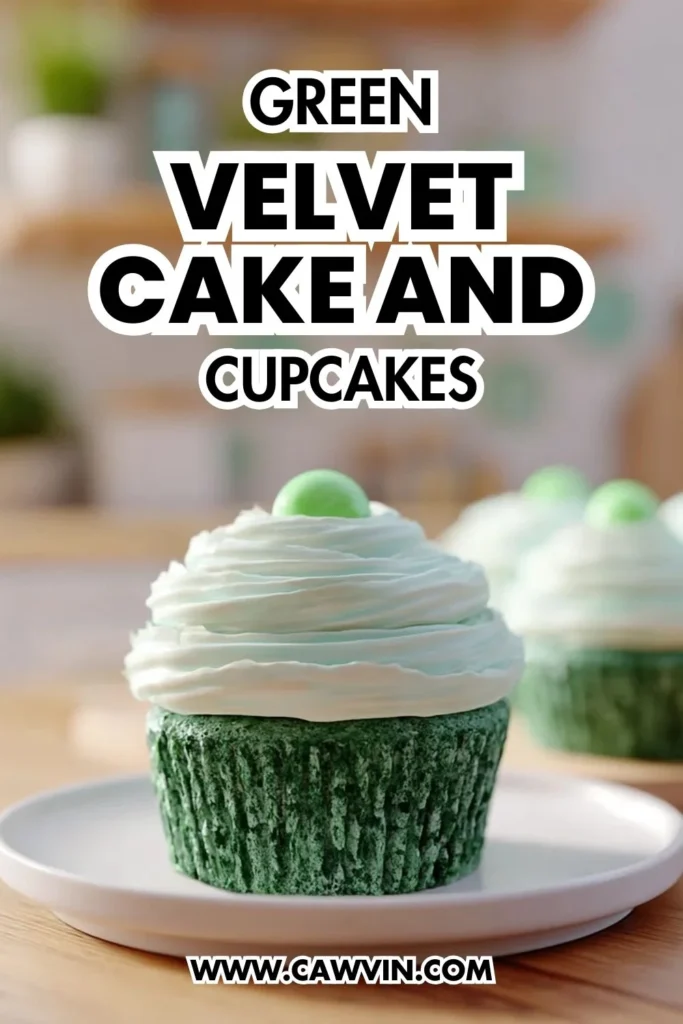
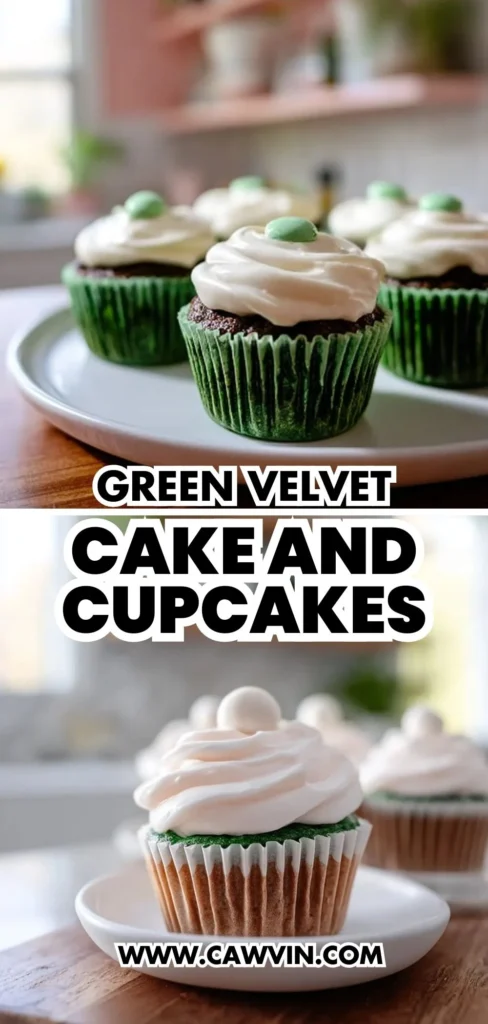
Pin this Easy Peasy recipe!
Love this recipe? Pin the image below to your favorite Pinterest boards and bring a little Easy Peasy comfort to your kitchen whenever you need it.
Green Velvet Cake And Cupcakes
Ingredients
Equipment
Method
- CAKE
- Preheat your oven to 350 degrees.
- Grease your cake pans, muffin tins, whoopie pie pans, whatever method you decide to go with.
- Lightly stir eggs in a medium bowl with whisk. Add in remaining liquid ingredients. Whisk until blended, then stir in food coloring and sit aside.
- Place all dry ingredients in your mixing bowl and stir together well.
- Pour your wet ingredients into your dry ingredients and mix on medium-high for about a minute or two until well combined.
- Pour the batter into cake pans or cupcake pans.
- Baking times will vary based on what you are using. For one 8″ cake pan, it was about 22 minutes. Regular size cupcakes were around 16 minutes, mini cupcakes and whoopie pie pans were both about 13 minutes.
- FROSTING
- Cream together cream cheese, butter and vanilla in a bowl until smooth. Gradually add in powdered sugar and continue mixing. Add in milk as needed to reach the desired consistency. Store frosting and frosted cupcakes in refrigerator.